Make your own DIY Faux Agate Coasters that are like a miniature work of art!
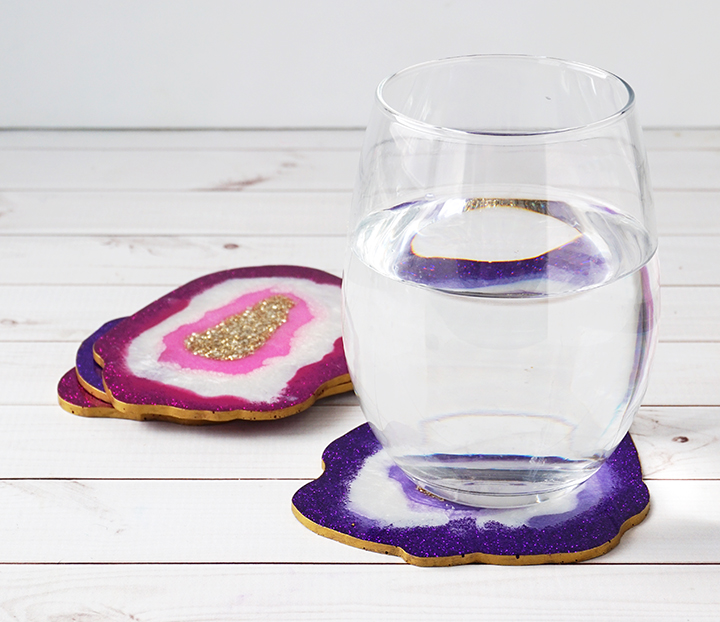
Hello, Resin Crafters! Lindsay here with a sparkling new resin project! I’ve been loving the gilded-edged agate slice trend lately, but just can’t justify spending hundreds of dollars on the real thing. Instead, I wanted to try my hand and making some faux agate coasters all on my own using resin. Turns out, it’s a lot easier than I thought and is a lot of fun!
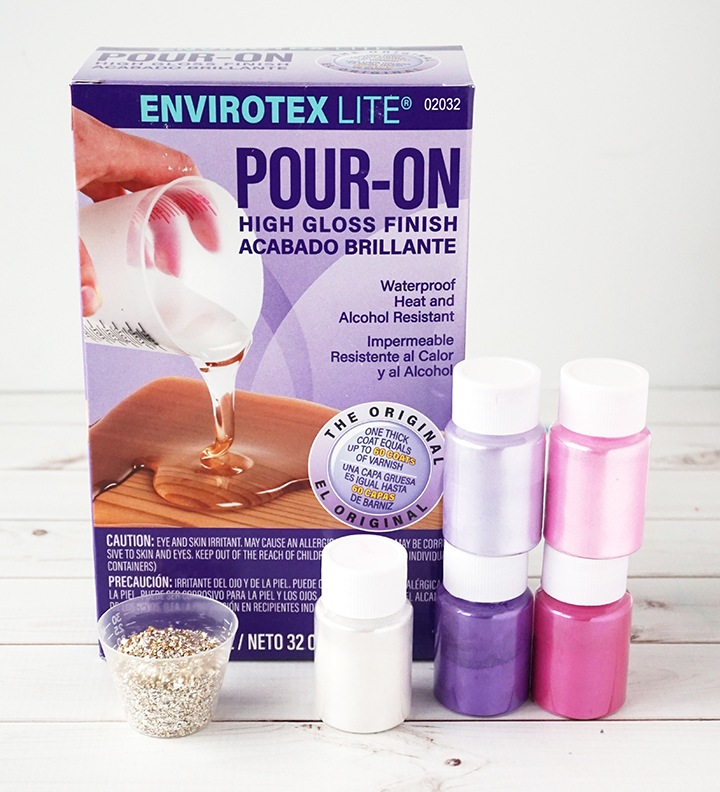
Supplies you will need to make your own DIY Faux Agate Coasters:
- Envirotex Lite
- Gloves
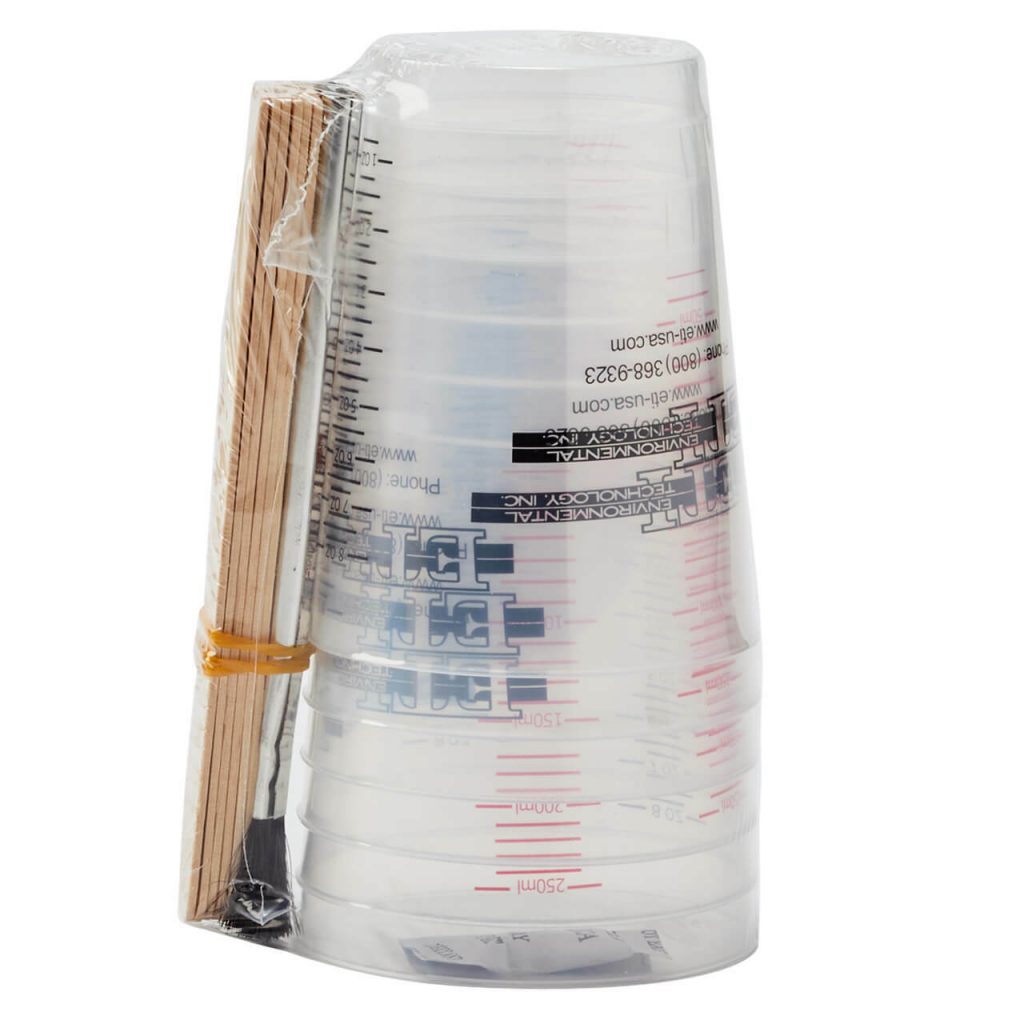
- Mixing Cups
- Stir Sticks
- Resin powder (one light shade, one dark shade) or Castin’ Craft Opaque Pigments
- Fine Glitter (same colors as powders/pigments)
- Gold Crushed Glass
- Faux Agate Slice Mold
- Metallic Gold Acrylic Paint
Step 1:
Wear gloves to protect your hands, and pour equal amounts of resin and hardener into a mixing cup. Use a stirring stick and mix the resin well for 2 minutes. Pour the resin into a clean mixing cup and stir for another minute.
Step 2:
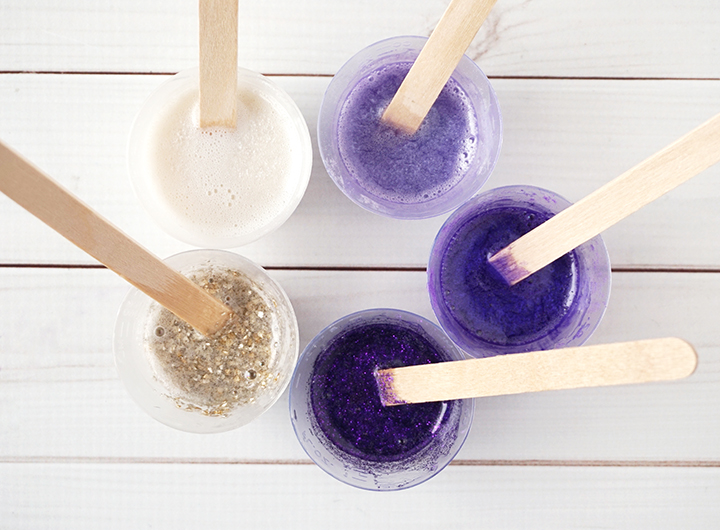
Split the resin into 4-5 smaller mixing cups:
- Gold Crushed Glass: add gold crushed glass until the mixture is a paste-like consistency.
- White: add in a drop of white Castin’ Craft Opaque Pigment or a small scoop of white pearl mica powder. Mix well to distribute the color.
- Light Color Shade: add in a drop of Castin’ Craft Opaque Pigment or a small scoop of light color mica powder. Mix well to distribute the color.
- Darker Color Shade (optional): add in 2 drops of Castin’ Craft Opaque Pigment or a small scoop of darker color mica powder. Mix well to distribute the color.
- Glittered: mix up the same as the darker color, and then add in a generous amount of glitter in the same shade. Mix well until color and glitter are evenly distributed.
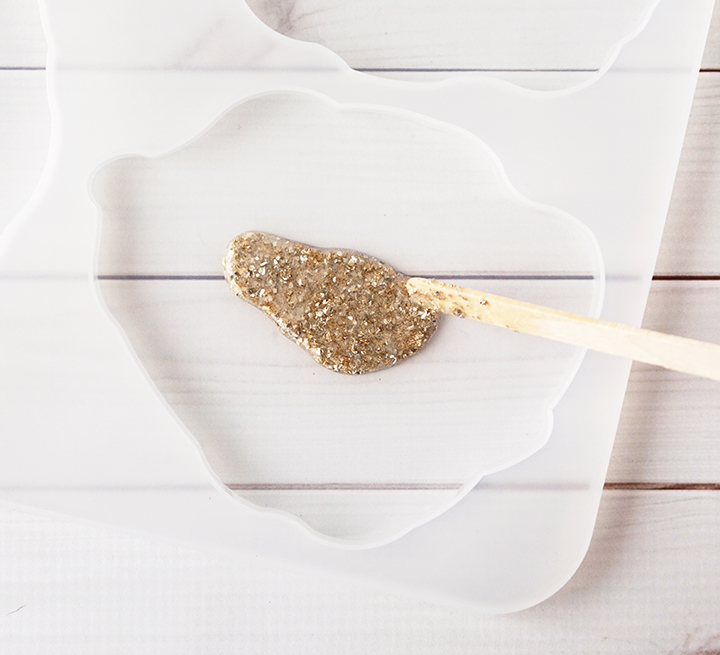
Step 3:
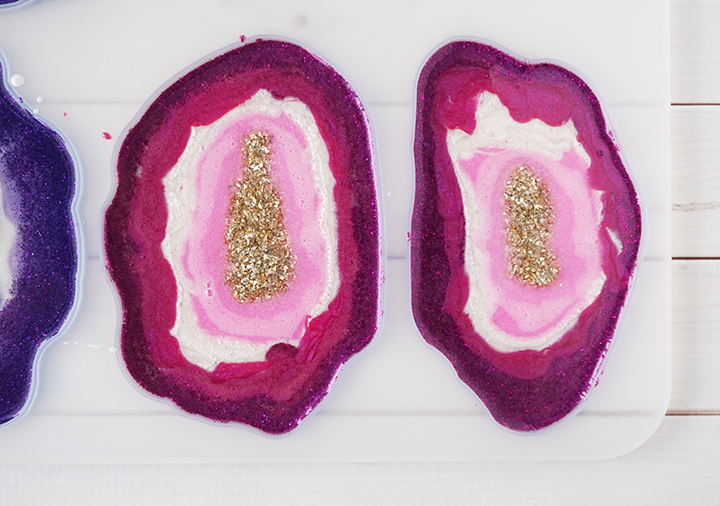
Use a stir stick to place some of the gold glass mixture in the center of the mold. The best part is is that it doesn’t have to be a perfect shape!
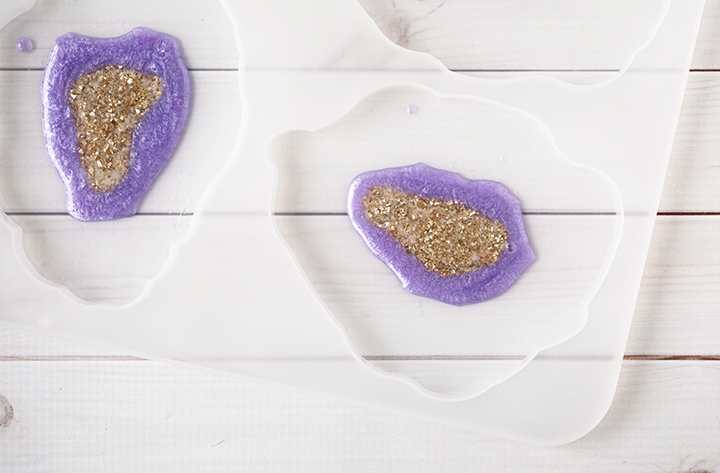
Step 4:
Add a thin layer of the light colored resin right around the edge of the gold.
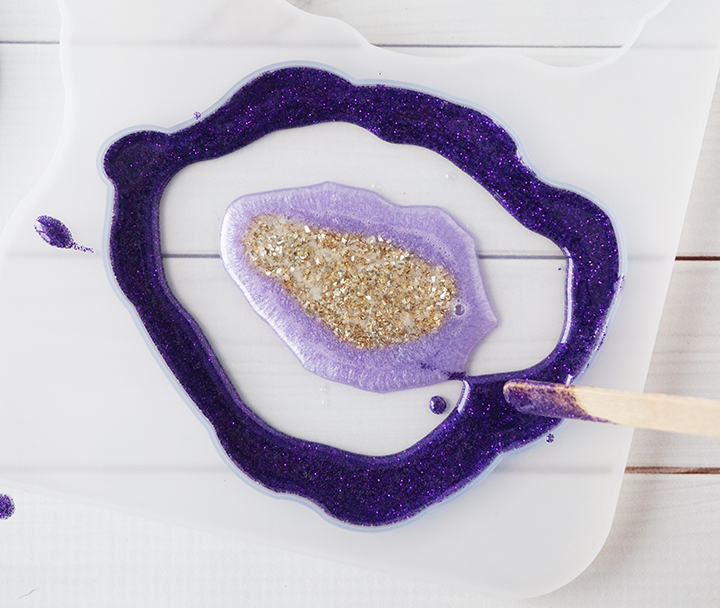
Step 5:
Use a stir stick to line the edge of the mold with the glittered resin mixture. Again, it’s okay if it isn’t perfect!
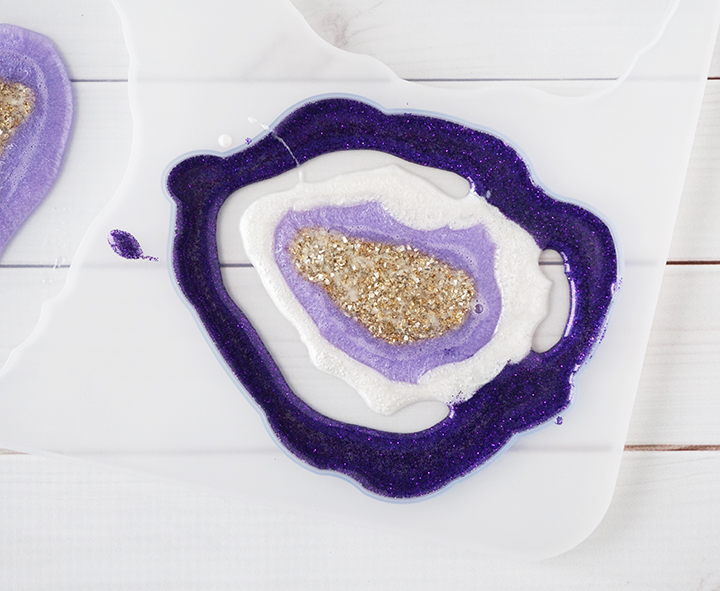
Step 6:
Next, add a thin layer of white resin around the edge of the light colored resin. Try to leave some space in between the white and the glittered resin.
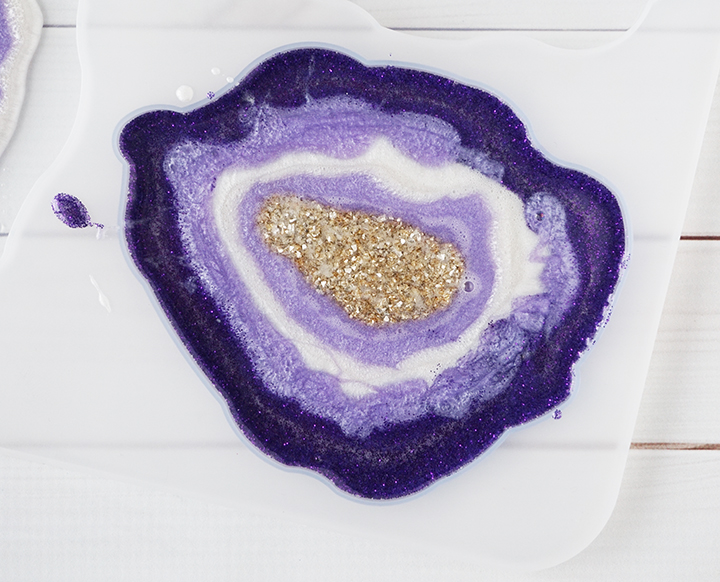
Step 7:
In that little space between the white and the glittered resin, add in another layer. This can be the un-glittered dark color resin mixture, or the light colored resin. Both look amazing, so you can’t go wrong!
Step 8:
Pop any bubbles that rise to the top using a lighter or by blowing through a straw. Leave the resin to cure in an undisturbed area for 24 hours. You will know that the resin is completely cured when it is no longer tacky.
These coasters are thinner than traditional coasters. If you want to make them thicker, mix up some more resin and pour it into the molds over the already cured coasters (do not remove them from the mold) and let this new layer of resin cure completely.
Step 9:
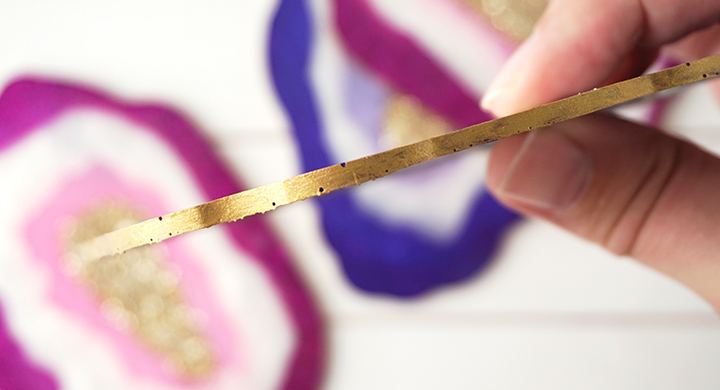
Carefully remove the coasters from the mold, and sand down any edges if necessary.
Step 10:
Use a small detail brush to paint a metallic gold paint around the edges of the coasters. Paint 2-3 coats for full coverage. For best results, paint in light coats, and let each coat dry completely before adding a new one.
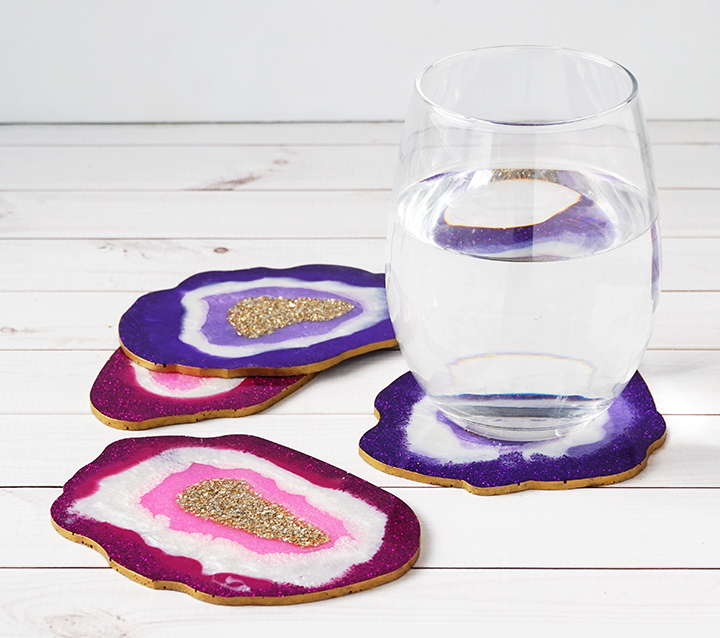
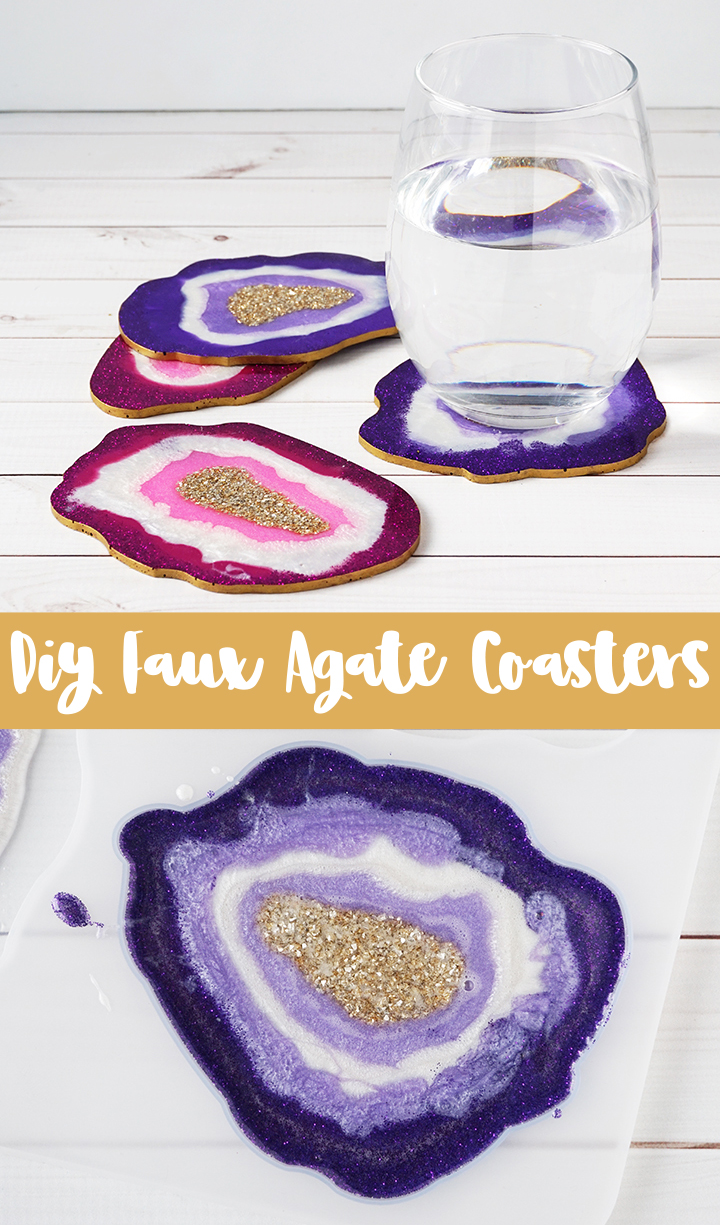
Just like in nature, no two coasters will be alike! I love how I was able to save so much money with a little DIY, and they look so chic! These coasters would make gorgeous gift, and will be a unique conversation piece on your coffee table at home. Check out this other resin agate project for more inspiration!
Don’t forget to Pin, Like, and Share!
Lindsay is a crafter, graphic designer, and glitter enthusiast from Utah. She’s passionate about homeschooling her creative daughter, traveling, and spending time in the craft room. Lindsay shares DIY project tutorials, printables, recipes, kids crafts, and more on her blog, ArtsyFartsyMama.com, where she inspires readers to live a creative life.
[…] Agate CoastersThese little resin geodes are like little pieces of art for your glass to sit on! Get the tutorial here Mickey Mouse Resin Shaker CharmThe shaker charm trend is so fun and Lindsay made this adorable […]