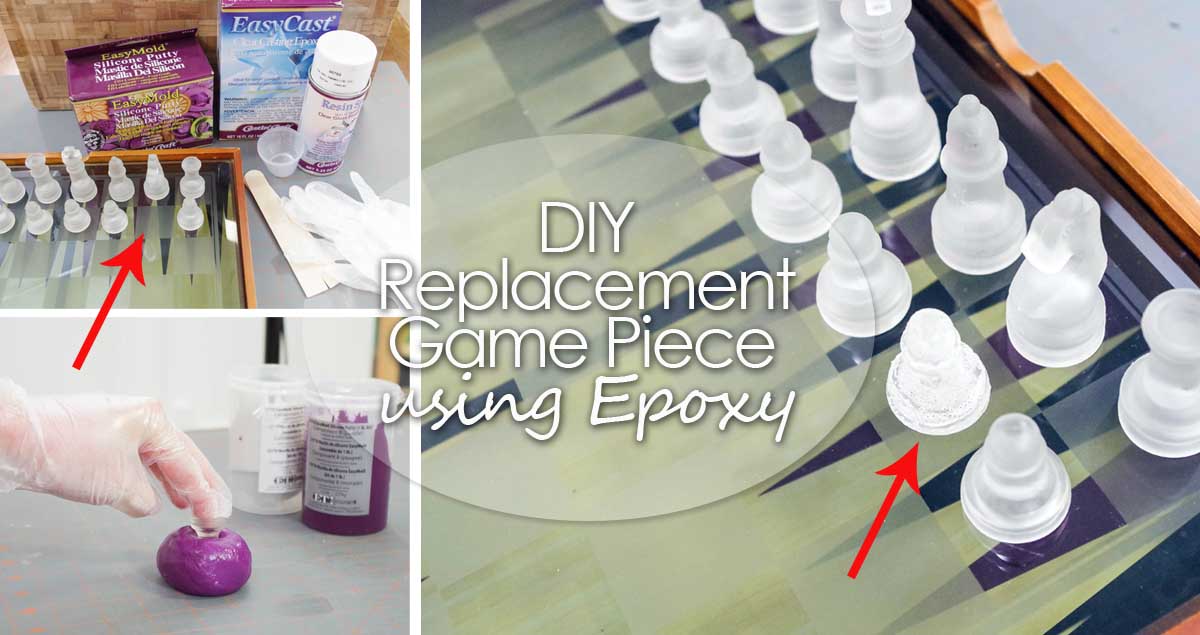
 Let’s talk board games. We all have missing game pieces, right? Recently, my kids lost a piece to our chess set. Chess cannot be played without all the pieces. We tried replacing it with a building block or other various small objects, but one day it occurred to me that I could create a mold from the other pawn piece and cast a replacement piece using epoxy! Here’s how I made this DIY Resin Replacement Game Piece.
Supplies:
- EasyMold Silicone Putty
- Disposable Gloves
- EasyCast Clear Casting Epoxy
- Disposable Measuring Mixing Cups
- Wooden Stir Sticks

Making the Mold:
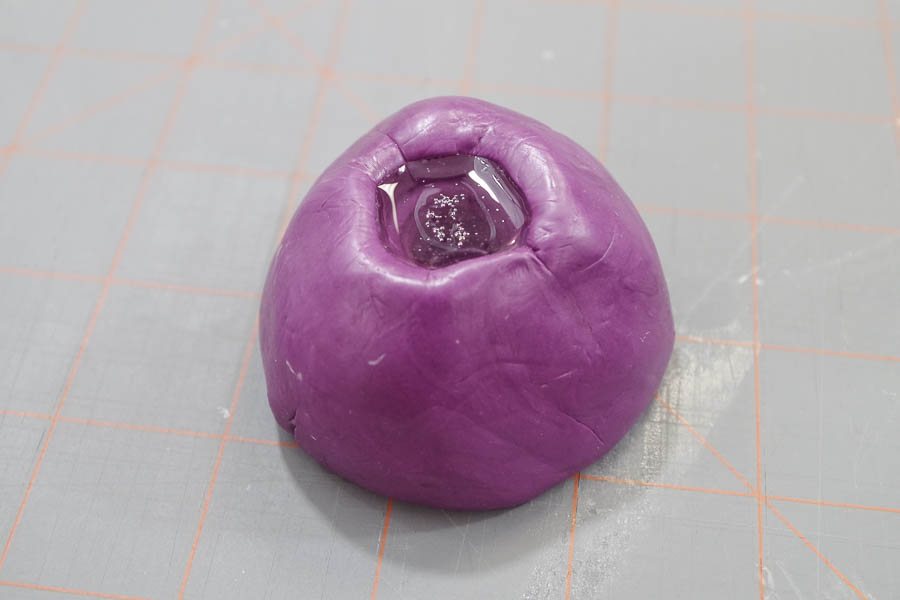
EasyMold Silicone Putty is one of the easiest products I’ve used. Put on your disposable gloves and take a small amount of Part A out of the container, roll it into a ball, then do the same with Part B. You want to have about the same amount of each.
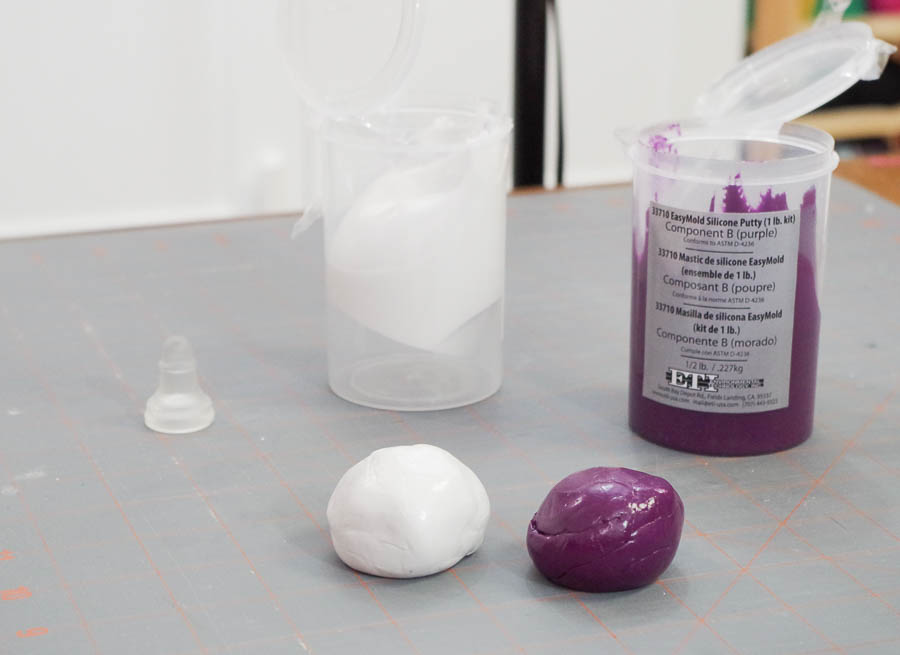
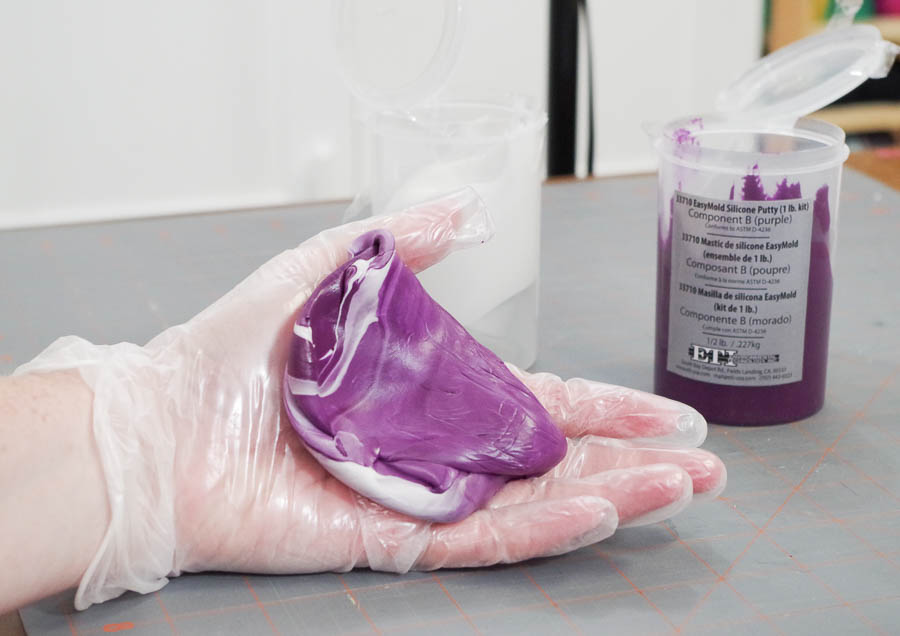
Begin to knead the two parts together until they are one uniform purple color. You only have 3 minutes to work with this, so you don’t want to waste time.
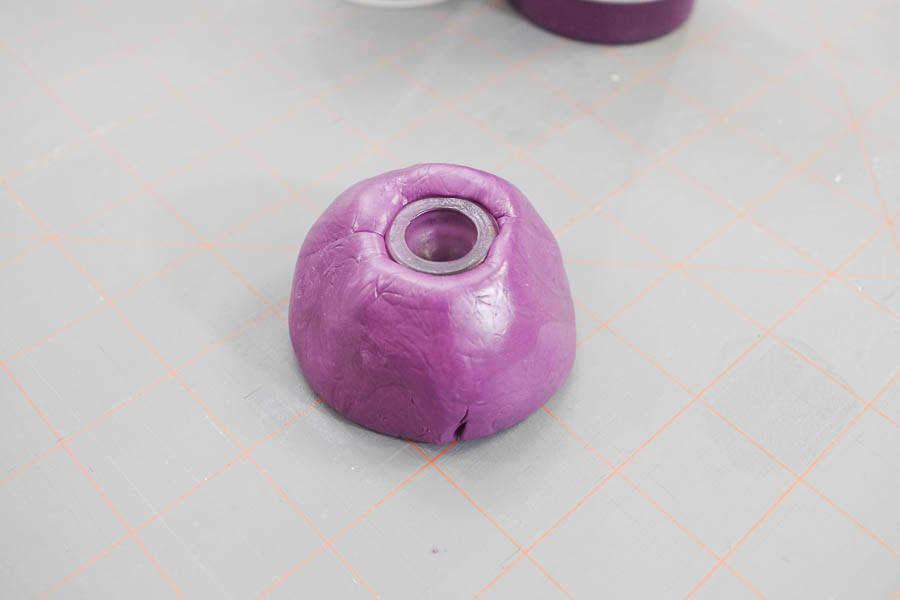
Shape it into a large block then press your piece top-side-down into the putty. For mine it was important to get it straight down so that when I cast the epoxy it will be level on the bottom of the piece.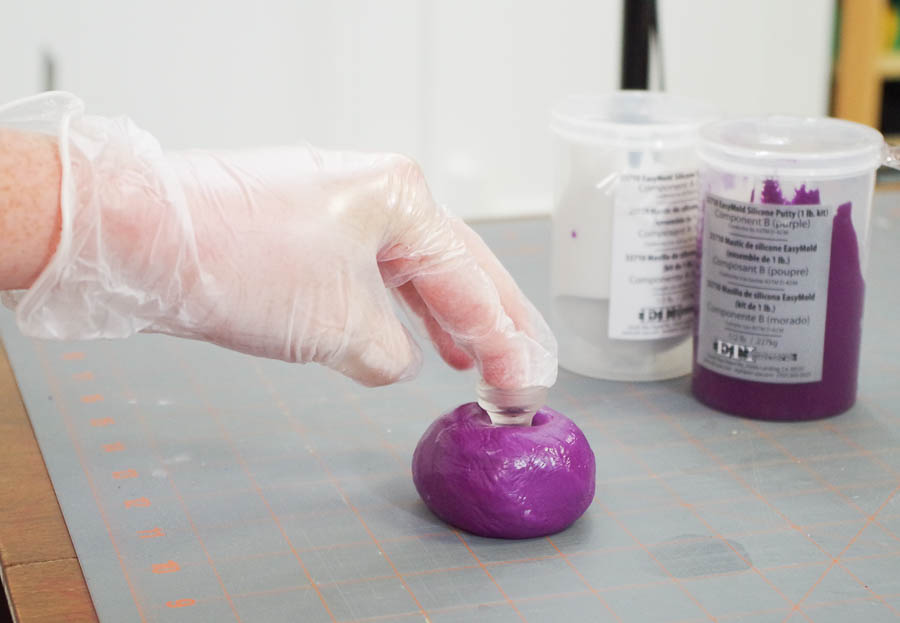
Let the silicone putty set for an hour then remove your piece.
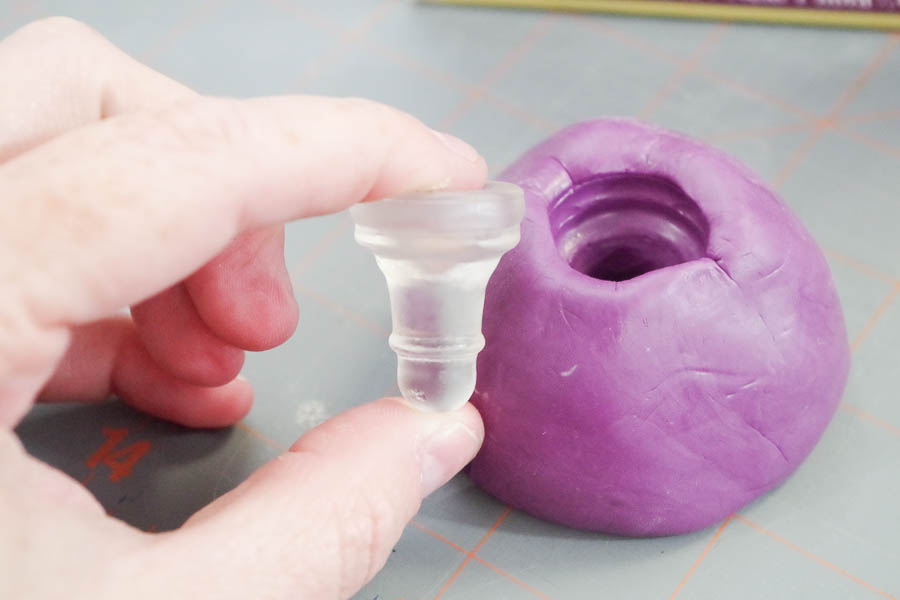
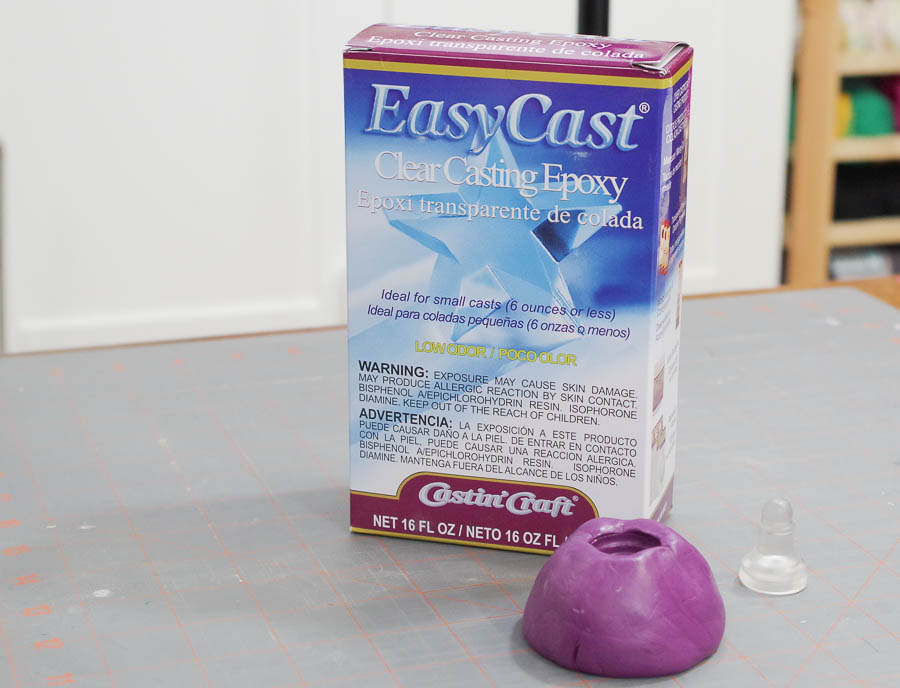
You will need to let your mold cure for 24 hours before using EasyCast Clear Casting Epoxy inside of it. If you need it cured quickly, there is also a baking option in the instructions. I was able to wait until the next day to do my casting so this wasn’t an issue for me.
Casting the New Game Piece:
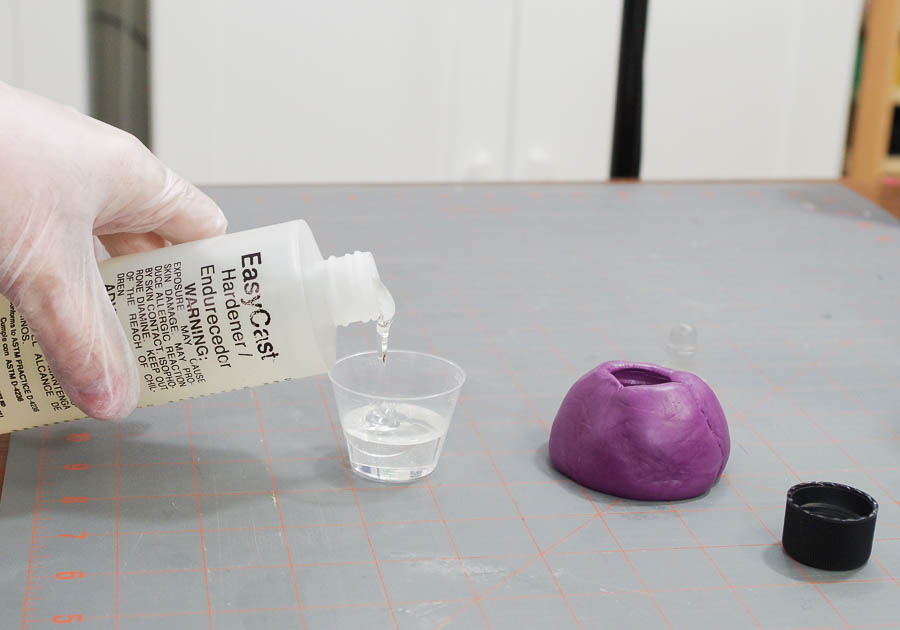
Use EasyCast Clear Casting Epoxy. Again, wear gloves! Pour equal amounts of Part A and Part B into your disposable measuring cups.
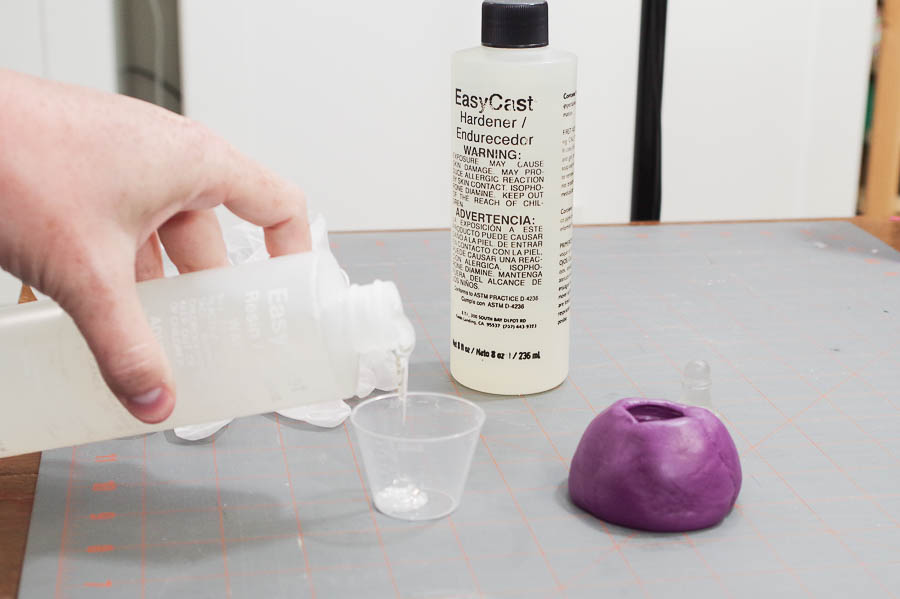
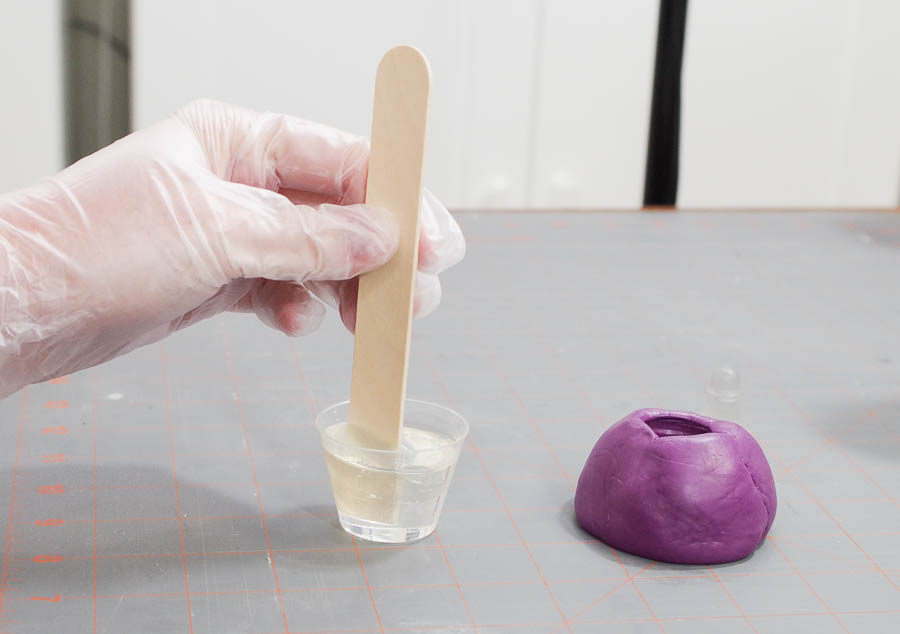
Stir thoroughly with your wooden stir stick.
Pour into a second cup and stir again. This ensures that all of the epoxy is mixed thoroughly.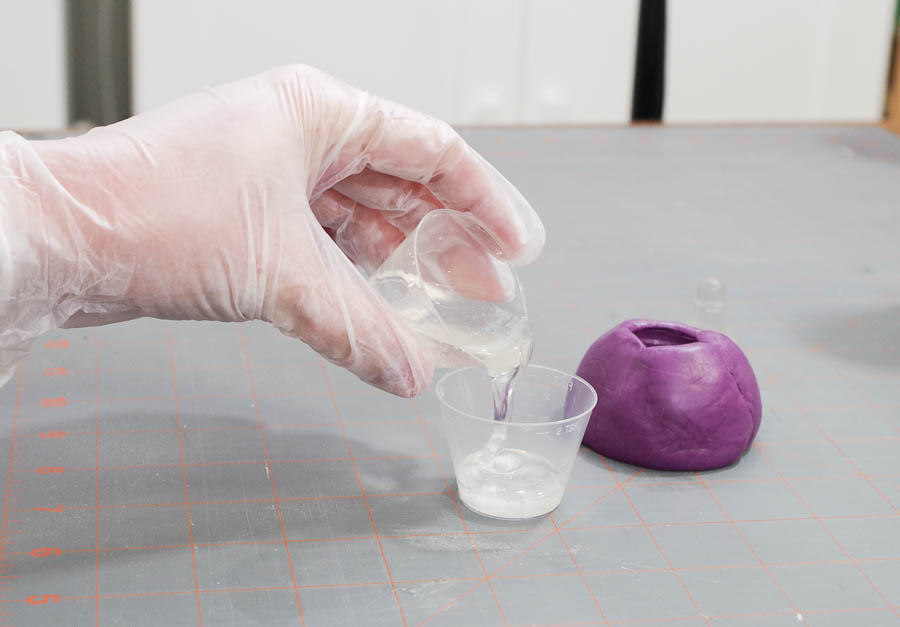
Now pour your epoxy into your mold. Pour slowly and in the same spot to try to reduce the amount of bubbles.
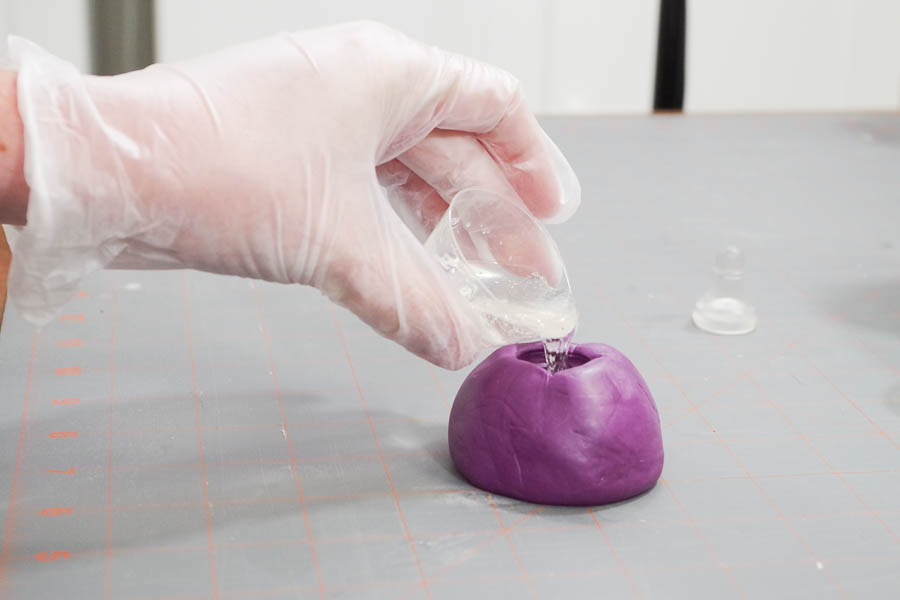
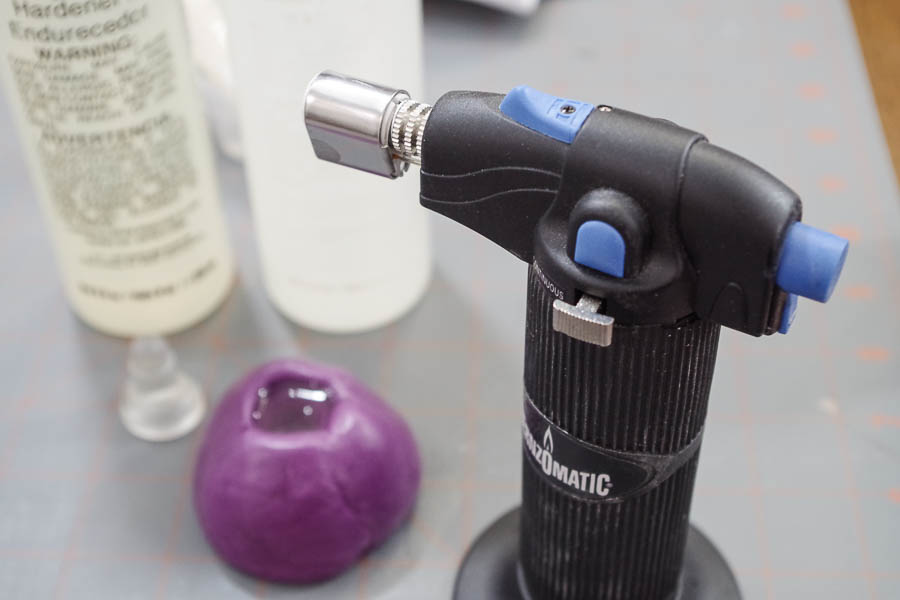
There will be bubbles. I actually ended up having a lot in mine so I did my best to remove them with the micro butane torch.
Let cure for 24-48 hours depending on the temperature of your room. (Again, refer to the instructions inside the packaging.)

Once cured, remove your brand new piece from your mold and place it into your game! Mine ended up looking slightly different (and had a few bubbles on the sides) but it’s the same size as all the other pieces. This could work for many different games! If you need to color the epoxy you can always use some of the Transparent Dyes or Opaque Dyes made for epoxy to match your other game pieces.
I hope this tutorial helps some of you solve the problem of missing game pieces!
If you like this tutorial, please share using the social media buttons on the left! Pin this image to Pinterest:

Other tutorials you may like:
DIY Chocolate Molds using EasyMold Silicone Putty
Wood and Resin Pendant using EasyCast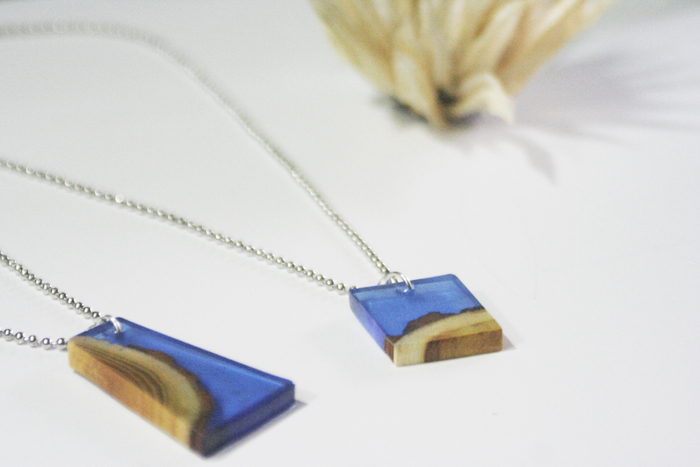
Sheri is a Maker and DIY blogger at Hazel + Gold Designs. She is usually in the middle of multiple projects at once and finds great satisfaction and joy in creating something new. She is constantly learning new skills, putting them to the test, and sharing her experience and knowledge with others. Her favorite hobbies are crafting, painting, crocheting and basic woodworking. Her goal is to inspire others to step out of their comfort zone, learn a new skill and have the confidence to make their life a little more beautiful!


Leave a Reply