
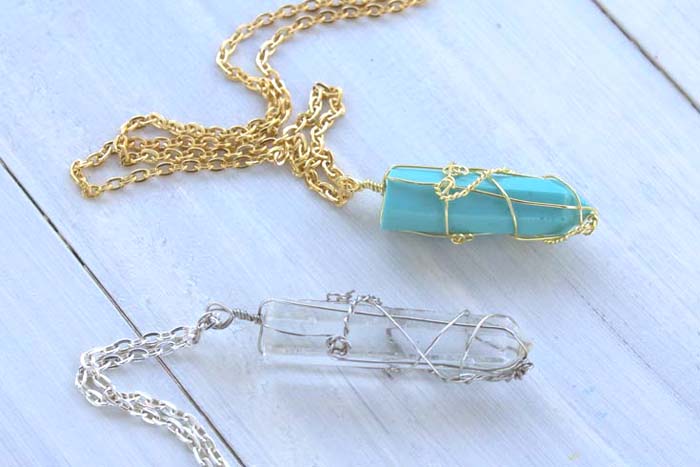
Resin Crystal Wire Wrapped Pendant!
Hey Resin Crafters, it’s Natalie from Doodlecraft with another especially fabulous resin project. Crystals are uniquely beautiful and here’s a fun way to make your own. I love crystals, I wanted to be able to make them myself when I was little…you just need sediment and pressure, right–like a couple books? Haha! Happy to report that I’ve figured out a much simpler way to make one.
Supplies needed:
- Easy Cast Resin
- Fast Cast Resin
- Opaque Resin Dye
- Crystal Silicone Mold
- 24 Gauge Wire
- Jewelry Pliers
- 27″ chain
- 1 Jump ring

Casting Resin:
Begin by reading the directions for the resin you are using. If you want a clear crystal: use the EasyCast Epoxy Resin. If you want a color opaque crystal: use the FastCast, and it sets in 15 minutes! Start by measuring how much resin you will need by filling the mold with water and then pouring it in a mixing cup. Mark how much resin is needed, then pour half the amount of resin in the cup, then the hardener to the mark. Then mix the resin according to the package directions and add dye if desired. Pour in the mold and let it set. FastCast will set in 15 minutes, EasyCast will set overnight. Then remove the resin from the mold and repeat as desired.

Wire Wrapping:
Now that the crystal is formed, it is time to wrap with wire. 
Cut 2 pieces of 24 gauge wire that are 12 inches long each.
Next, line up the 2 wires and fold them gently in half, keeping a wide arch at the center.
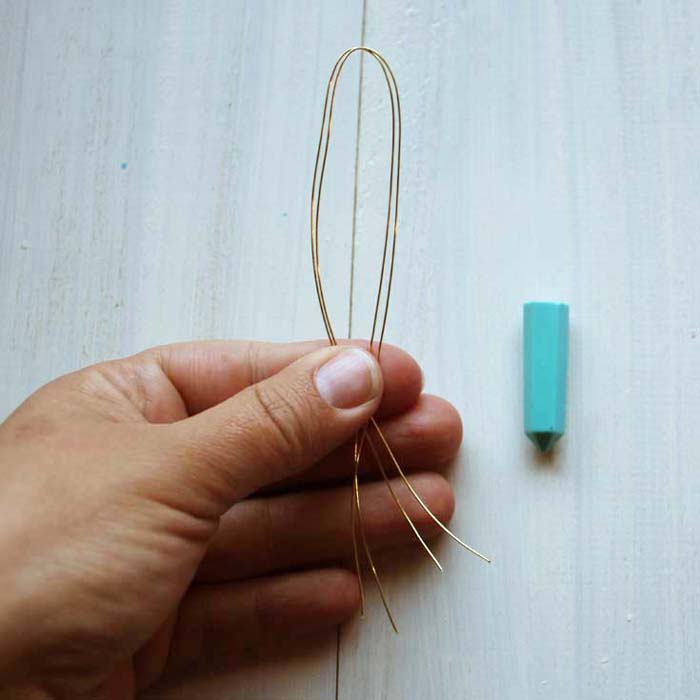
Twist the two wires, thus making a pendant loop in the process.
Next, spread the four wires out in each direction as seen pictured below.
Place the pendant loop at the top center of the faux crystal.
Now run the wires down the sides of the crystal while holding them tight at the tip. Immediately twist the 4 wires tightly about 4 times.

The next steps is simply where your creative side takes over. Twist, wrap and circle the crystal with one of the wires. 
Near the end of the wire, wrap it around one of the wires running down the crystal and twist it around tightly.
Use the pliers to curl the ends around to hold the wires tight and in place.
Repeat in like manner, in the opposite direction, with another wire. Finally the remaining 2 wires are to be twisted together.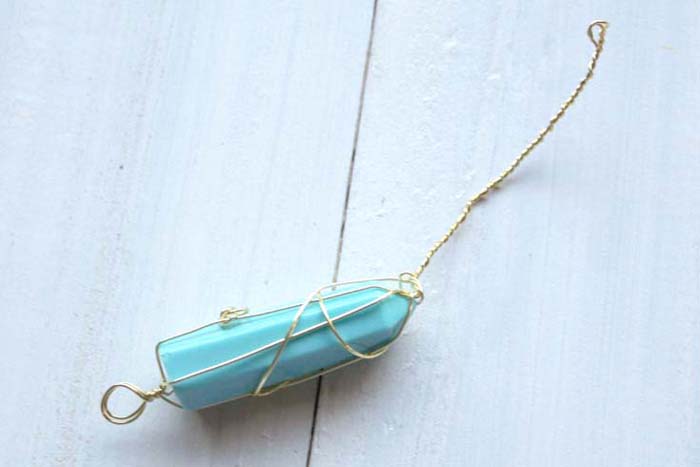
Next, use that last wire and wrap it around the same as the earlier wires. 
Finally, finish off the necklace with a 27 inch chain and secure the chain with one jump ring.

Repeat the same process as many times as there are crystals!
Do you like the clear crystal with silver wire or the gold wire and turquoise crystal?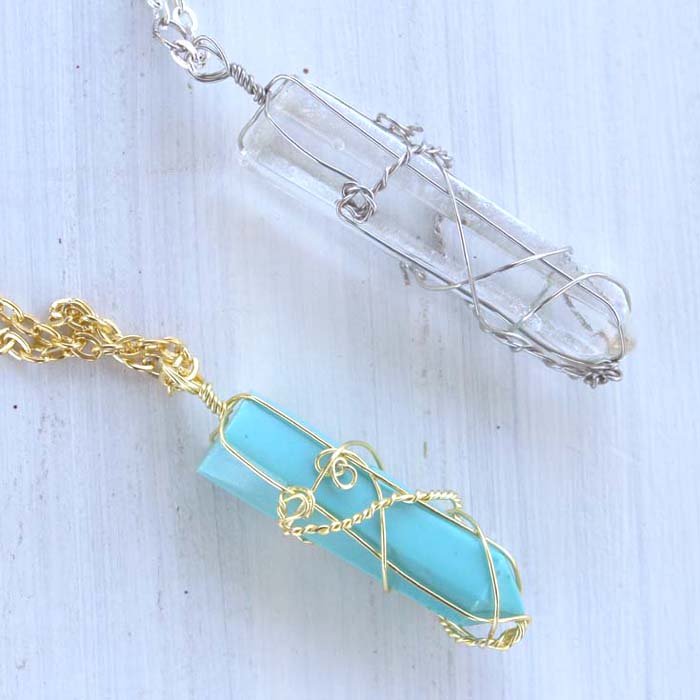
This is a fantastic first resin project if you haven’t tried it before. Make necklaces for unique handmade gifts!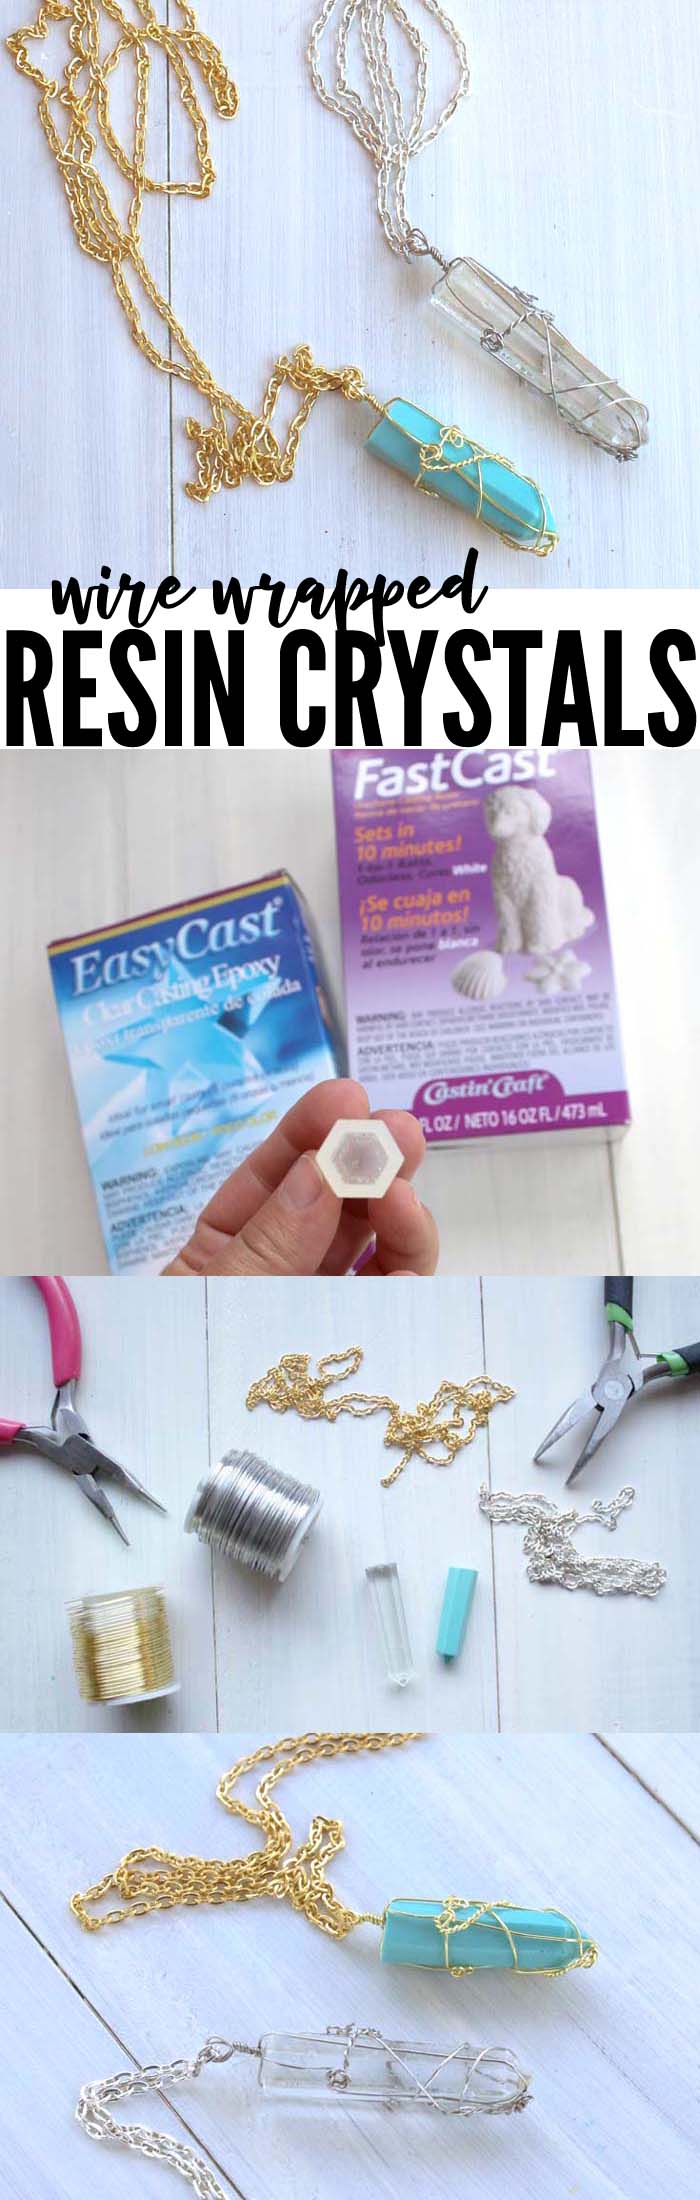
Natalie Shaw is a Craft/DIY blogger at Doodlecraftblog.com. She loves sci-fi, fantasy and video game geekery and that comes out in many of her projects. She posts budget conscious DIY’s, crafts, jewelry, kid friendly projects, upcycled treasures and other fun on her blog 5 days a week.


Very nice, Easy Diy.