A common New Year’s resolution is to reuse things we already have. One great way to do that, but to also get the feel of having something new, is by updating old items. Making DIY Resin Embellishments with FastCast and EasyMold is a fantastic way to do just that!
Hi, Resin Crafters, it’s Bre from Average But Inspired, and I’m thrilled to show you how to make resin embellishments that you can use on just about any surface! In this post I’ll show you how I made over an old picture frame, but I know you’ll think of many other creative ways to apply resin embellishments to your own projects.
Supplies Needed to Make DIY Resin Embellishments
Here are all of the supplies I used to the complete the project as shown in this post. You may need different supplies, depending on how you choose to use your embellishments.
Supplies Used to Make Resin Embellishments
- ETI EasyMold Silicone Putty, 1/2 pound kit
- ETI FastCast Urethane Casting Resin, 8 oz. kit
- ETI Mixing Cup Set
- Drawer pulls in various styles
Supplies Used to Make Over Picture Frame
- Picture frame
- Hot glue gun
- Spray paint in oil rubbed bronze
- Multi-surface acrylic paints in bronze and gold
- Paint brush
How to Make DIY Resin Embellishments
My favorite thing about making your own resin embellishments is that you can create ANY shape or look that you want! The ETI products used – EasyMold and FastCast – allow you to do just that, and so quickly, too!
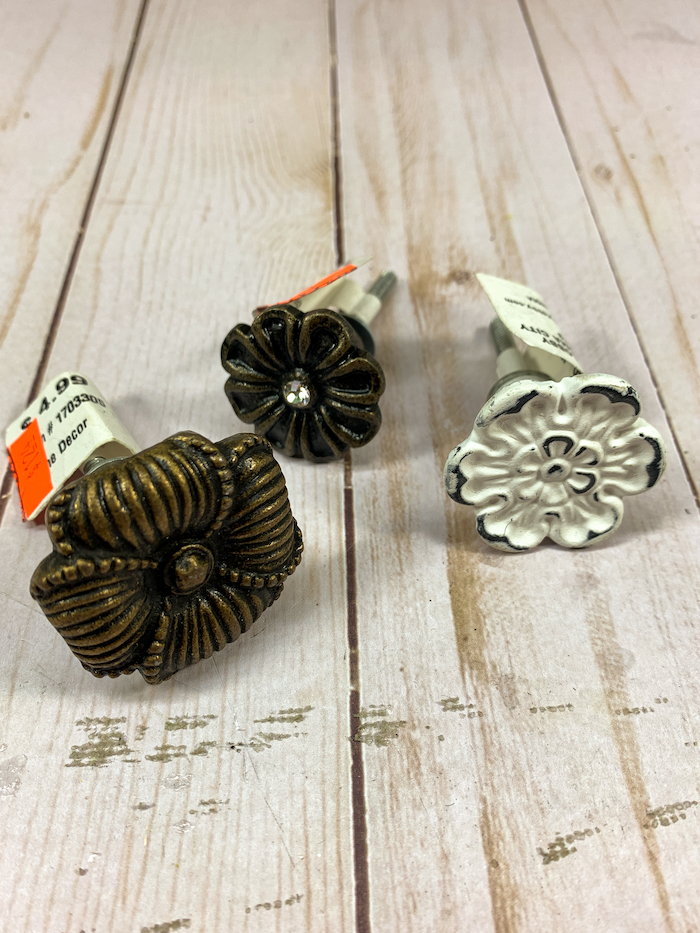
To create the embellishments shown in this post, I used decorative drawer pulls with interesting details on them. Other items you might like to try include buttons, coins, decorative wood pieces, anything carved, and more.
I began by mixing equal parts purple putty and white putty from the EasyMold package. Of course I had gloves on while mixing the two compounds and rolling them into a ball. Then I gently pressed one drawer pull into each EasyMold ball, making an impression in the putty.
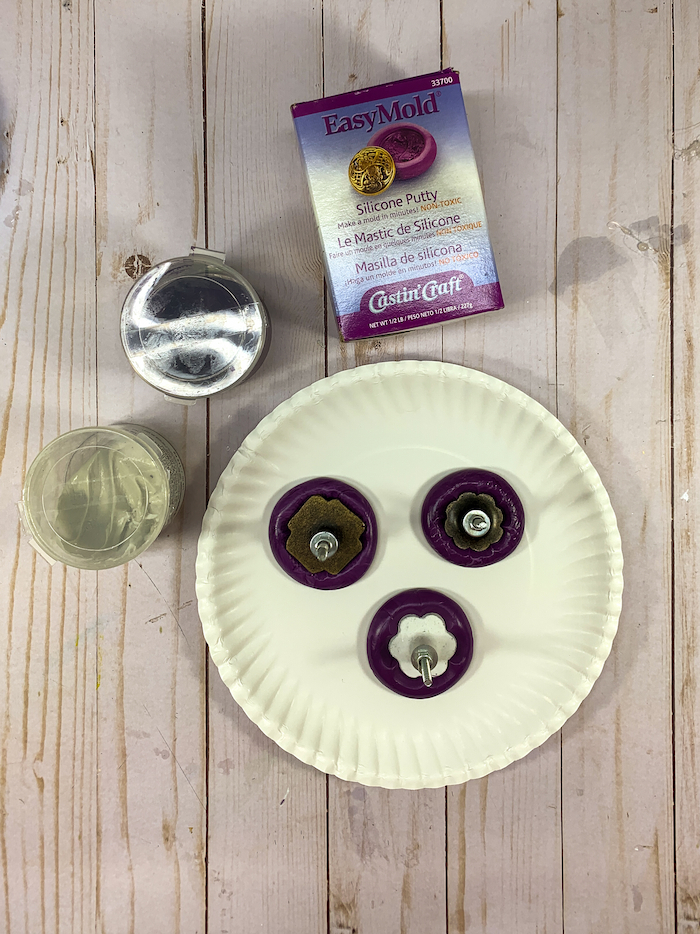
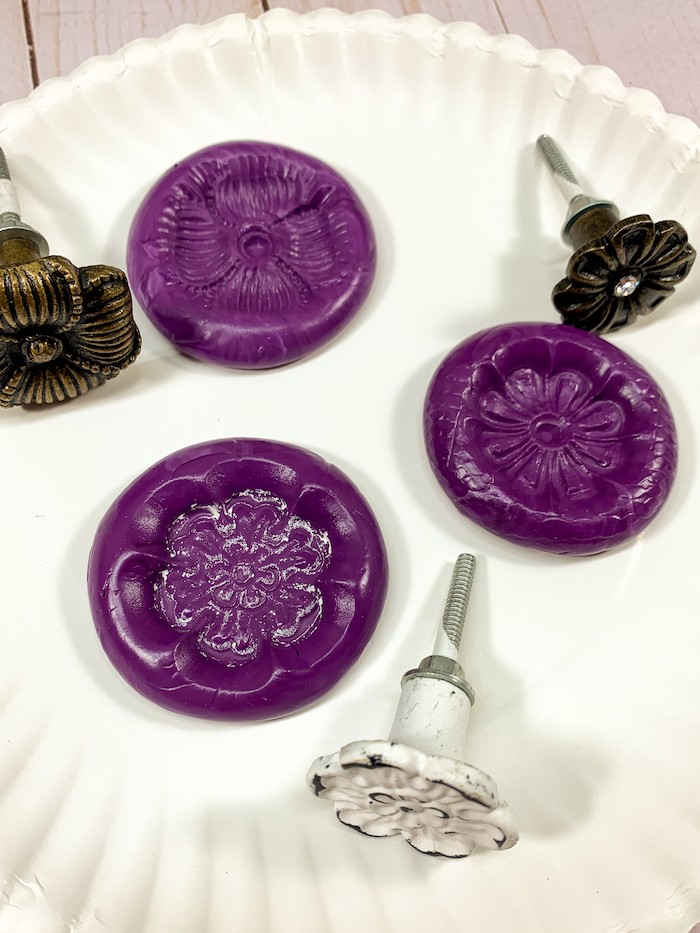
I set these aside for 25 minutes to allow the molds to form fully, and then removed the drawer pulls from the molds. They left perfect impressions!
Once the molds were ready to be used, I got out the ETI Mixing Cups Set and ETI FastCast, and prepared to cast my own resin embellishments.
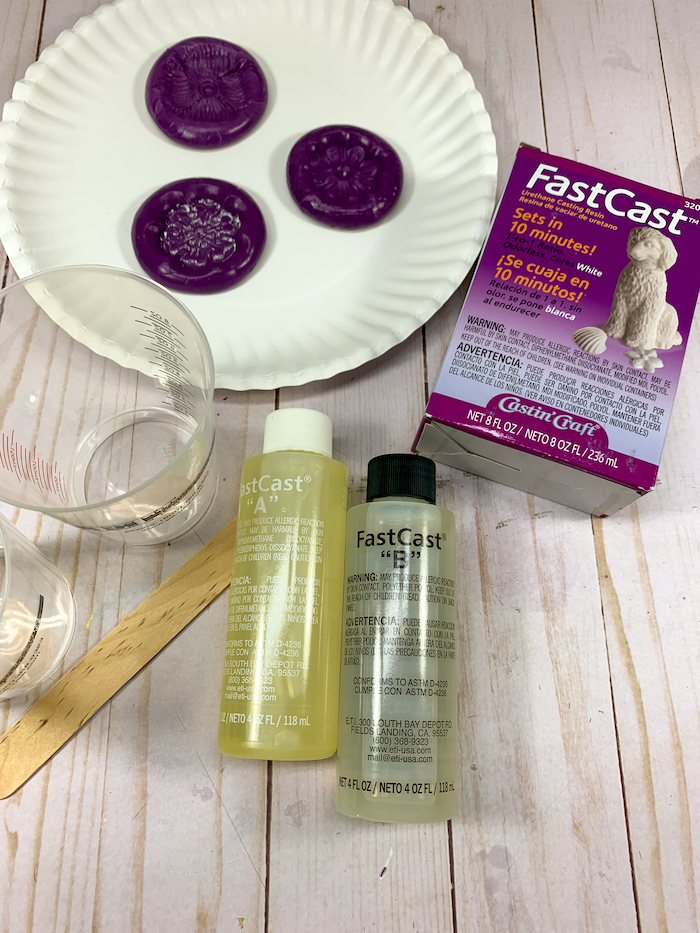
Following the directions in the package, I mixed equal parts FastCast A (1 ounce) and FastCast B (1 ounce), in one mixing cup for 30 seconds. Then I transferred the contents of that cup to another, and stirred for 30 more seconds. I immediately poured the mixed FastCast into the molds, and watched it harden right before my eyes!
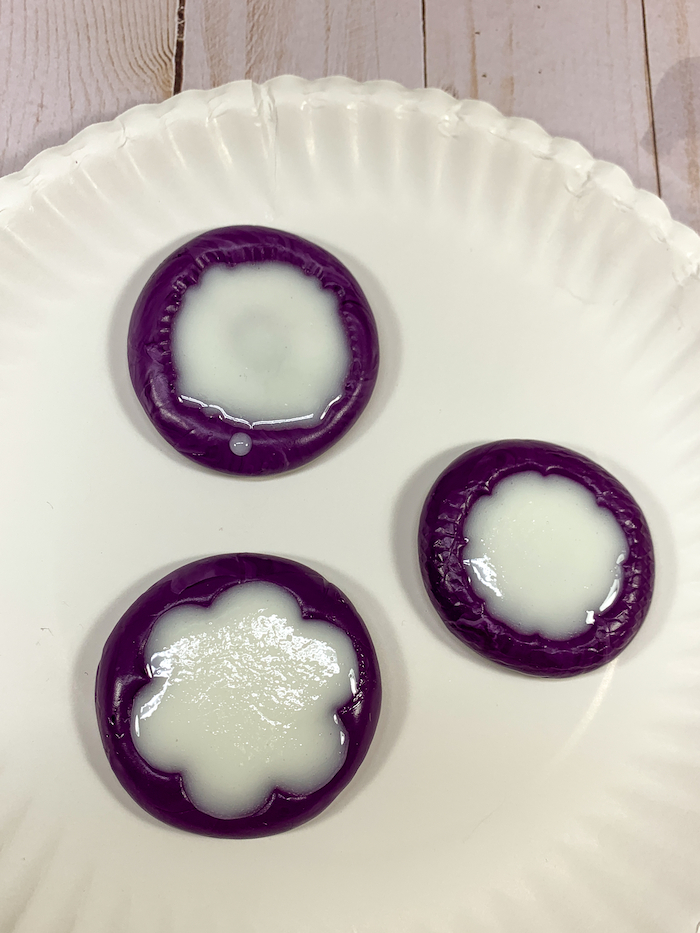
I love working with FastCast because it hardens so quickly – in fifteen minutes – and has no odor! So, I can use it indoors in the winter with no issues at all.
Once I popped the embellishments out of the molds, I repeated this process several times to make many castings.

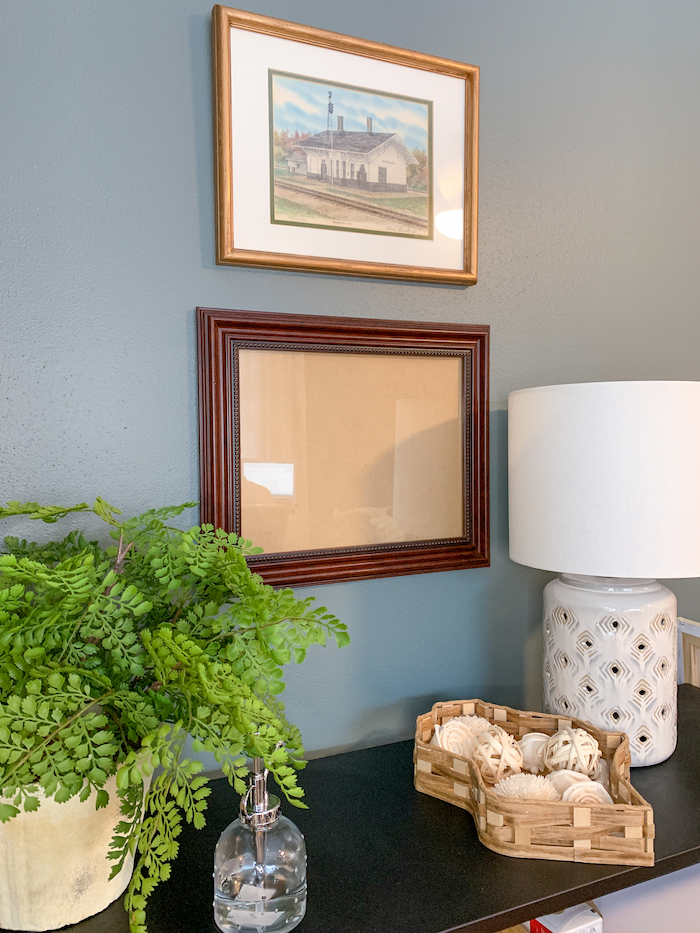
Upgrading a Picture Frame with Resin Embellishments
Now that you know how to make FastCast resin embellishments, let me show you how I used them to upgrade a boring picture frame.
I started by hot gluing them to opposite corners of the frame. A high-temperature glue gun will work best for attaching the embellishments to whatever surface you’re adorning.
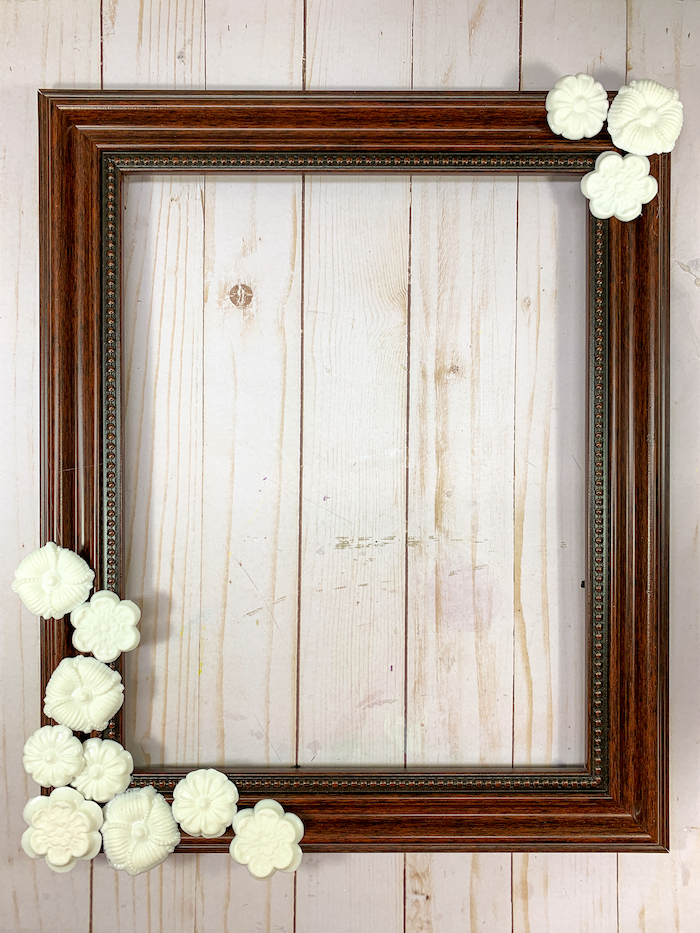
Next, I spray painted the entire surface with spray paint in an oil rubbed bronze color. Before painting, make sure that the spray paint is a multi-surface product so that you don’t experience adhesion issues.
Once the spray paint dried, I brushed on bronze and gold multi-surface acrylic paints to highlight the resin embellishments.
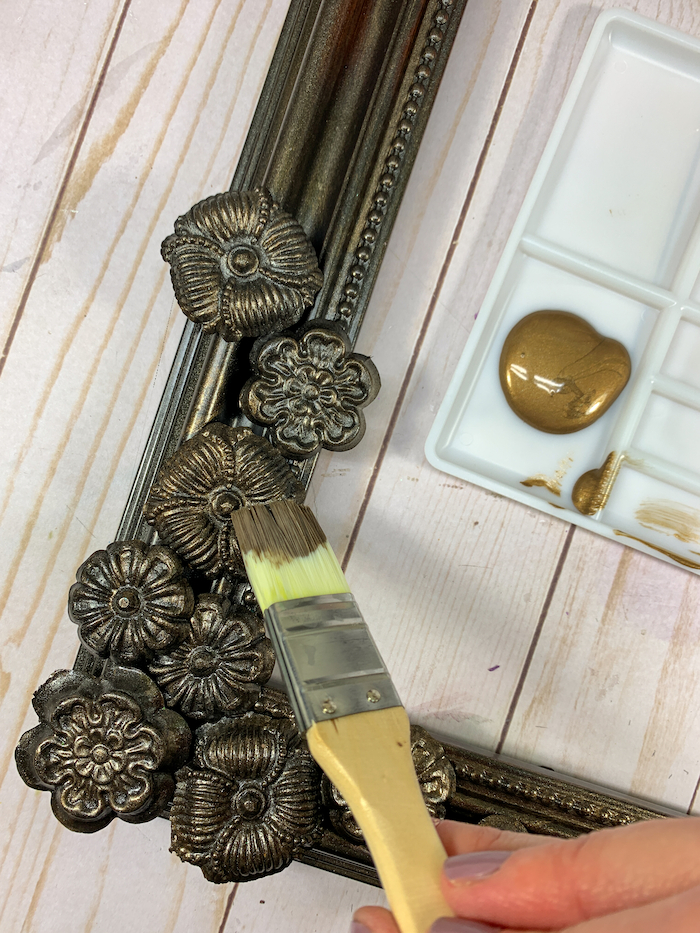
Adding these highlights shows just how perfectly the detail transfers from the EasyMold molds to the DIY resin embellishments made with FastCast. It’s all there!
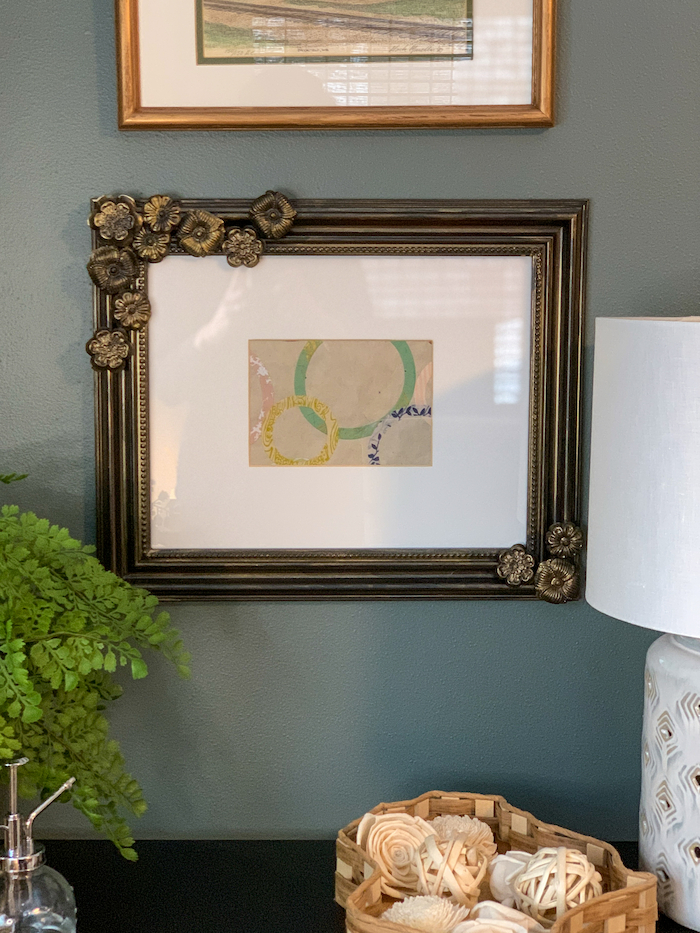
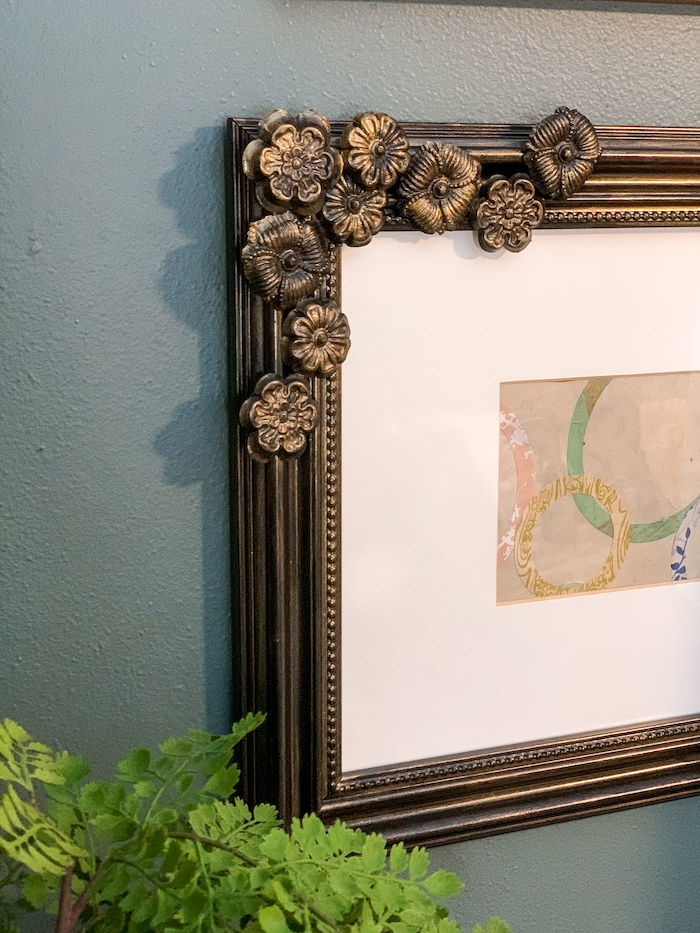
Once the paint dried, this beautified picture frame was ready to hang on the wall.
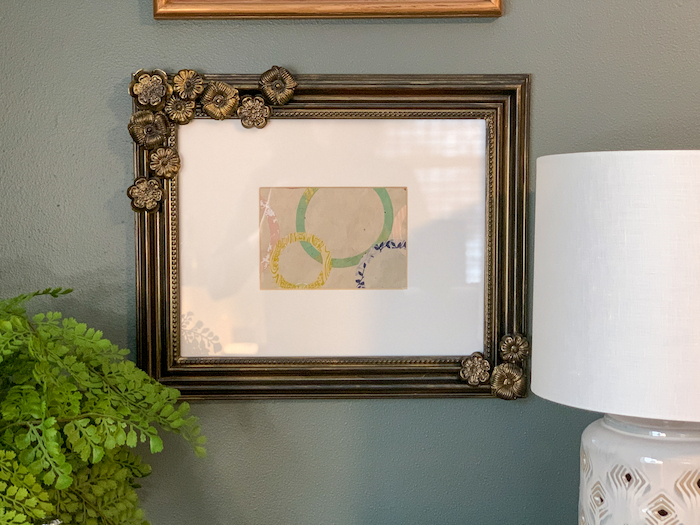
It looks so pretty with the newly-added flower detailing!
So, how will you dress up your things with DIY resin embellishments? Comment below or let us know in our Facebook Group! We love to hear what you’re up to.
Bre is a content creator at Average But Inspired. She strives to inspire creative action in others by providing written and video DIY and craft tutorials, furniture upcycle projects, and home decor ideas. She wants others to feel empowered to tackle DIY, regardless of skill level or experience. When she’s not making something, you can find her watching Bravo TV with her labradoodle, Jasper.


Leave a Reply