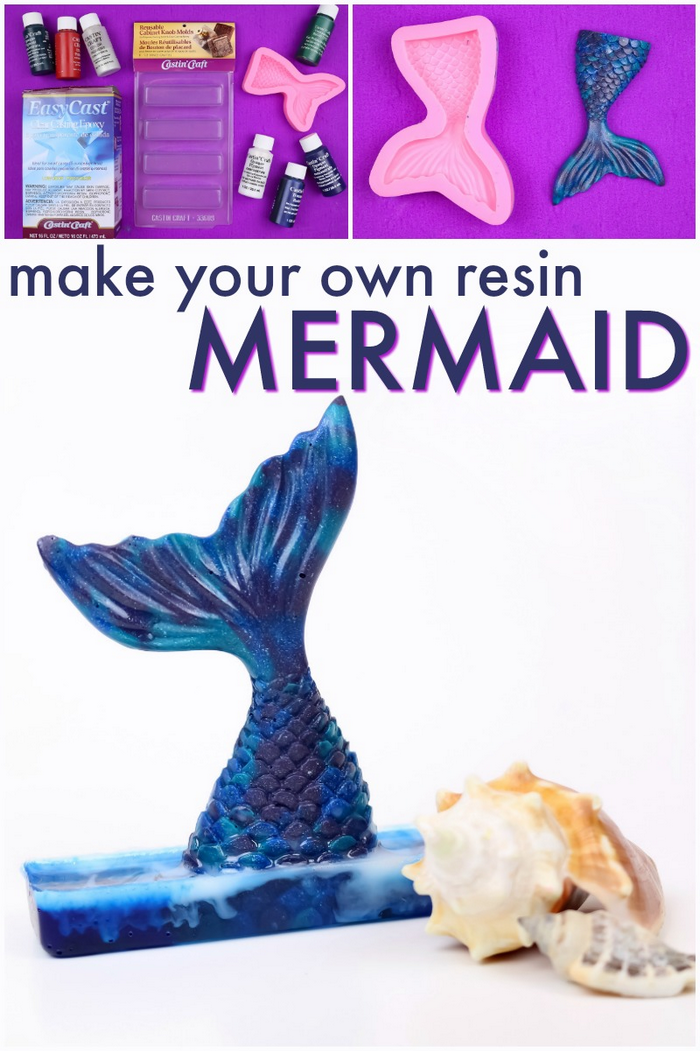
Today, we are going to play with two resin marbling techniques to create a beautiful resin mermaid figurine that looks like a mermaid just dove into the ocean! Read on if you would like to learn more about this fun project.
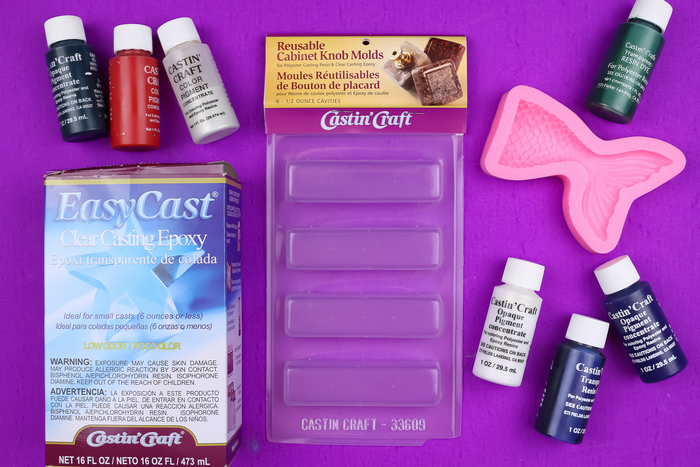
What You Will Need:
- EasyCast
- Disposable gloves
- Mixing cups
- Transparent Resin Dye
- Opaque Resin Pigment
- Mermail Tail Silicone Mold
- Mold Release Spray
- Cabinet Knob Mold

Begin by mixing up a small amount of resin according to the package directions. Divide the properly mixed resin into 3 small cups and add a few drops of resin pigment to each cup. I mixed up blue, dark purple, and teal resin, but you can create whatever colors you would like to use for your mermaid tail! I also added a drop of pearl pigment into each cup and mixed that in as well. This is completely optional, but it will give your finished mermaid tail a bit of magical shimmer.
Drizzle very small amounts of each of the colors of resin into the silicone mold. This bottom layer will be the most visible in your finished pieces, so place the resin carefully.
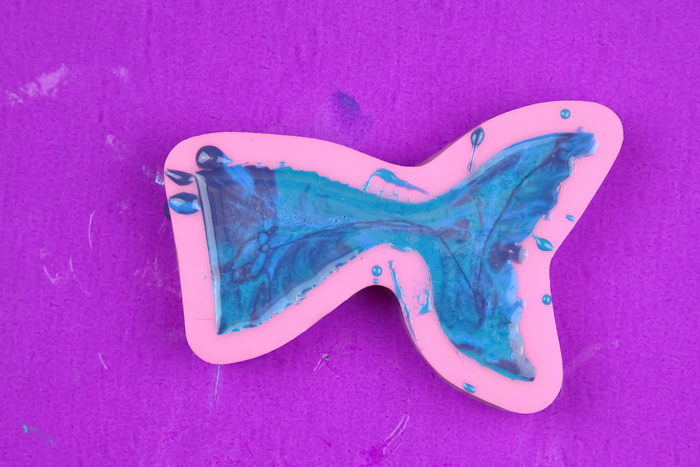
Continue to drizzle in the colored resin until the mold is full. Place the mold on a level surface and allow the resin to cure according to the directions that came with your resin.
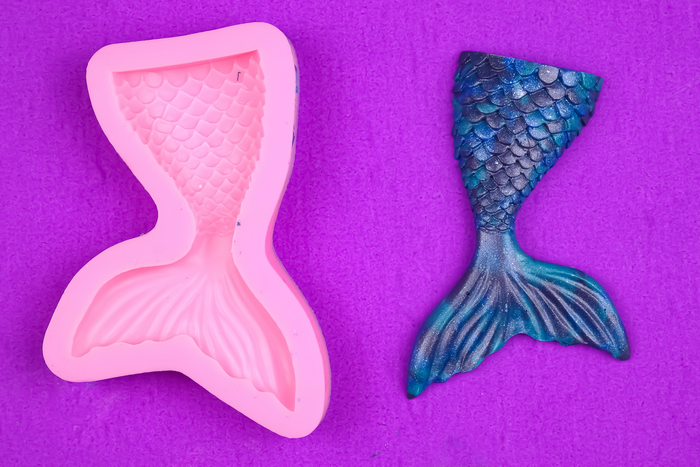
After the resin has fully cured, pop the mermaid tail out of the mold! I love the way the marbled, opaque resin looks in the scaly portion of the tail especially.
![]()
Now, mix up another VERY small batch of resin according to package directions. Divide the resin into three small cups as follows: half into one cup, and one quarter into each of the following two cups. Add transparent blue resin dye into the cup with the most resin and stir until it is an even color. Add blue opaque pigment to one of the remaining cups, and white opaque pigment to the other. Stir these two cups until the pigment is evenly distributed.
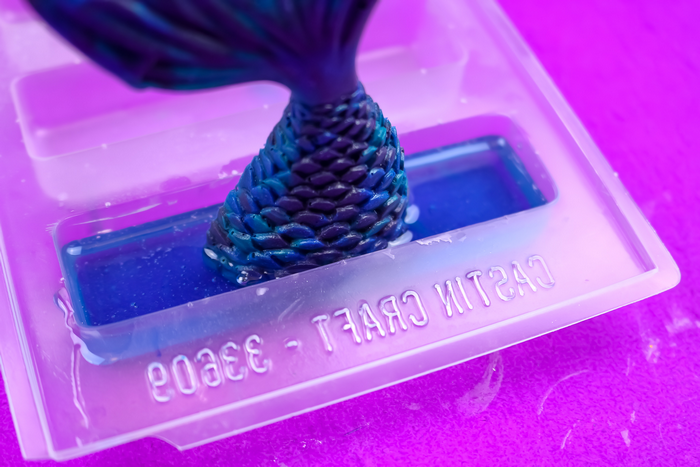
Spray the knob mold with mold release spray and let the spray dry. Then pour the resin dyed with transparent blue dye into one mold cavity. Carefully center the mermaid tail into the cavity as well. My mold left my mermaid tail with a flat bottom, so it stood up by itself. If your tail does not stand up, you will need to support the tail in the center of the mold with craft sticks or pencils.
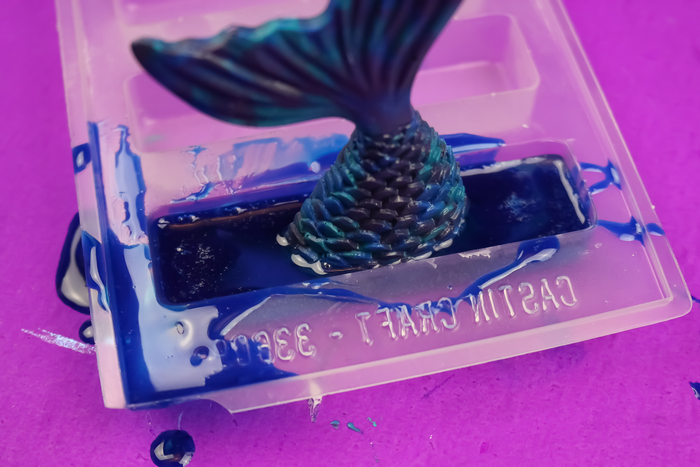
Drizzle a tiny amount of the pigmented blue resin into the mold. You can see my aim was less than perfect for this step! Do NOT cover the entire mold with the opaque blue resin. You are not layering colors for this project; you want to create small swirls within the final piece.
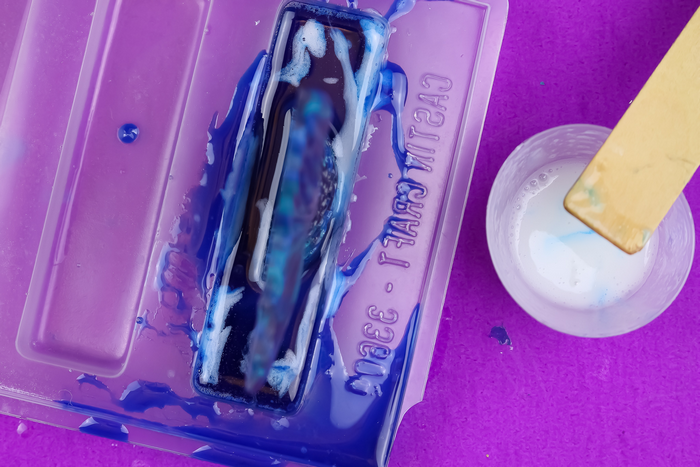
Let the resin cure until it has slightly set up. You can test this by stirring the white resin (still in the mixing cup) to determine its consistency. Once it has a gel-like consistency, pick up a small amount of the white resin with a stir stick or toothpick. Drag the white resin through the surface of the blue resin in the mold. This will create foamy resin swirls at the very top of the mold. Allow the resin to fully cure.
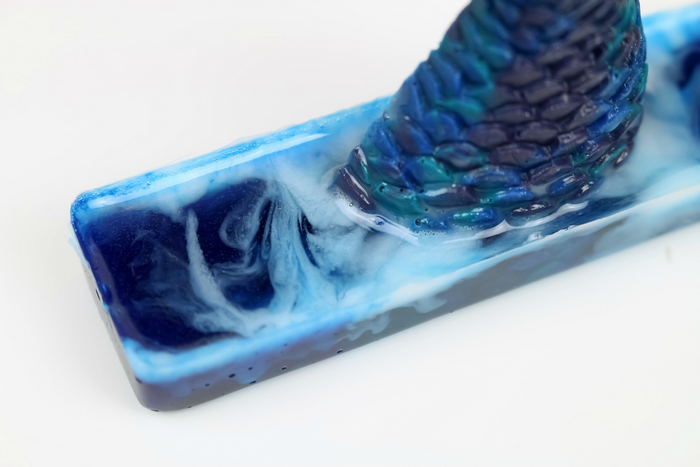
Unmold the figurine by pressing in the center of the underside of the knob mold until the piece releases. Now you can admire all the swirls created by the opaque resin in the transparent resin.
This technique creates beautiful watery patterns within the resin base. Because the majority of the base was made with the transparent blue resin, you can still see the scales of the mermaid tail through the “water.”
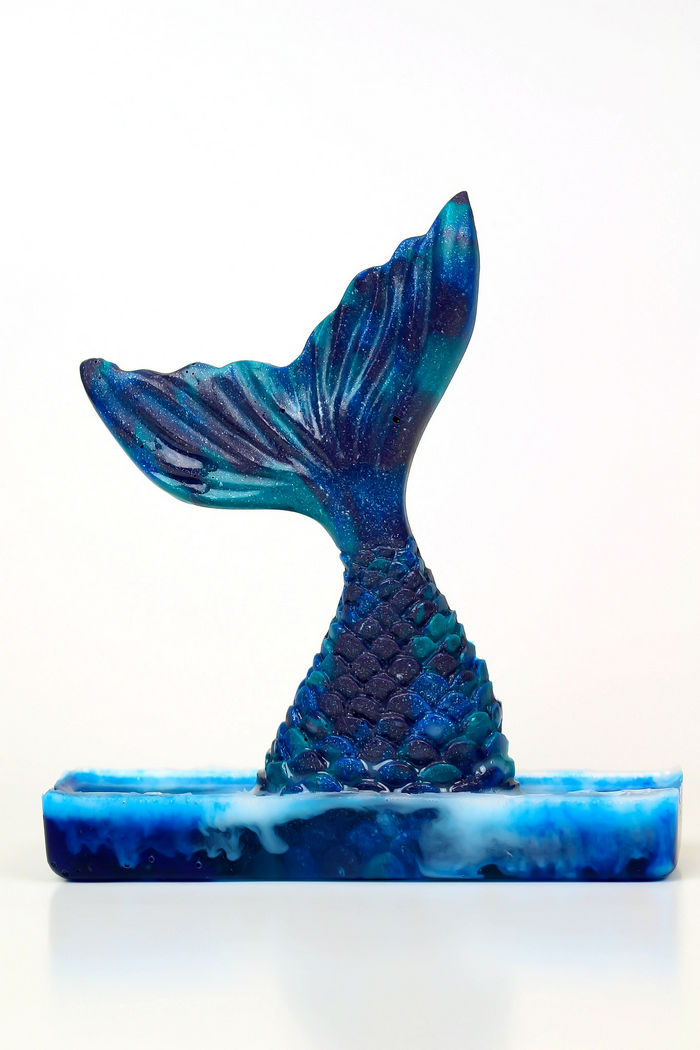
Your beautiful resin mermaid figurine is done. Decorate your desk, bedside table or bookshelf with this pretty piece or give it to a mermaid enthusiast in your life!

Jessica Hill is the creative mind behind the blog, Mad in Crafts. For nearly 9 years, Jessica has shared crazy good creativity from her Mad House to yours. When she’s not creating, Jessica loves the Detroit Tigers, craft beer, and spending time with her family and rescue dog.


Where do you buy the mermaid mold?
I found it on Amazon!