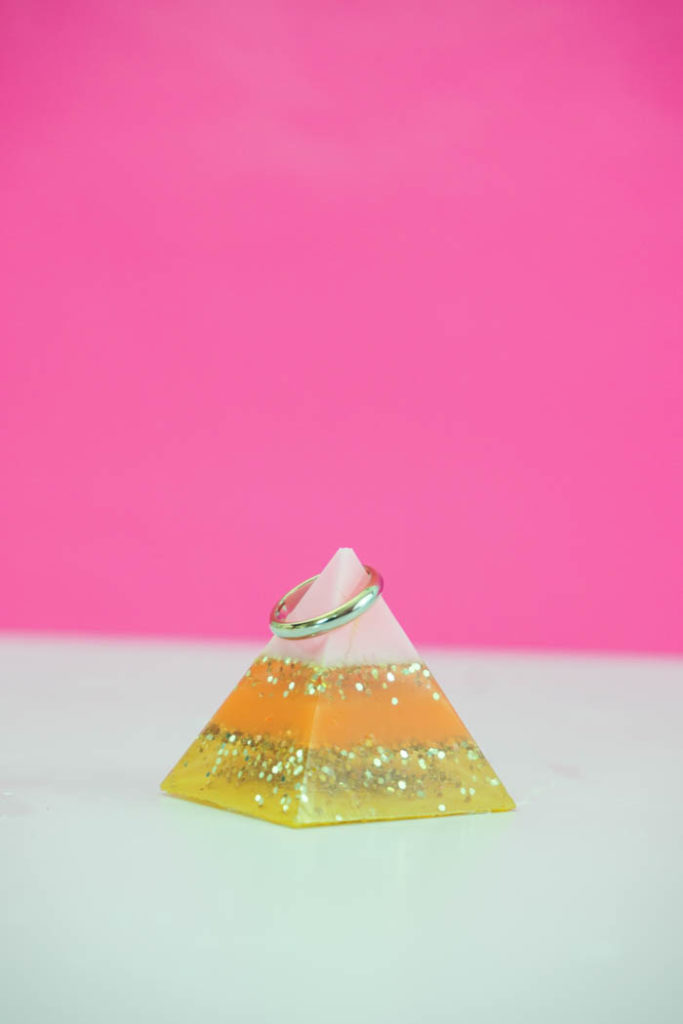
Create a beautiful layered resin ring holder using a pyramid mold and EasyCast Clear Casting Epoxy.
Hey Resin Crafters! Amber Oliver here with another great resin craft. Last year I created a resin ring holder using colorful alcohol inks. The project turned out great! I love switching up my add-ins and finding new ideas for my resin projects. This time around I wanted to try layering resin. Now, let me warn you: this project takes patience! You have to wait several hours minimum between each layer before you pour the next one.
SUPPLIES NEEDED FOR LAYERED RESIN RING HOLDER:
- EasyCast Clear Casting Epoxy
- Acrylic paint in the colors of your choice
- Pyramid Mold
- Toothpicks
- Mixing Cups (large and small)
- Stir Sticks
Please note: I was pouring a few other items so I mixed up a large amount. Depending on the size of the mold and how thick you want each layer, you will only mix up what you need for each layer.
Step 1: First, prepare the EasyCast Clear Casting Epoxy. This is a multi-step process so don’t start mixing until you are ready to do the whole process from beginning to end! Start by mixing EQUAL parts of the Hardener and the Resin.
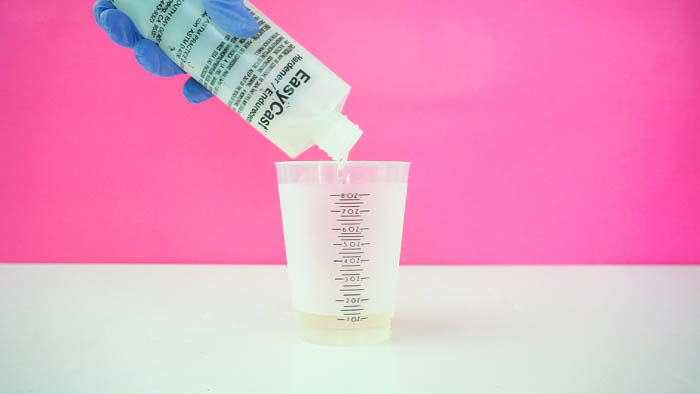
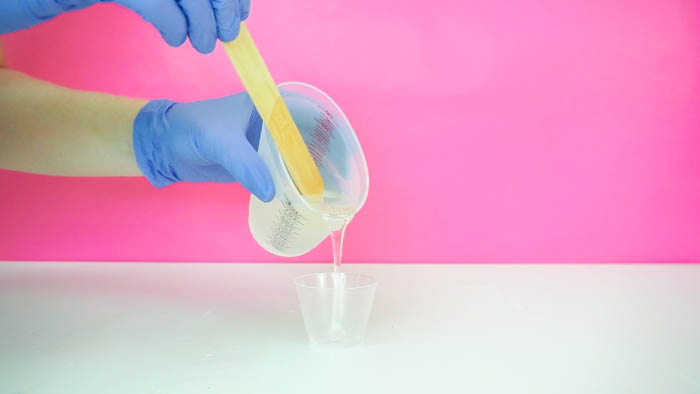
Stir for two minutes (be sure to scrape the bottoms and sides) then pour from the first cup into a second and mix with a new stir stick for another minute.

Step 2: If you mixed up a large batch, pour the amount you’ll need for the first layer into a small cup. If you started with a small cup and only mixed what you need for the first layer – continue on!
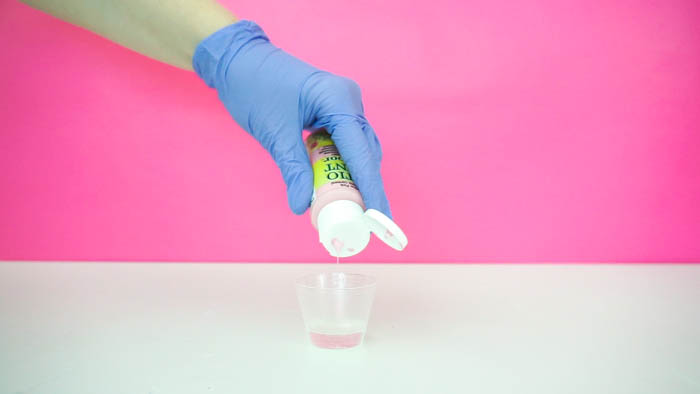
Step 3: Carefully add in a small drop of acrylic paint. Mix thoroughly.
Step 4: Pour in your first layer and allow several hours to set. It doesn’t have to be fully cured – just firm enough to allow you to pour the next layer.

Step 5: Continue with each layer until you’ve filled your mold. Mix up the small amount you need for each layer as you continue on.
Step 6: After you’ve allowed enough time for the resin to cure, you can remove from the mold!
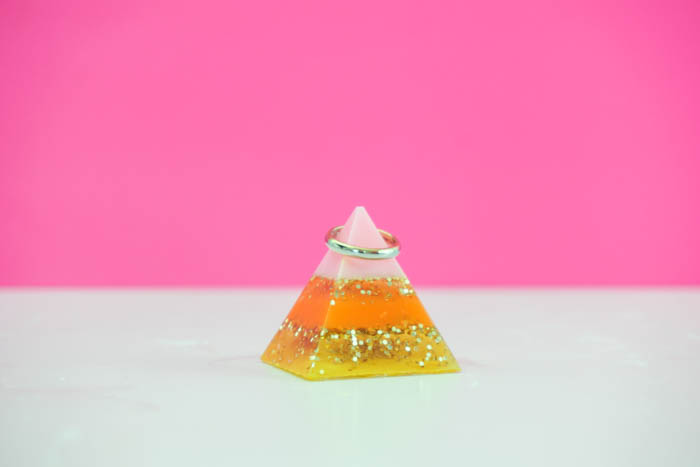
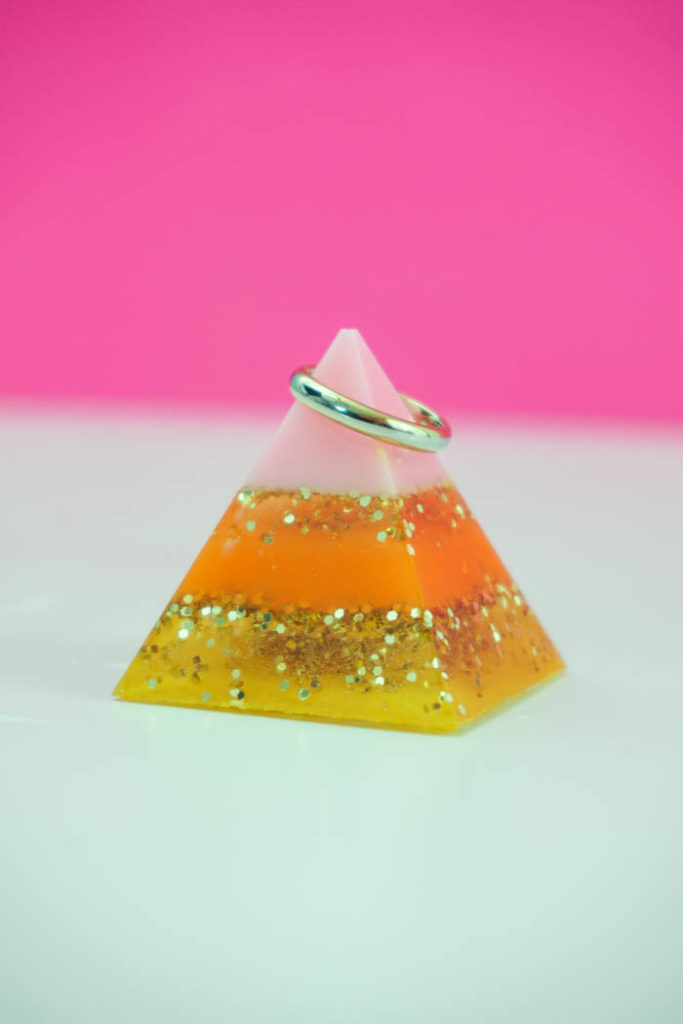
I had a lot of fun creating this layered resin ring holder! I chose to do layers of clear glitter in addition to the colored layers. Get creative here and mix up what you do for each layer! I chose some of my favorite colors and thought they’d look really great together.
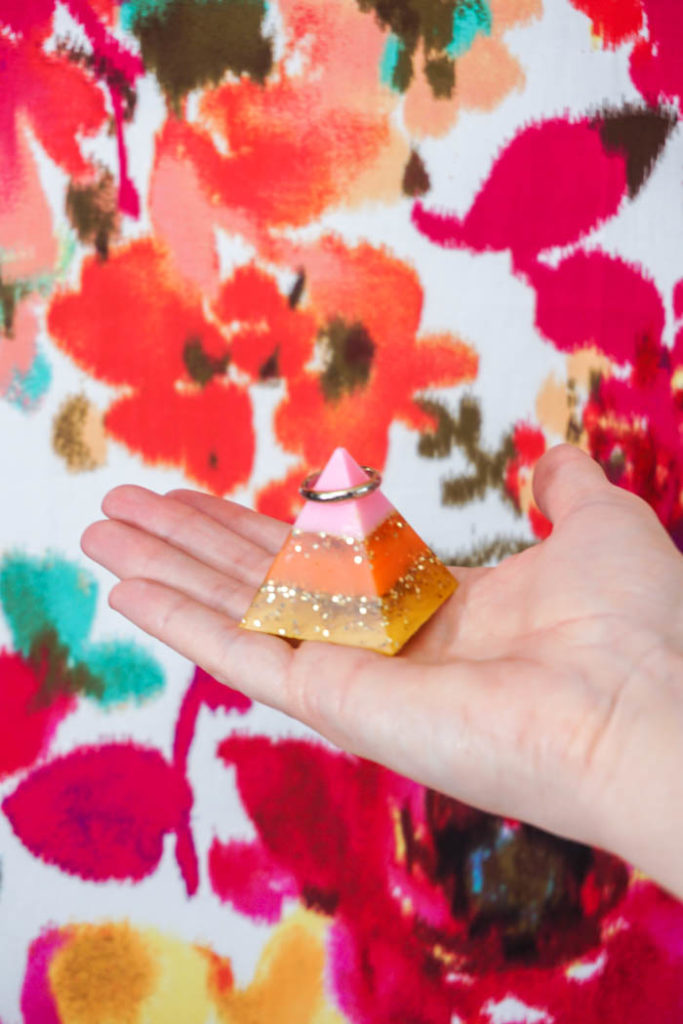
After the project finished, I realized it looked a bit like a candy corn! Once you see it, you can’t unsee it! Alas, the fun of working with molds – you never know exactly what it’ll look like until it’s done. But that’s part of the excitement! More often than not, your project will turn out more amazing than you could have imagined! So give it a try 🙂
Amber Oliver is a DIY and lifestyle blogger who shares easy DIY tutorials, colorful crafts, and more on her blog, Amber Oliver. She’s a native Oklahoman living “in the loop” in Houston, TX with her husband and dog. She’s an avid reader, world traveler, loves Tex Mex food, and creating everything from woodworking projects to websites. She focuses on budget friendly projects for the home and empowering women to try new things.


Leave a Reply