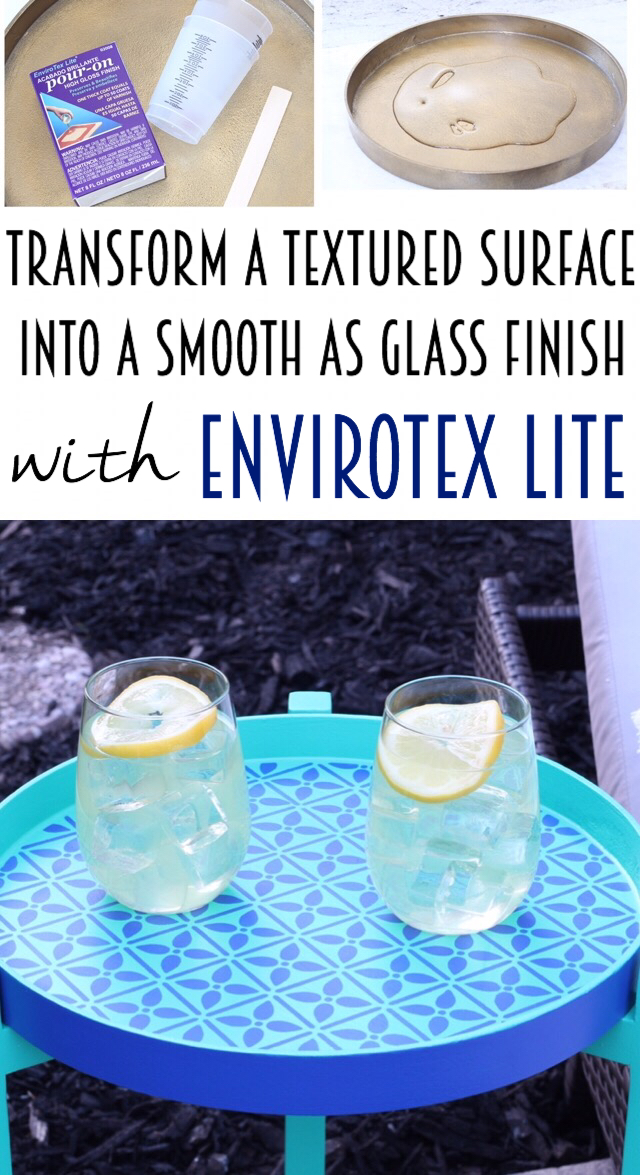
Transform a textured surface into a smooth and shiny surface by coating with Envirotex Lite.
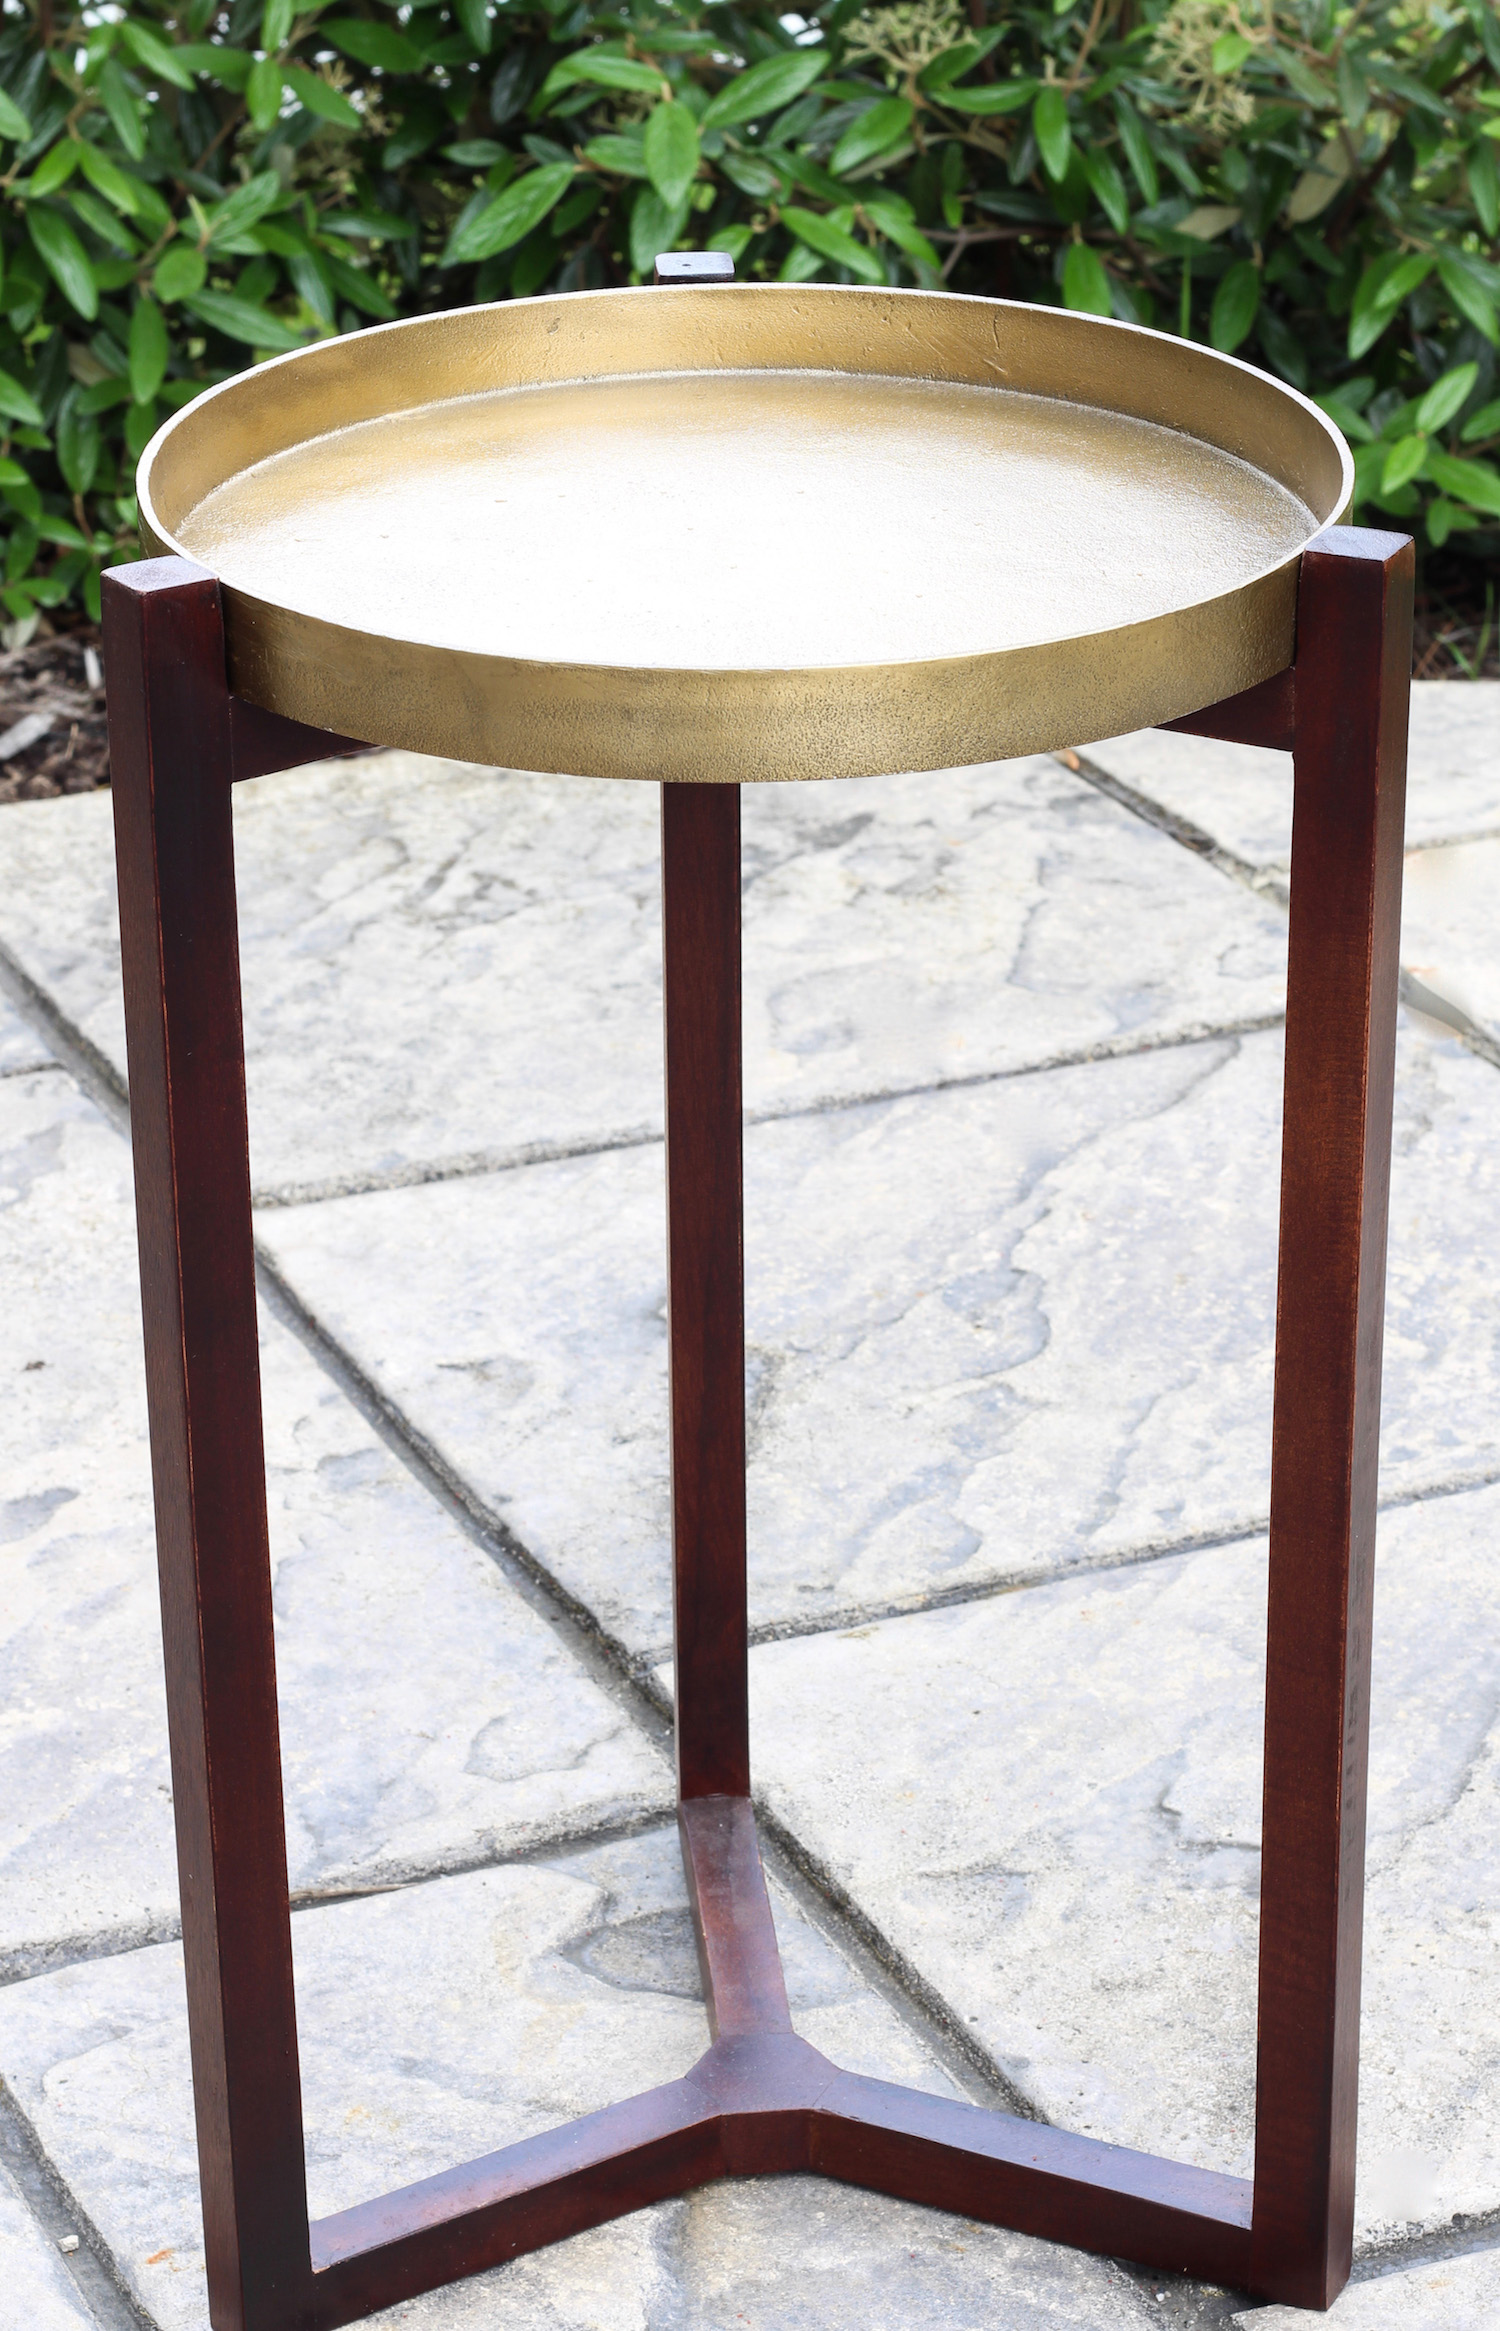
Hello there and happy Monday! Lydi here from Lydi Out Loud and I love a good thrift store find, don’t you? I actually found this end table on Facebook marketplace, it’s like a virtual thrift store! I’d been looking for an end table for my patio to place in between 2 chaise lounges and this one fit the bill perfectly… it even has a removable tray top to transport beverages out to the patio. The problem? I wanted to paint it (it was pretty beat up) and I wanted to paint a stencil on the tray top, which had a hammered metal finish.
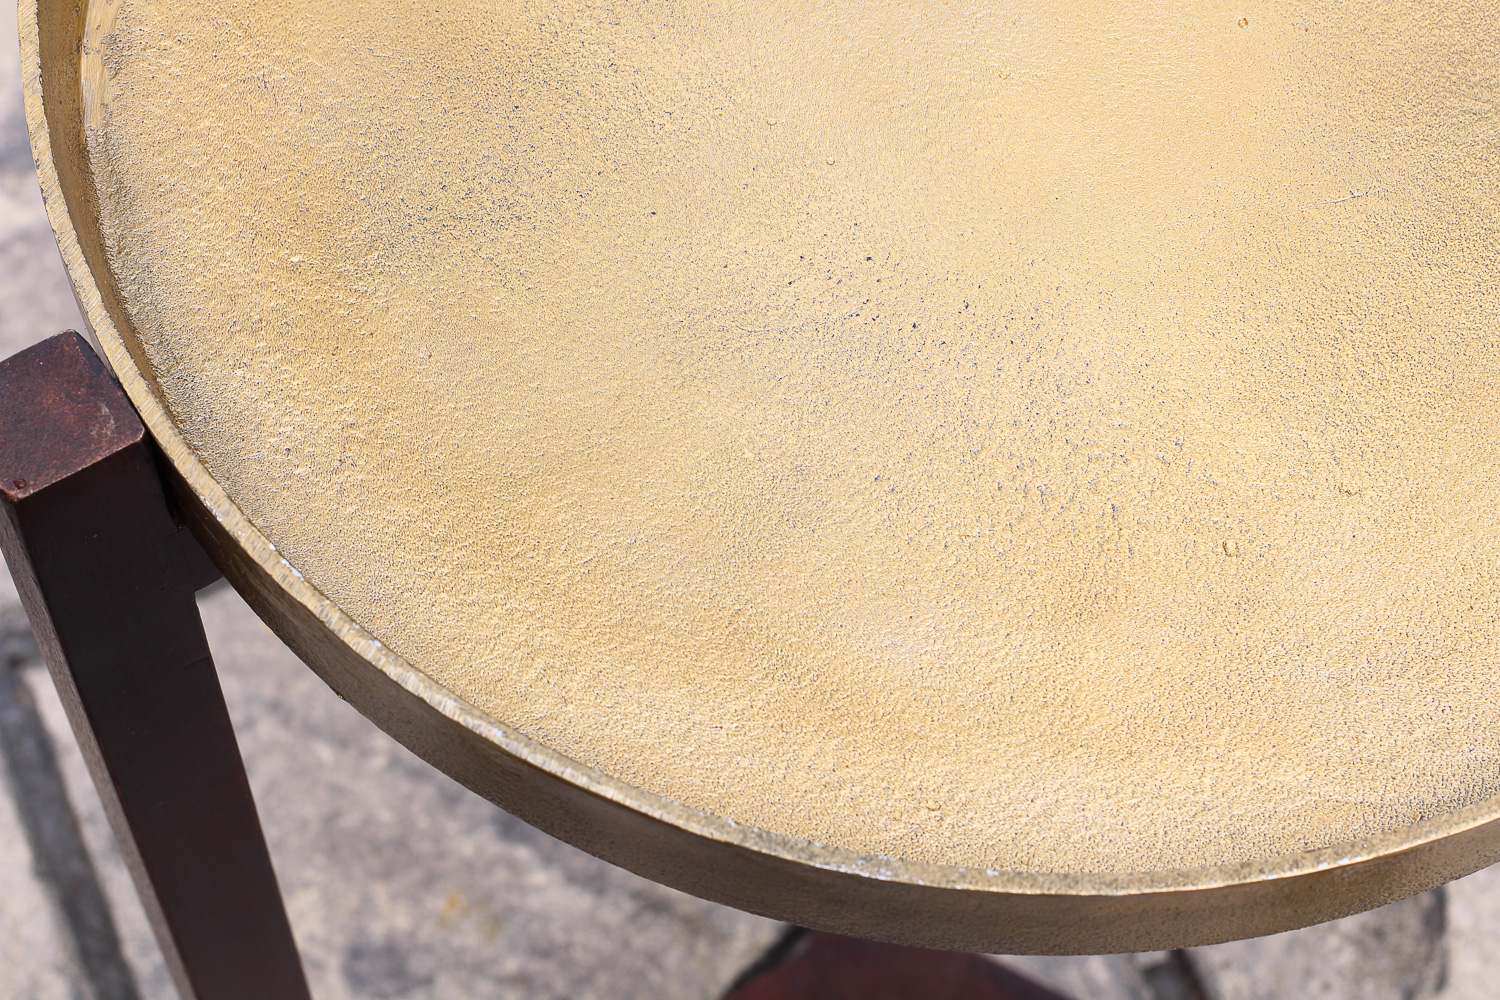
Have you ever tried to paint a stencil on a textured surface?
In my experience it doesn’t end well. Reason #239 why I love Envirotex Lite… it can transform the most textured surface into a smooth as glass finish.
Do you have a surface that you would like to transform into a level and smooth surface? Alright, let’s do it!
Supplies
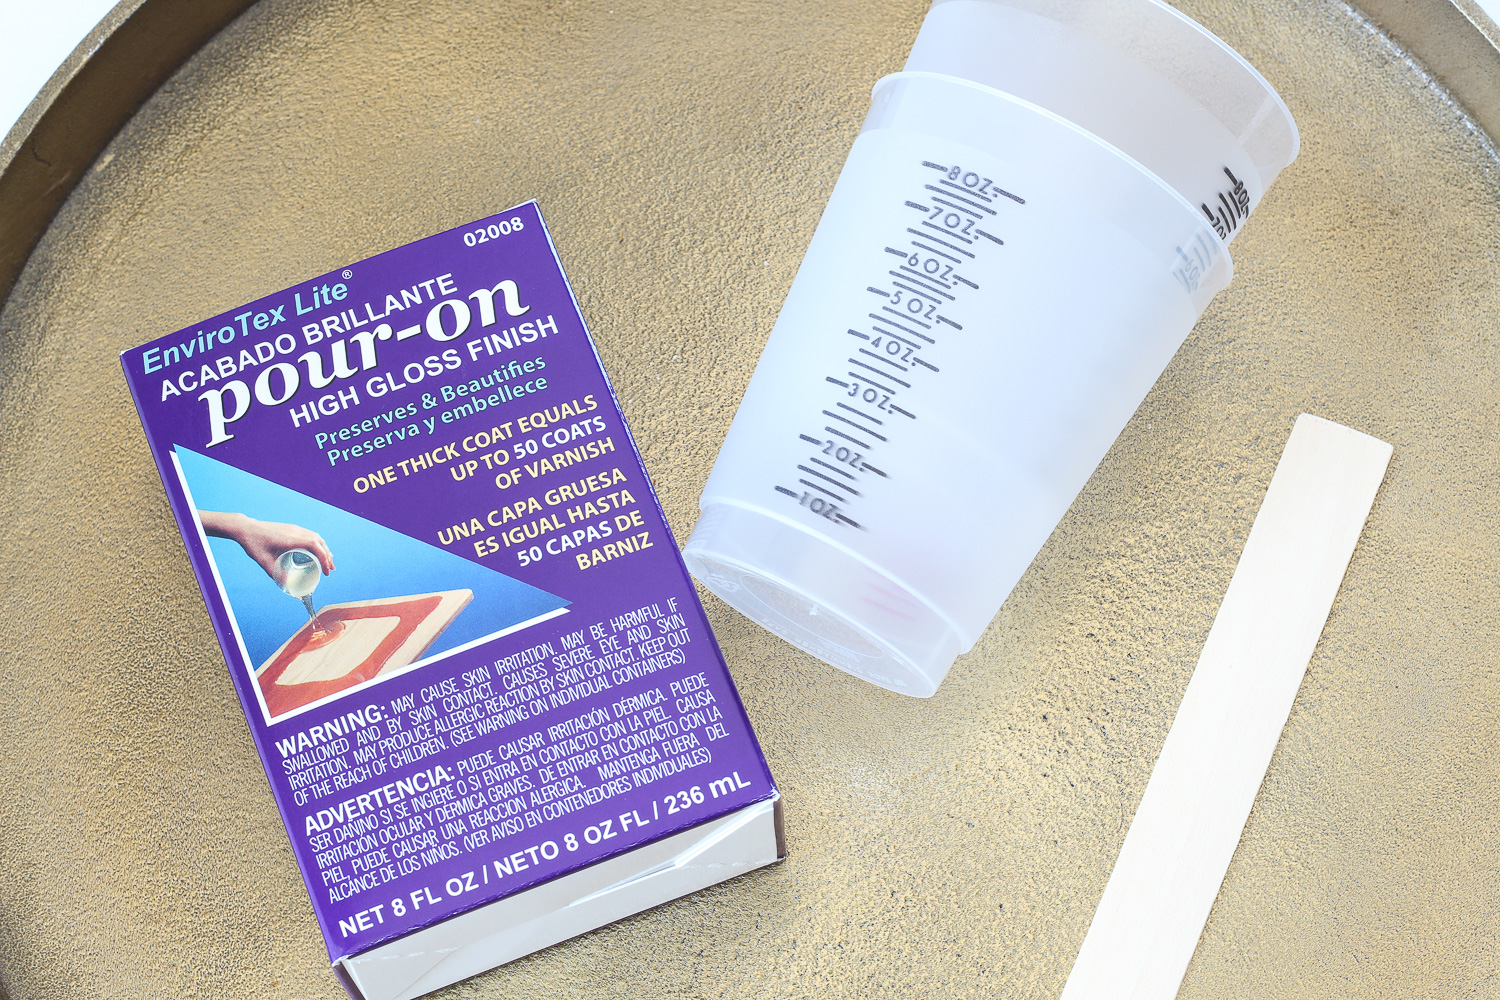
- Envirotex Lite Pour-on High Gloss Finish
- 2 mixing cups
- 3 large craft stir-sticks
- Gloves
- Wax paper or other material to protect your work surface
- Butane torch or lighter
- Surface to be smoothed
- Cricut machine and stencil vinyl
Directions
- Thoroughly read instructions for Envirotex Lite before starting your project and gather all of your supplies. Use Envirotex Lite in a well ventilated area, wear gloves and place wax paper or other protective surface under your project area.
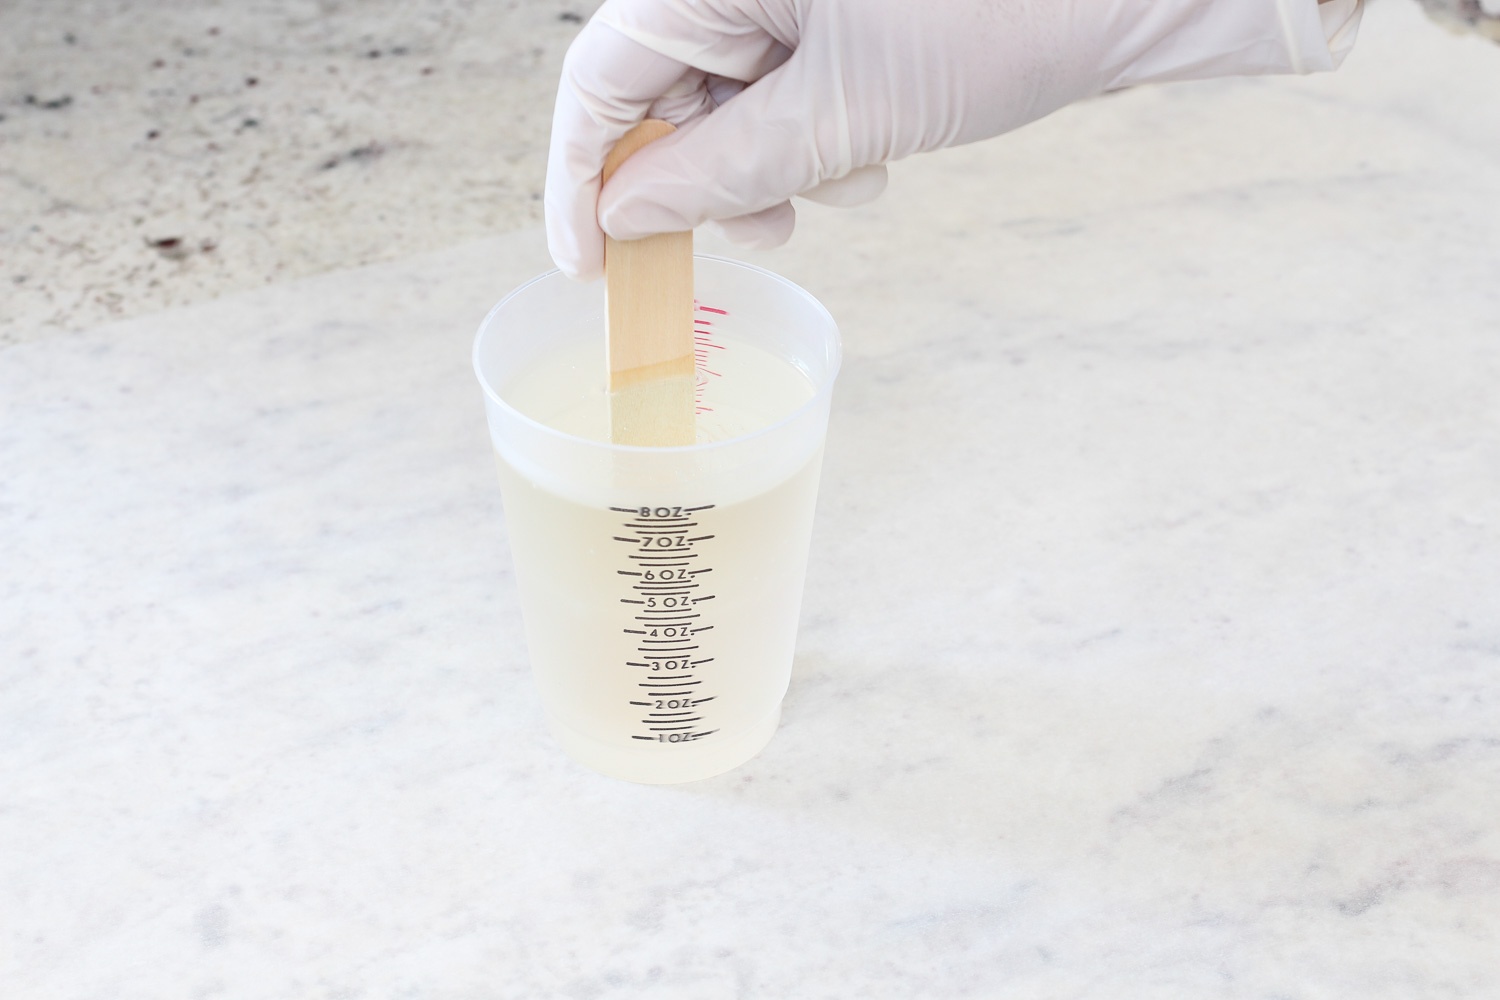
- Measure equal parts resin and hardener. It’s crucial that this measuring ratio is exact.
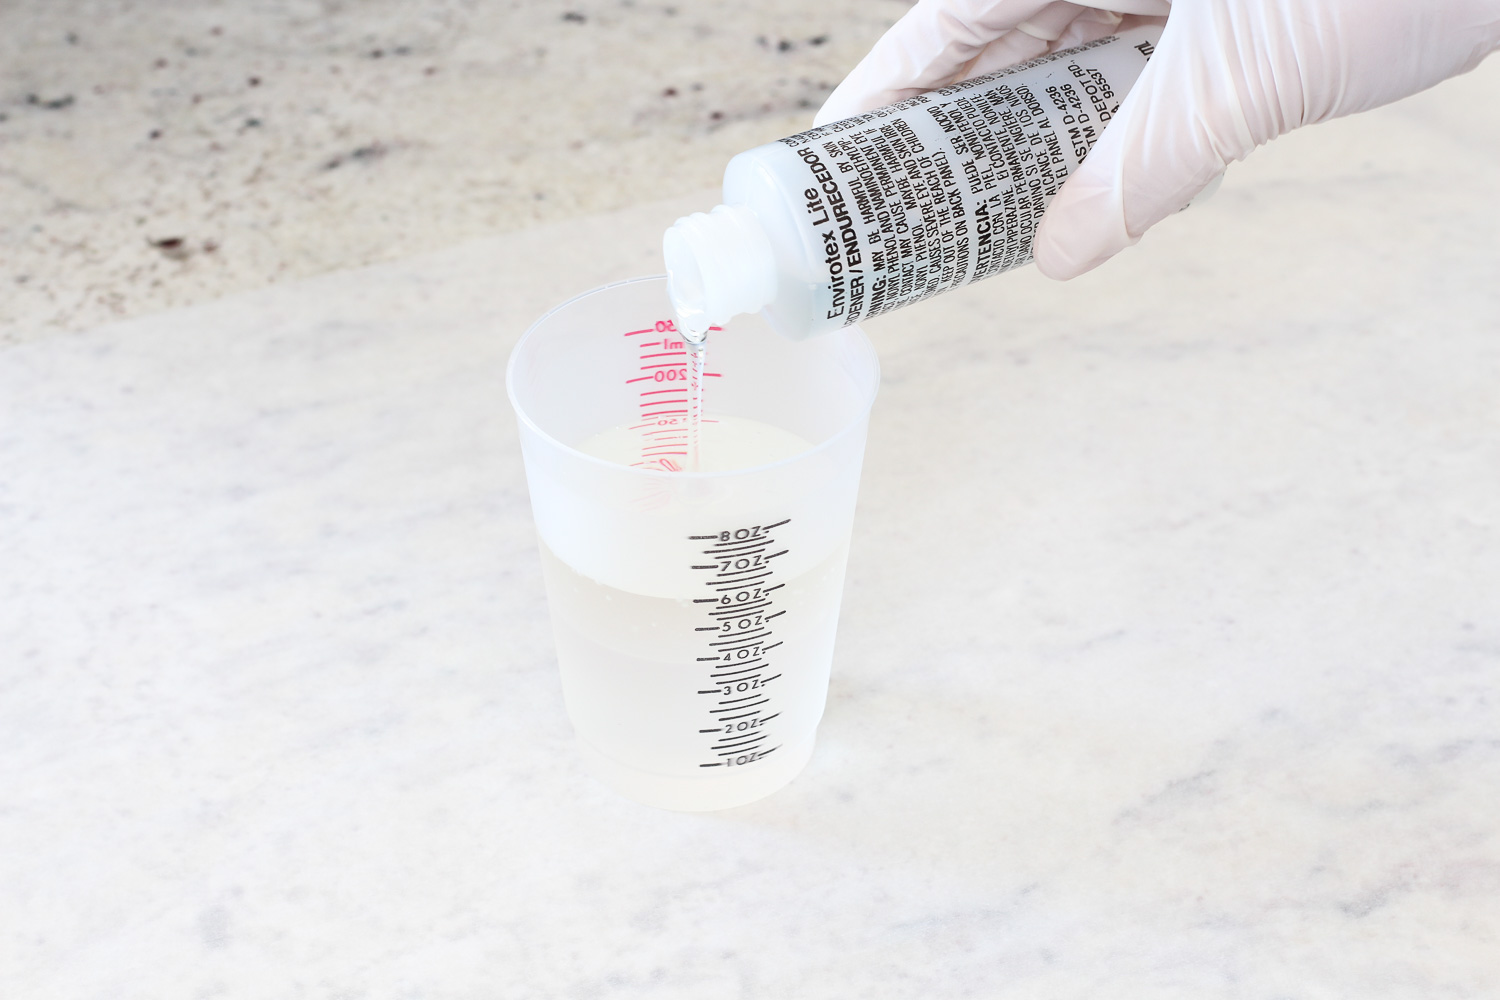
- Mix the 2 parts together with a stir stick for 2 full minutes, occasionally scraping the bottom and sides of the cup.
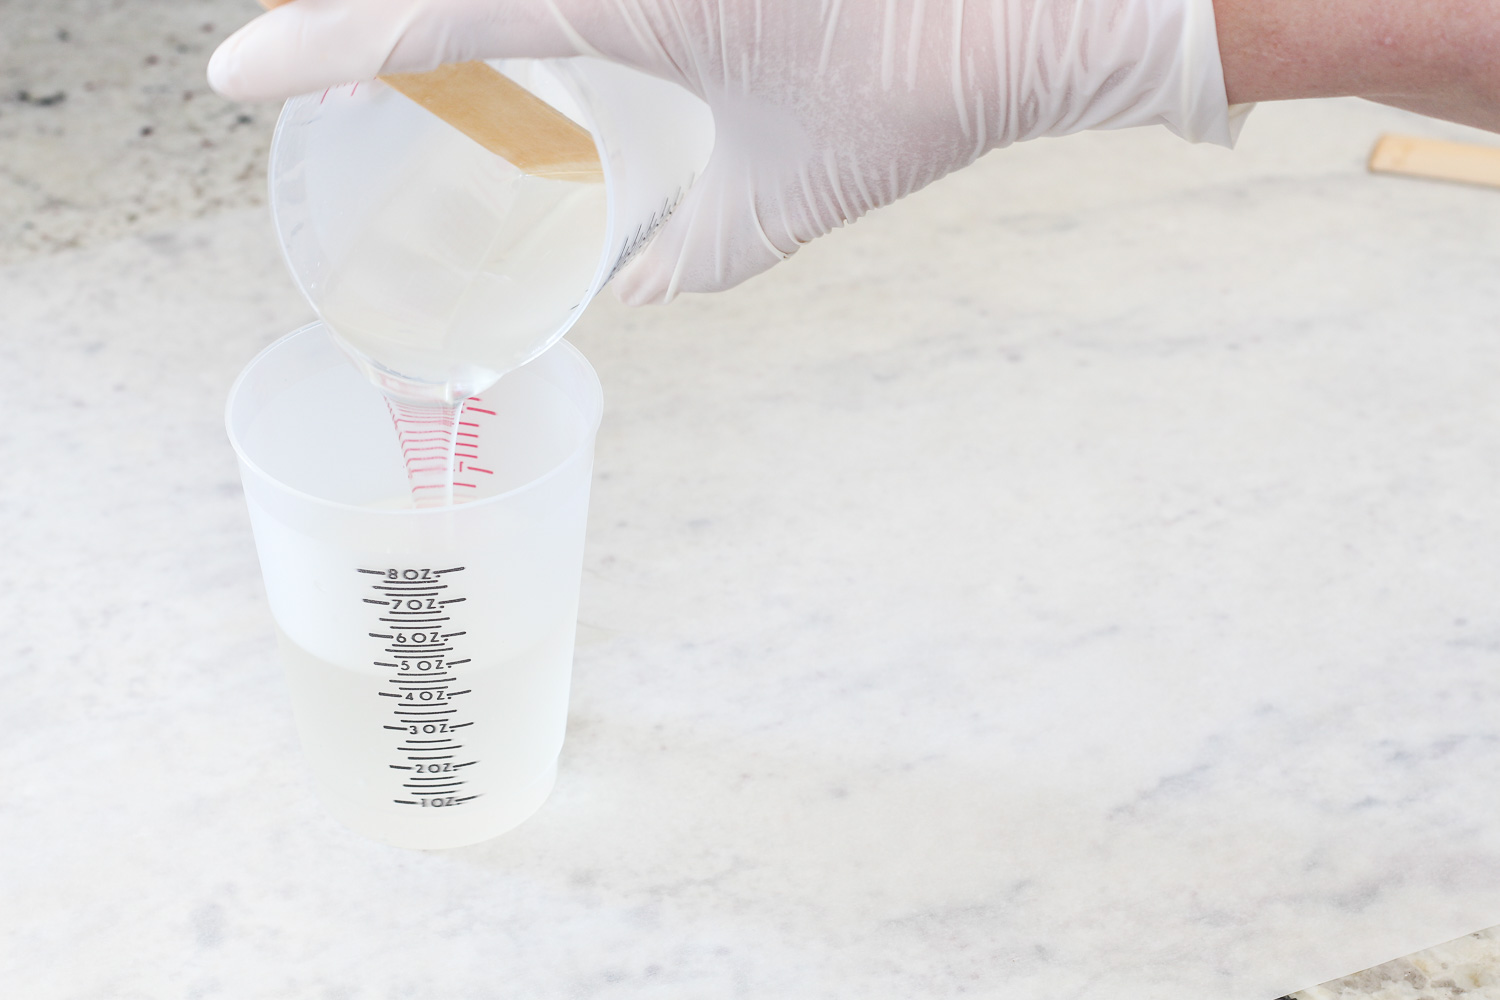
- Pour the mixture into a second cup and with a new stir stick mix together for 1 more minute.
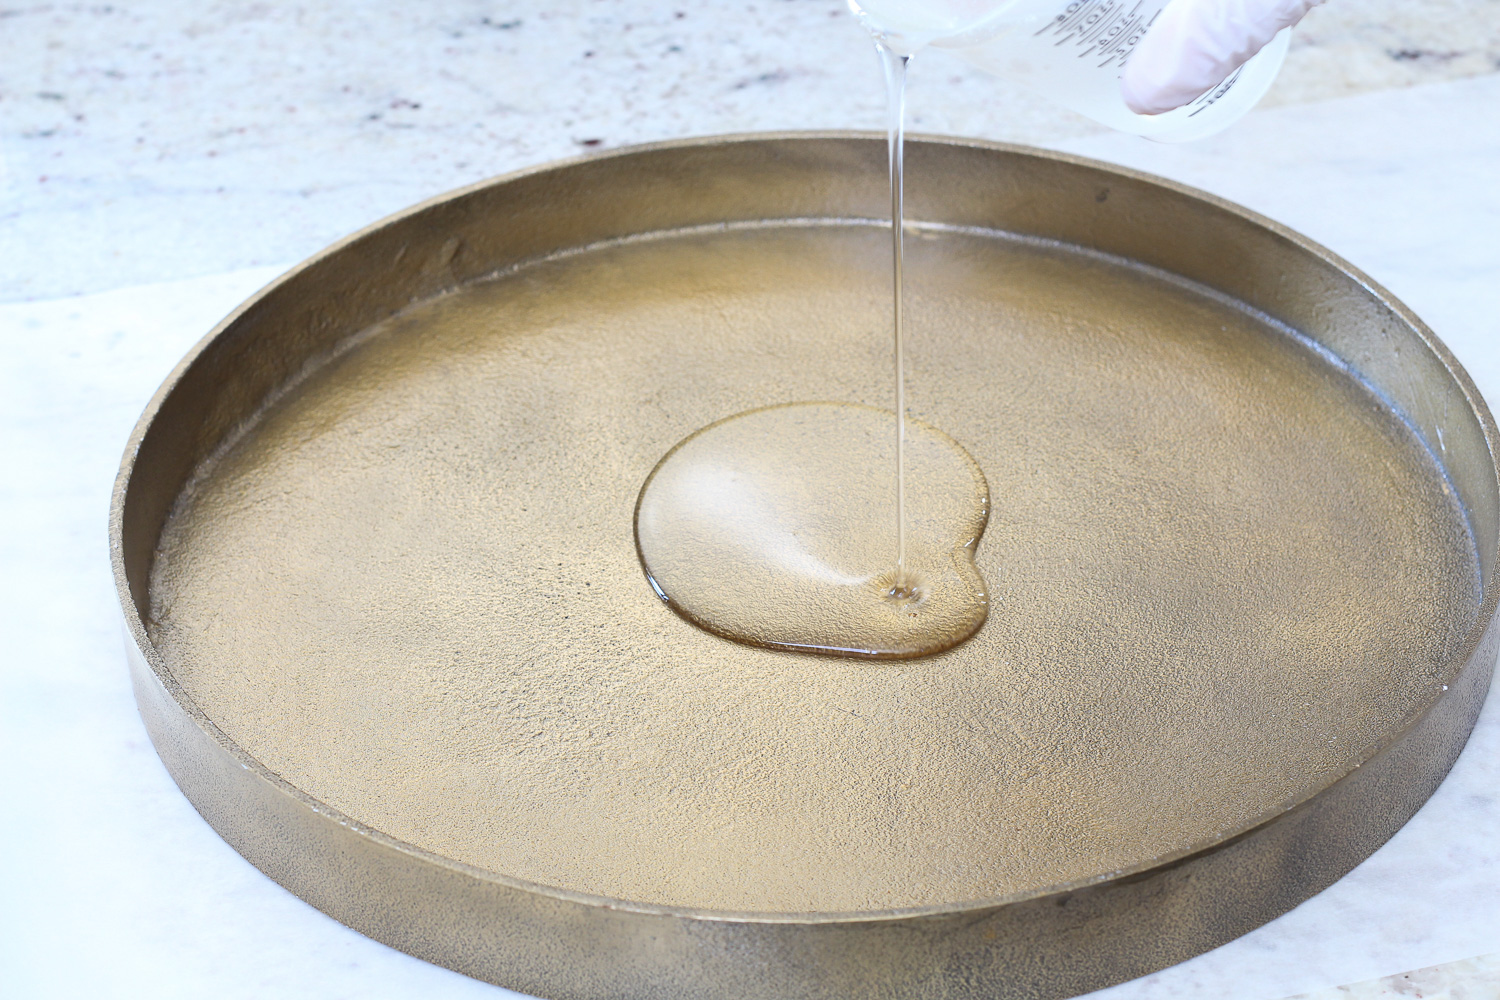
- Once mixing is complete, immediately pour in an even pattern over the surface to be smoothed.
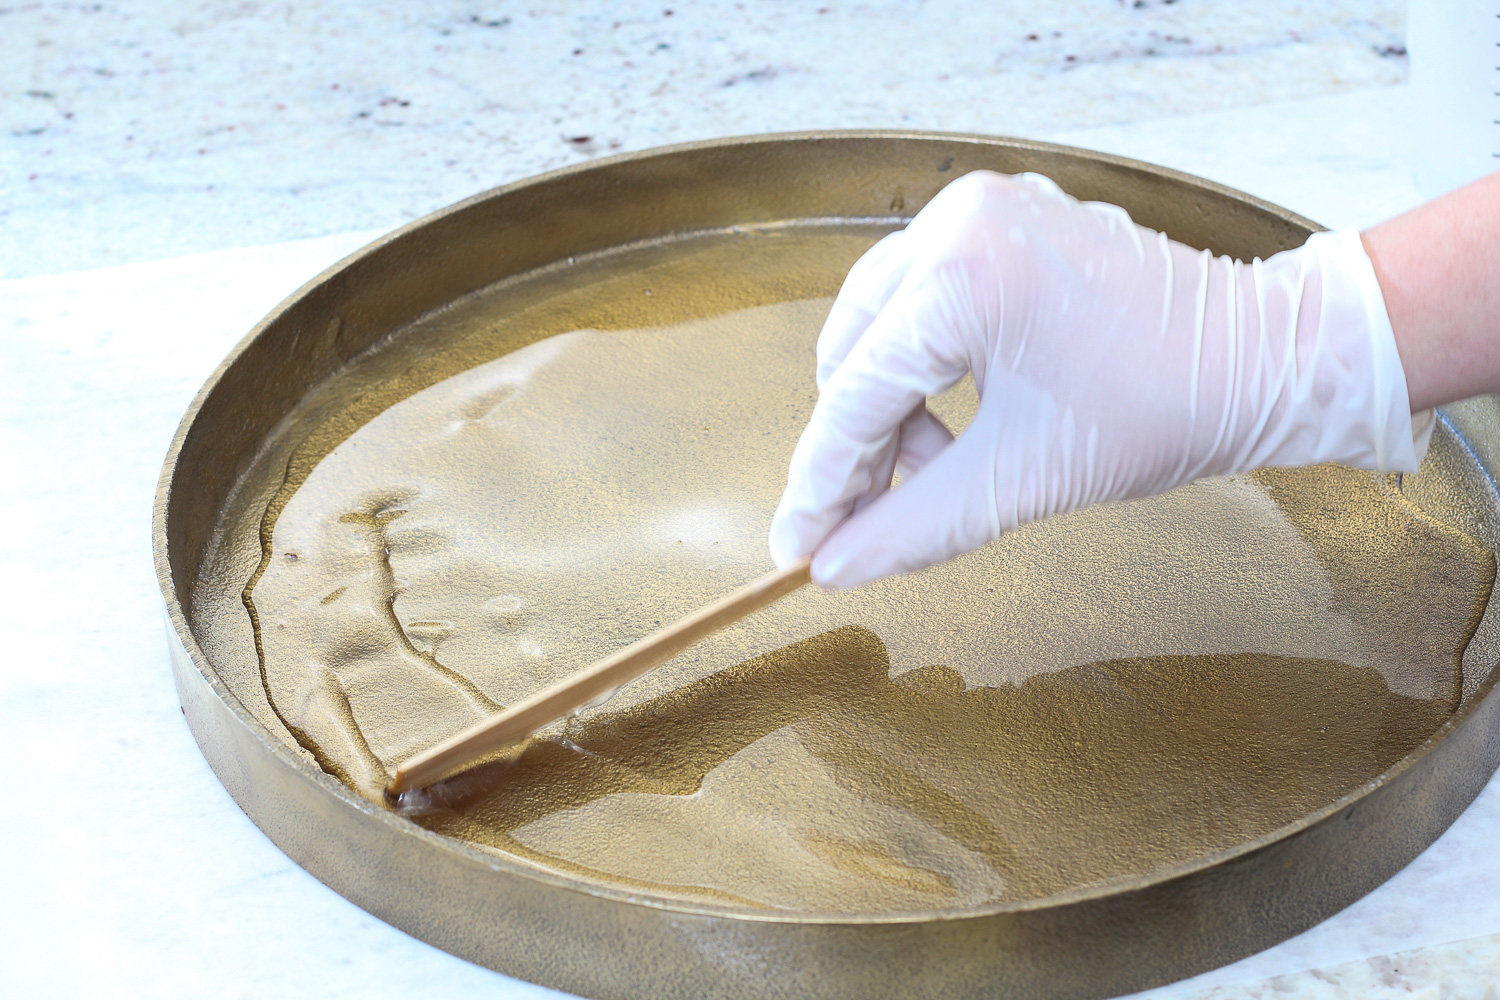
- Envirotex Lite is self-leveling but if it needs a little help you can use a clean stir-stick to distribute to the ends or corners.
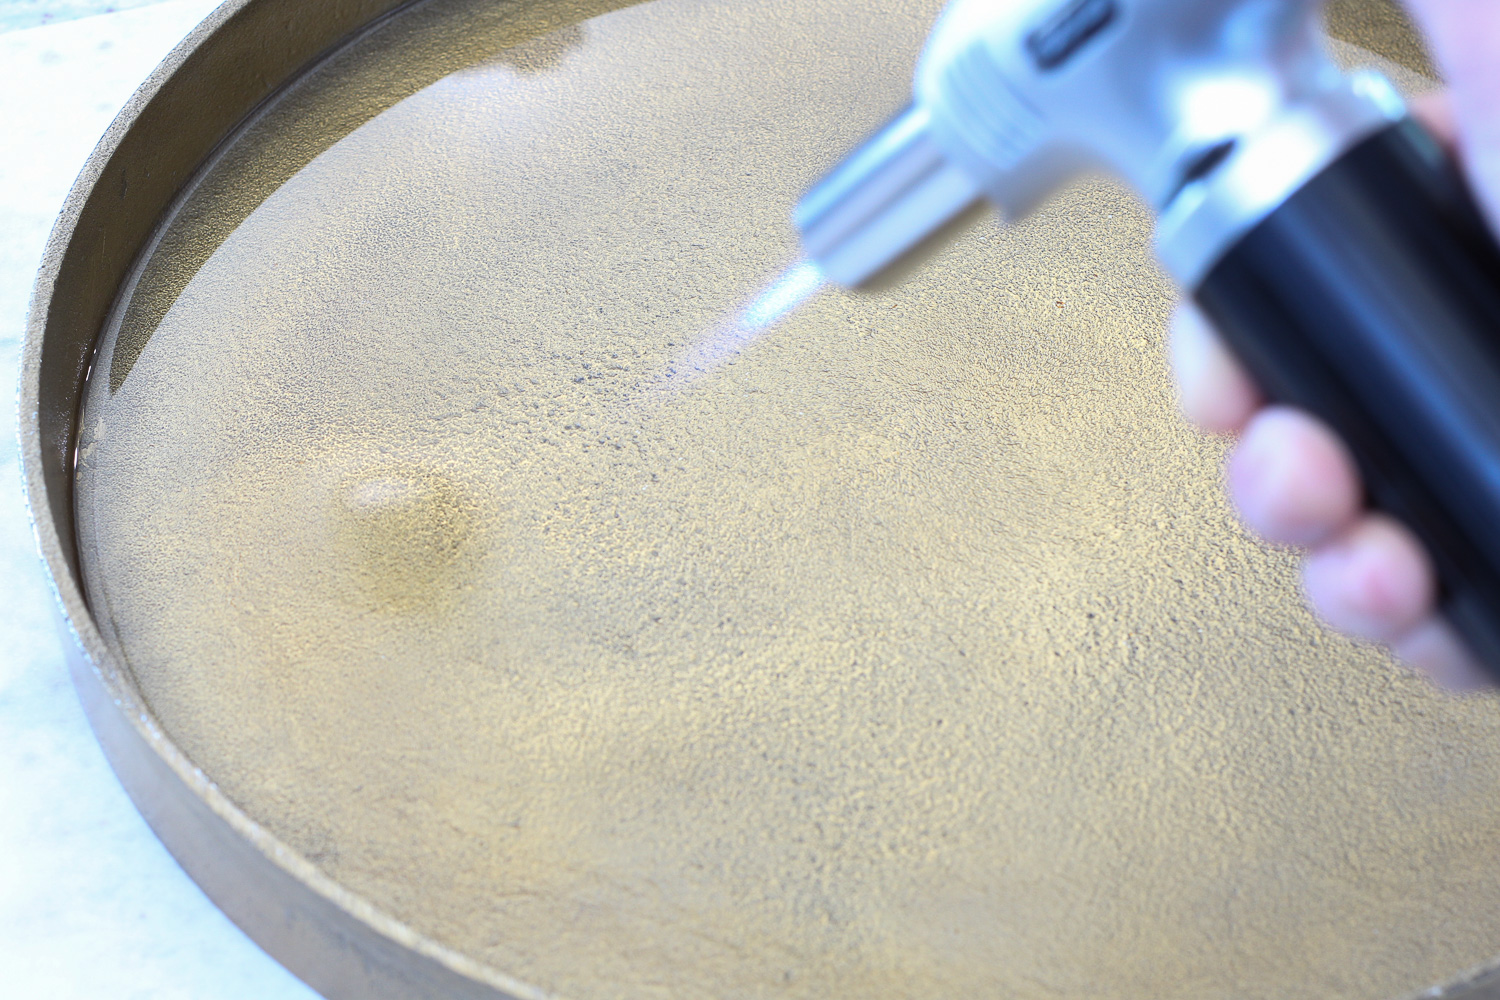
- Wait for about 15 minutes to give air bubbles a chance to rise. The bubbles are easy to remove with a small torch or lighter. Sweep the flame about 6 inches over the surface where bubbles are visible and they will disappear.
- Allow the coat to cure in a dust free environment (it’s a good idea to tent something over the surface to prevent dust particles from attaching) for 36 – 72 hours. Temperatures between 70º and 80º are ideal for curing; the higher the temperature the faster it will cure, the lower the temperature the longer it will take to cure.
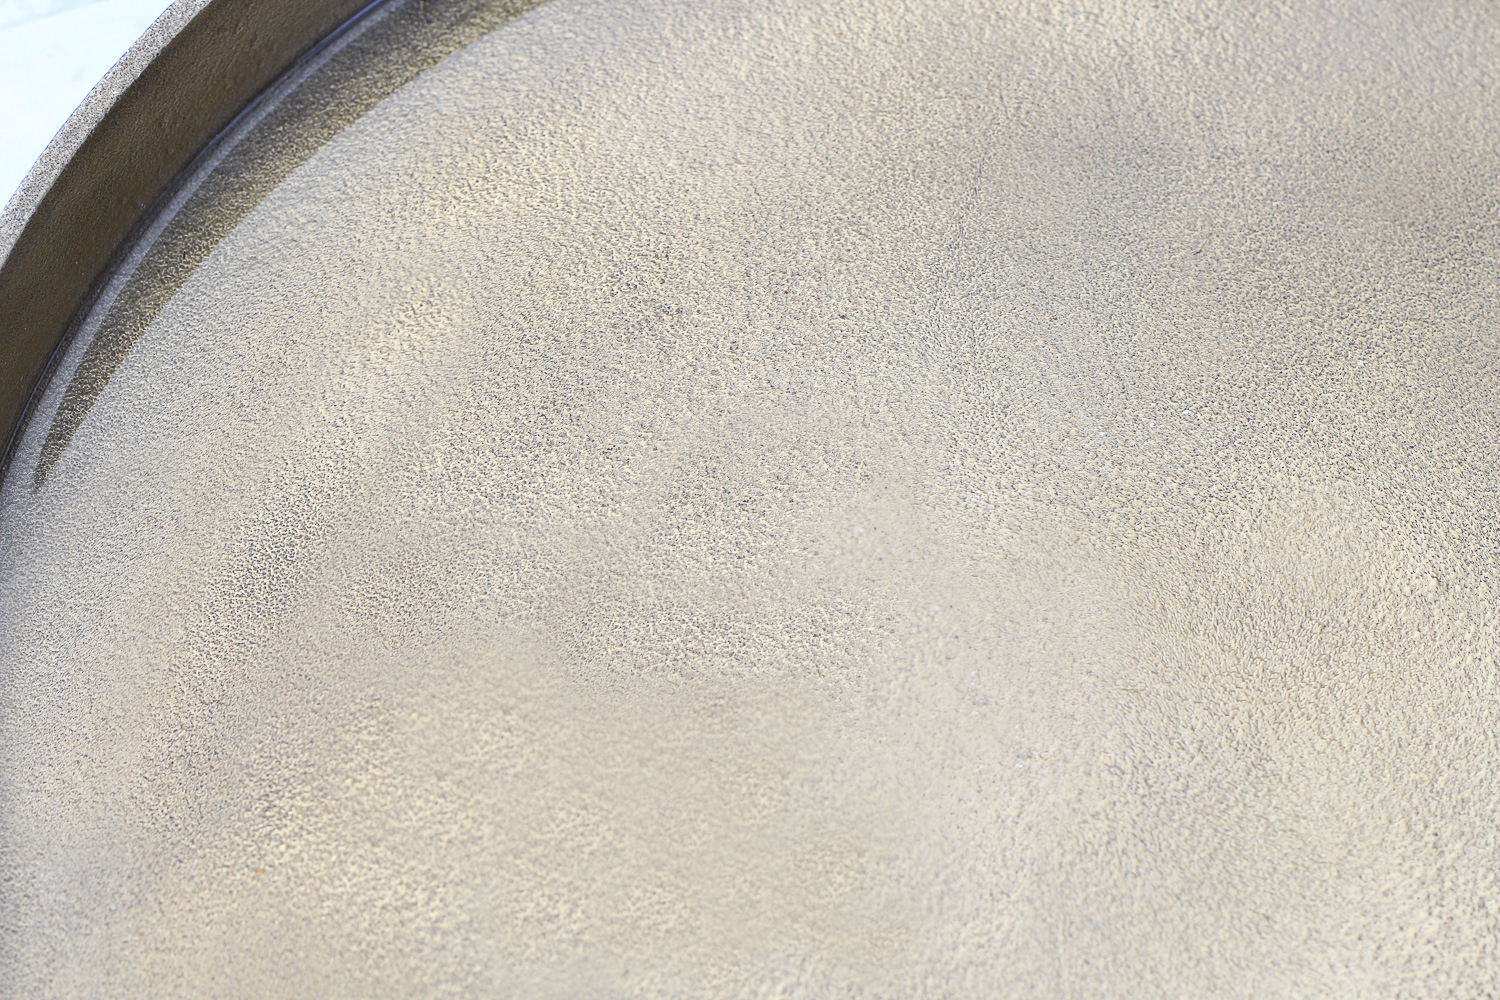
Look at that gloss! Because the resin is so clear, it’s somewhat hard to tell in a photo how smooth the surface actually is since you can still see the hammered metal underneath. The way the gold metal reflected underneath the Envirotex Lite had me tempted to leave it as is, but my mission was to have a stenciled surface so I stayed the course. Also since I was going to be using it outside, I needed to paint over it so that the resin wasn’t compromised by UV rays.
It would have been impossible to get a perfect stencil design with the previous state of this table. See how I created this stencil with my Cricut machine and painted it here.
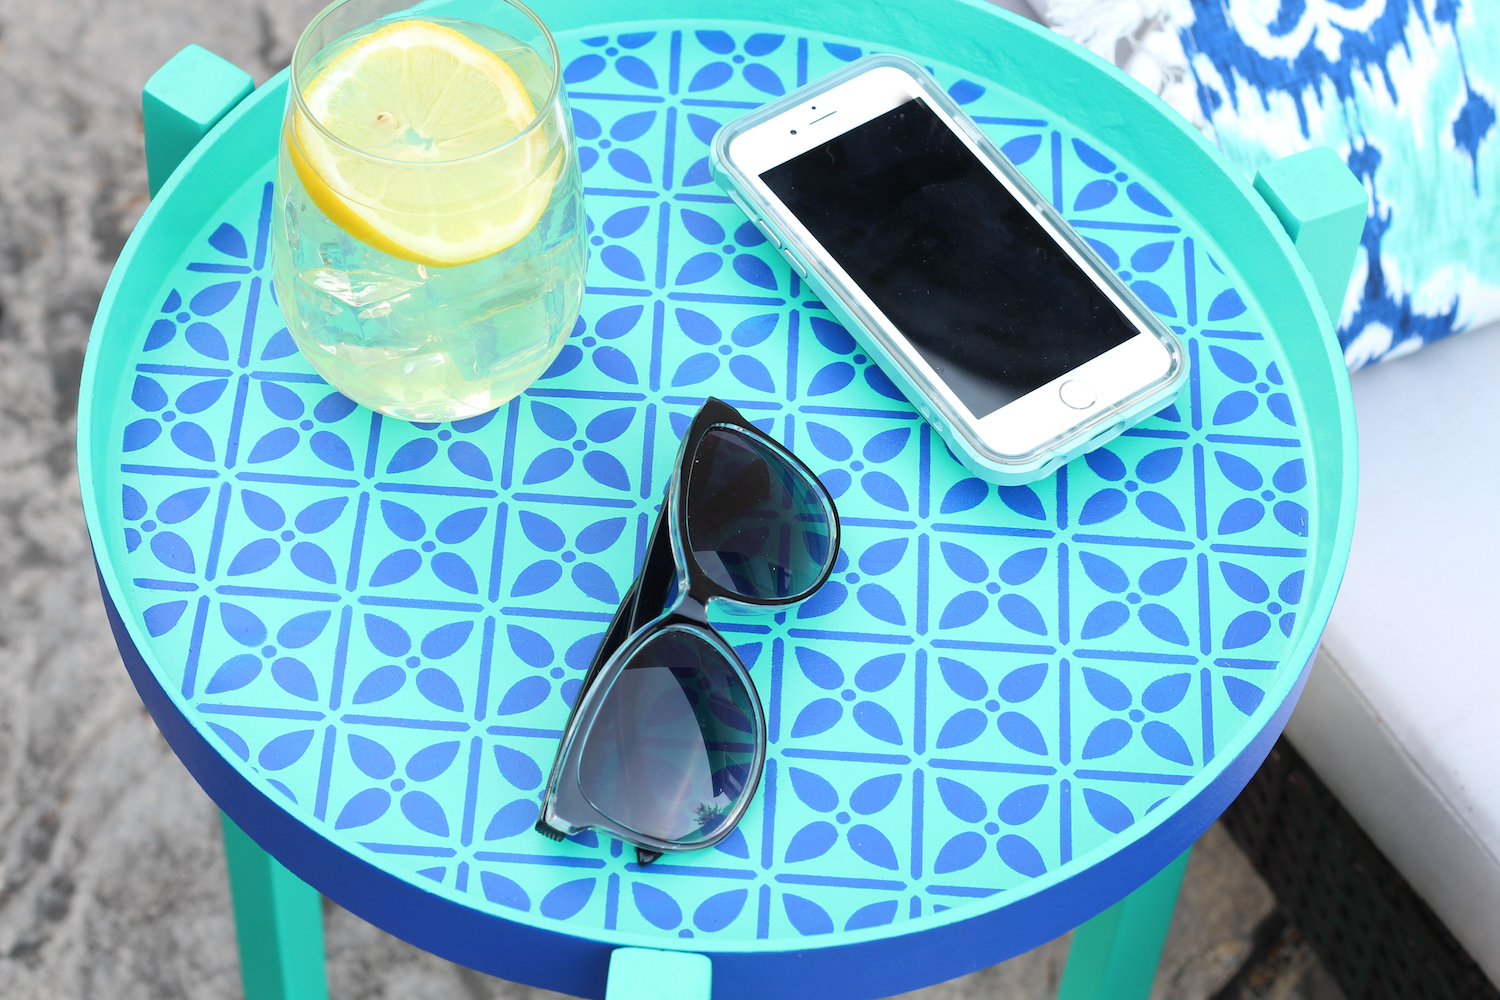
I’m so pleased with how it turned out. Here’s where I’ll be for the rest of the summer…
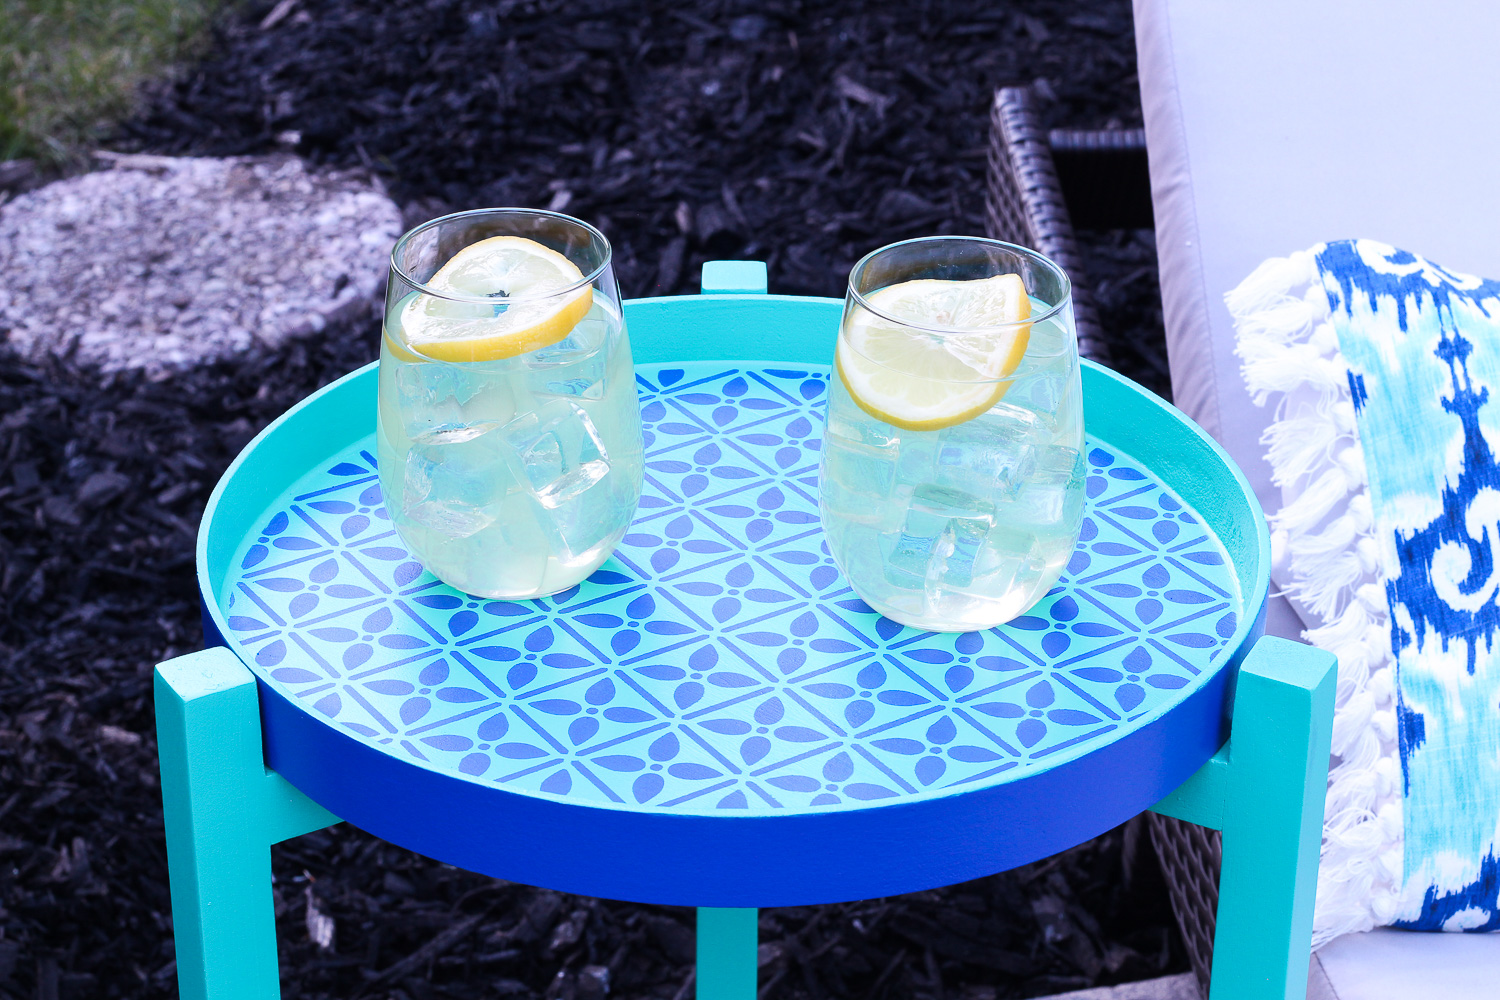
Super easy, right?! What other kinds of surfaces can you think of that you would like to coat with a brilliant coat of Envirotex Lite?
Pin it for later!
Lydia Nordhoff is the creator of Lydi Out Loud, a blog where she shares her adventures in crafting and DIY. Lydi Out Loud has been featured on the Home Depot Blog, House Beautiful, Good Housekeeping, Southern Living, Elle Decor, Brit + Co., Buzz Feed, Cricut and Somerset Home Magazine.


I was wondering if I could purchase a gallon of this directly from you did not see where i could order directly? I can only get smaller amounts through like Hobby Lobby??
Hello Lynn! We have forwarded your inquiry to customer service and they will follow up with you to help you find a source for the quantity you need. Have a great weekend!