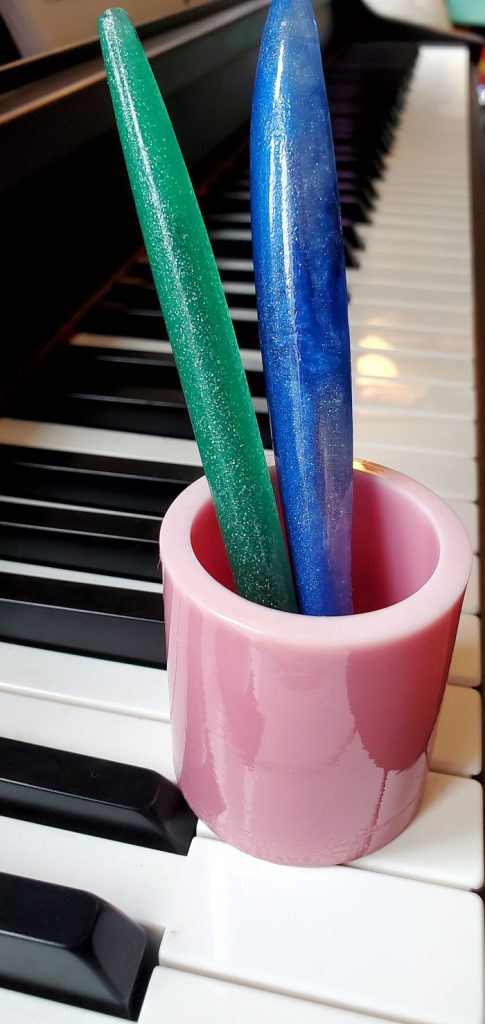
You saw, and hopefully enjoyed, the resin pens I made earlier this month. Now I’m using the small cup molds that came in the same set to make a pen holder with polyester resin.
If you act fast, you may be able to whip some of these up for Christmas gifts! Or if not, they’ll be super useful for New Year inspired desk and office organization.
This mold will make a square-shaped cup that will easily hold the pens I made, or whatever other pens I have laying around my desk.
I have a pretty good eye when measuring out resin for other molds, but this kind really stumps me. There’s a lot of empty space, but you’re filling in 4 walls and a bottom too.
So I poured some water into the mold, measured that, and then made sure the mold was completely dry before starting the project. Water and resin do not mix, remember!
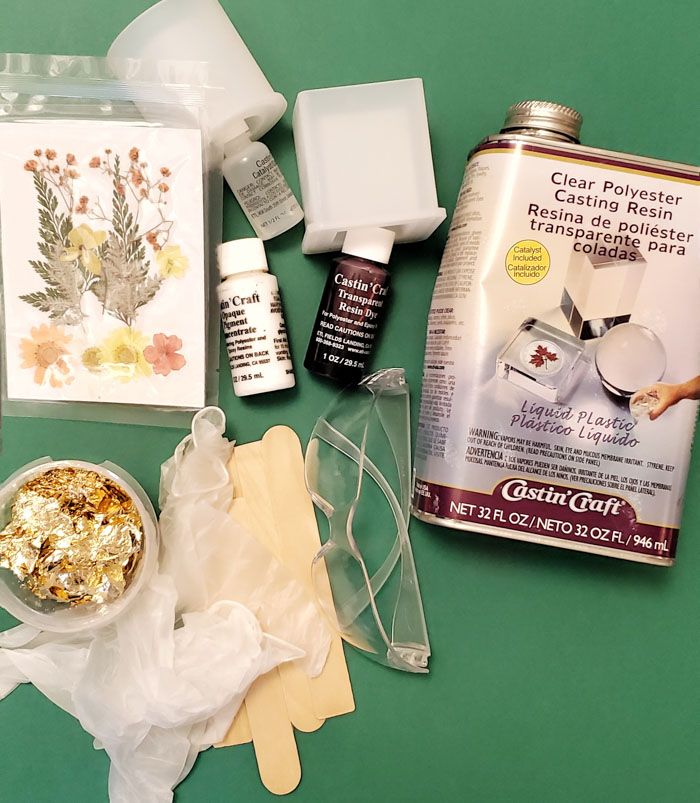
- Castin’ Craft Clear Polyester Casting Resin
- Mixing cups and stir sticks
- Transparent resin dye (red) and Opaque resin pigment (white)
- Dried, pressed flowers
- Silicone cup mold
- Hand and eye protection
I chose Polyester Casting Resin for pouring these molds because it works great for deep pours and embedding – and I knew I wanted to place some dried flowers in the mold.
I never have bubble problems with Polyester Casting Resin since it’s so thin, so I can leave it clear to showcase the flowers.
I also read that it’s less sensitive to moisture while curing, and I live in a pretty humid part of the country so that’s always a plus!
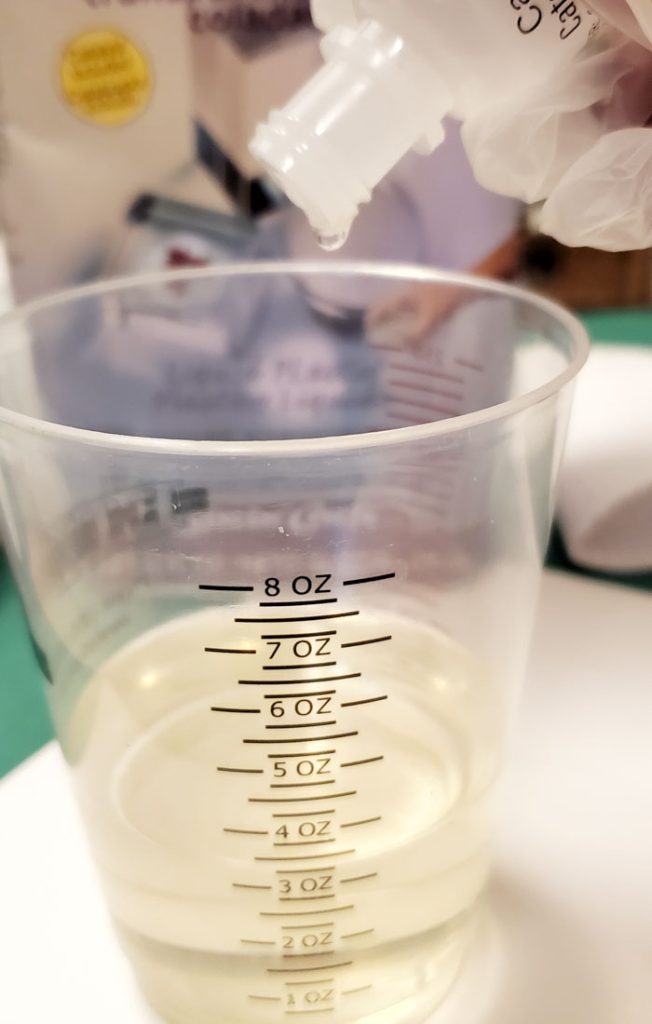
I knew I would need 3.5 ounces of resin to fill the mold and I always make a little extra to be safe, and to account for what stays in the mixing cups.
I measured the resin and added 14 drops of catalyst. Be sure to check the chart on the back of the can to get the right ratio. Since I was doing a single pour, I needed to measure the depth of my pour to calculate the right number of drops.
Then stir for 60 seconds, and scrape the bottom and sides to mix well. Then I poured half into another cup so I could color it.
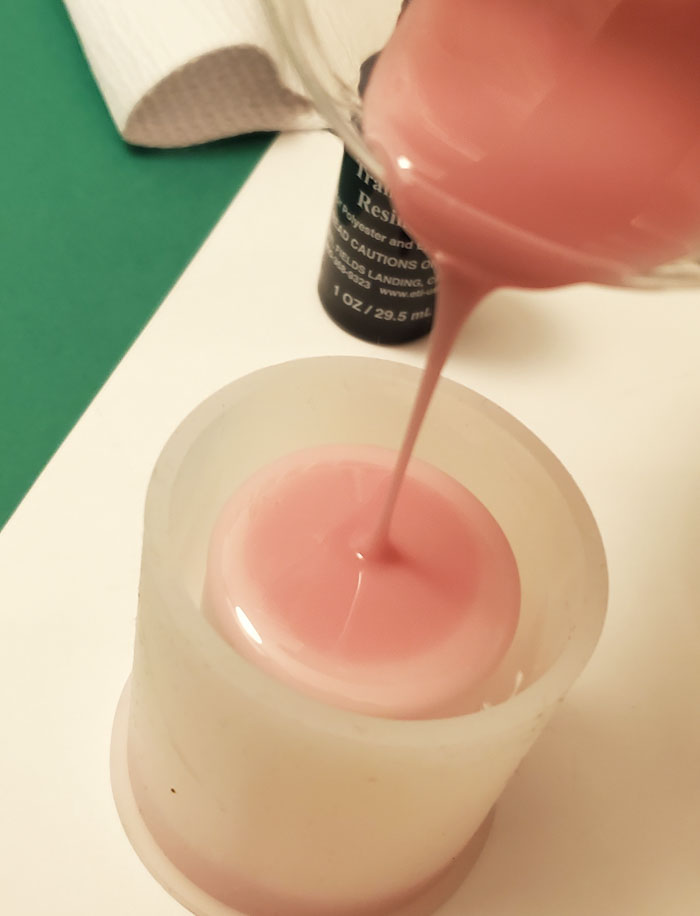
For the round cup, I tried an ombre look with white opaque and transparent red. I did several drops of white and a couple of red to make a light pink.
I poured the mold about 1/3 full. Then I added more red to darken the mixture and poured the next 1/3. For the bottom, I added another drop before pouring.
It works perfectly this way because you’re basically pouring the pen holder upside down. What goes in first is the top of the sides, and what pours last is the bottom of the cup.
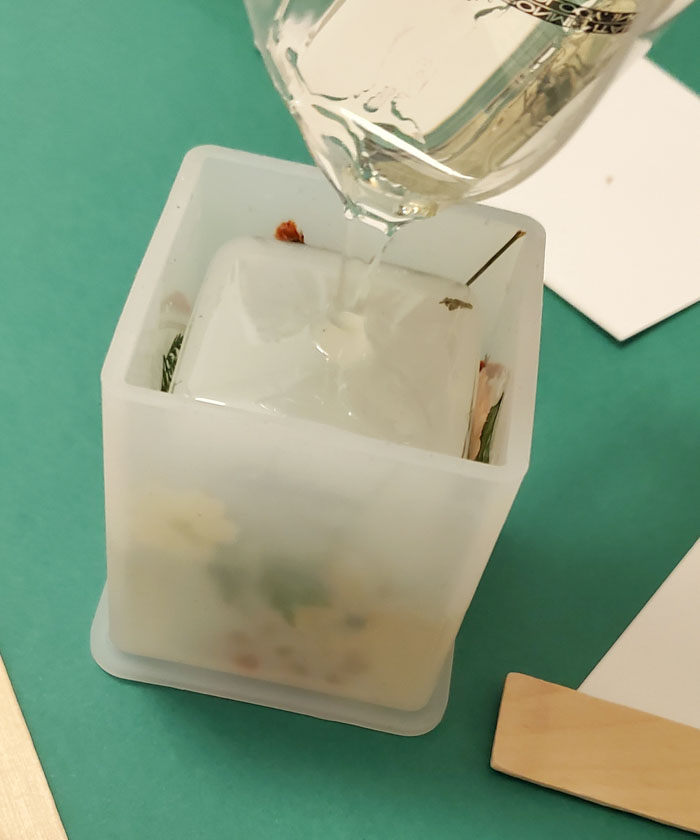
You can see that I was pouring right onto the center of the mold. This helps the mold fill evenly. By the time the resin cured, everything had blended to nearly the same color.
If I were doing this again, I would just do one pour of white, then a second pour with color added to see if that gives a better difference between top and bottom.
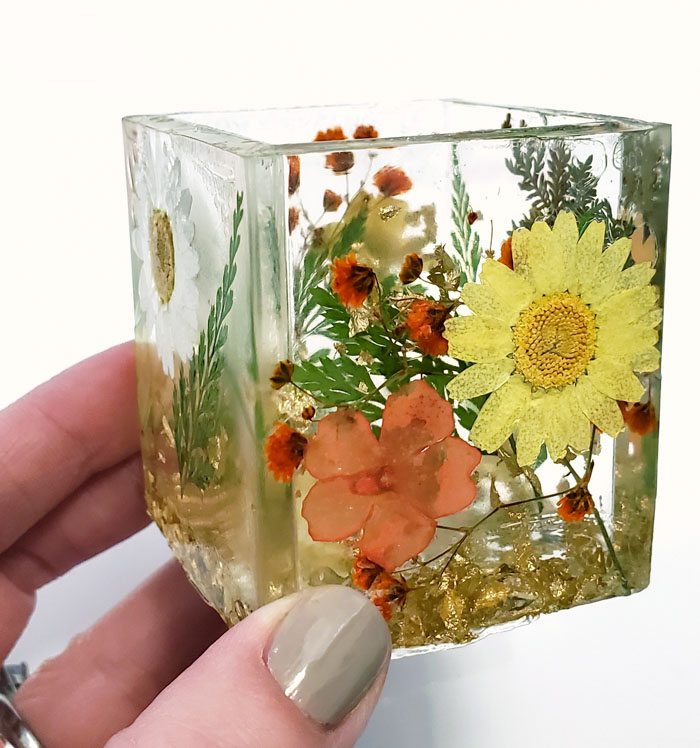
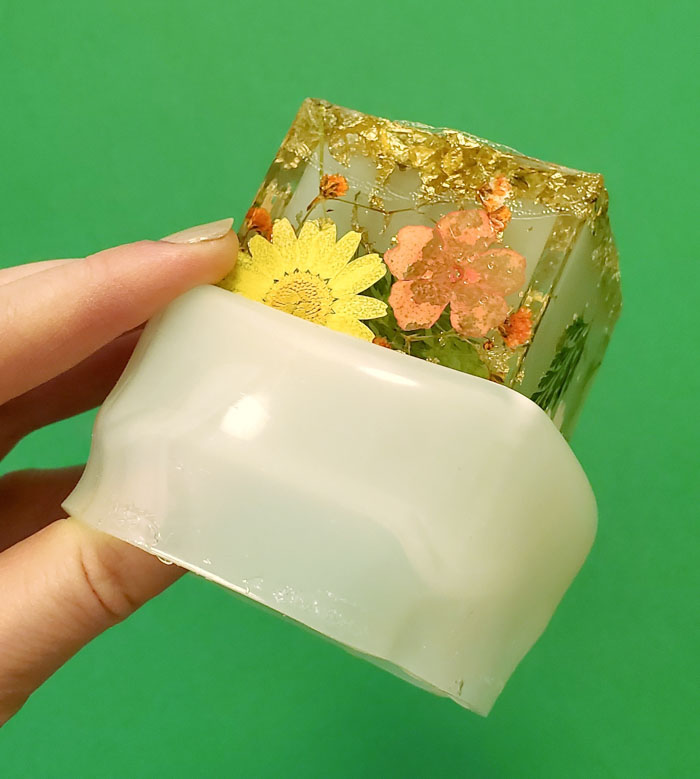
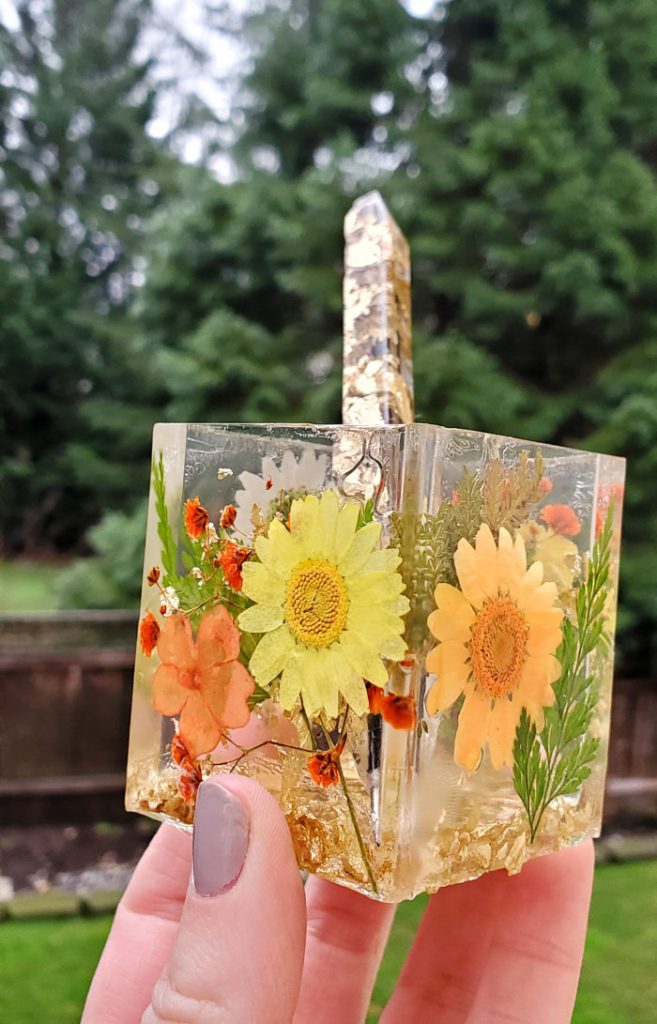
For the square cup I poured in just a bit of uncolored resin and then used tweezers to place in some dried pressed flowers I’d purchased. When they were all in I poured the resin to fill in the walls.
To add something a little extra to the bottom of the cup I mixed gold flakes and then poured the rest of the mold.
If the items you’re trying to embed in the cup are kind of heavy and you’re worried about them sinking, take advantage of the gel stage of polyester resin.
You’ll mix up a smaller batch of resin first and pour it into the mold. Then after about 20 minutes, mix another batch (read the product insert for detailed instructions on how much catalyst to add each time), and your decorative items to the mold, and pour the new resin around it.
Let the resin cure for at least 24 hours before removing it from the mold.
To release this resin cup, you basically roll the sides down on itself to eventually turn the mold inside out. Even if it doesn’t seem like it, the silicone will hold up, so keep working it till you can twist the mold out of the center of the cup.
If it seems a little bit sticky, or like fingerprints are showing up on the surface, you can try two things.
The first is to just leave it alone for 2 or 3 more days and it will keep curing in the air. You could also spray 2 light coats of Envirotex Spray Sealer and then let that dry.
I don’t know why, but this kind of mold has intimidated me in the past. But if you’ve been scared of them too, I’m telling you now to not be.
Go try out this method and tell us what you think!
Stephanie is a crafty wife and mom living in the Pacific Northwest. She shares her creative ideas -along with a bit of “making it up as she goes” – on her blog, Crafting in the Rain.
Leave a Reply