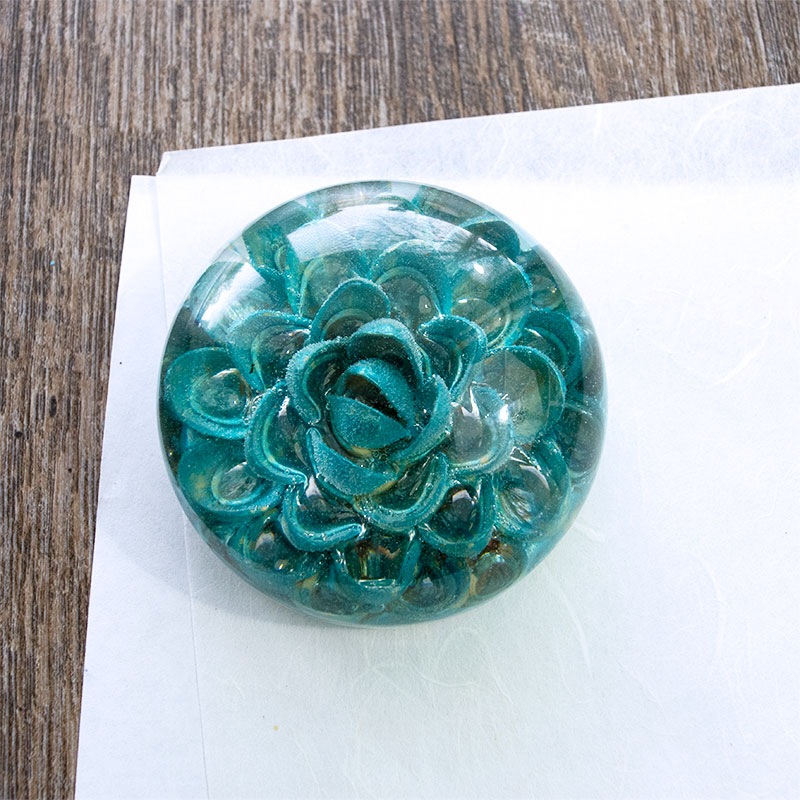
Hello Resin Crafters! Do you like to reuse things and repurpose things? I love recycled crafting! A few years ago, I learned how to make pistachio shell flowers, and they are so much fun! Not only do you get to eat yummy pistachios, but the flowers are really beautiful. I decided that I wanted to make a flower, and encase it in resin to use as a paperweight, and it turned out awesome. I’m thrilled to be able to share the how-to with you today! If you don’t like pistachios, find a friend who does, and ask them to save some shells for you. You won’t need very many for this project!
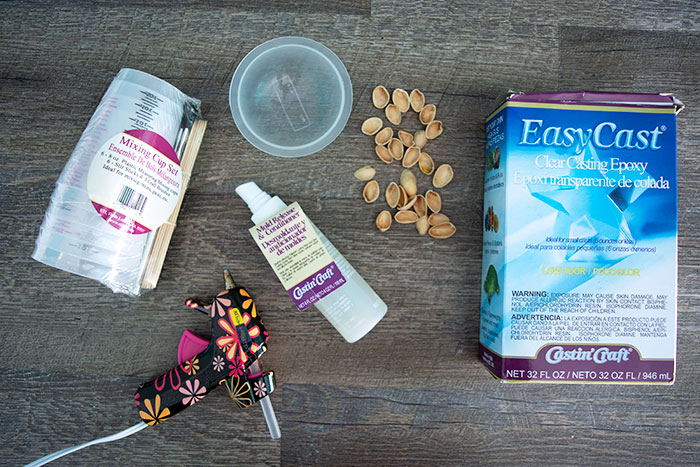
Pistachio Shell Flower Paperweight Supplies:
- EasyCast Clear Casting Epoxy
- Dome Mold (MC5 4oz Dome Mold)
- Mold Release and Conditioner
- Cleaned Pistachio shells (you’ll need about 40 shells)
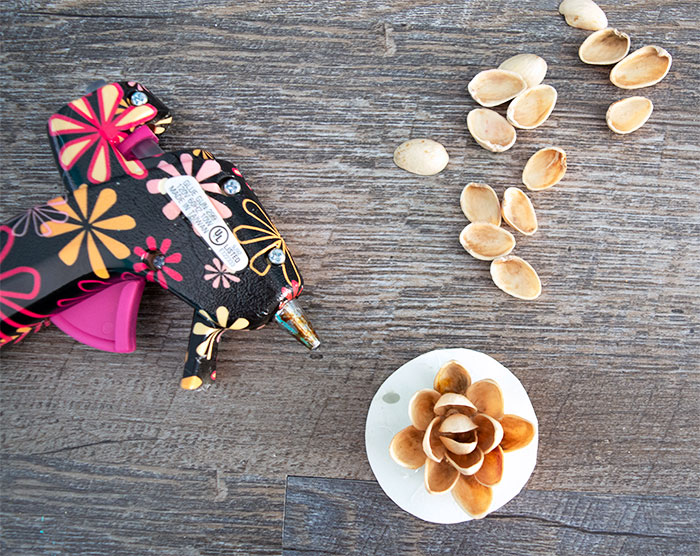
- Hot Glue
- Mixing Cups, Stirring Sticks, and Gloves
- Masking Tape
- 2″ paper circle
- Paint (optional)
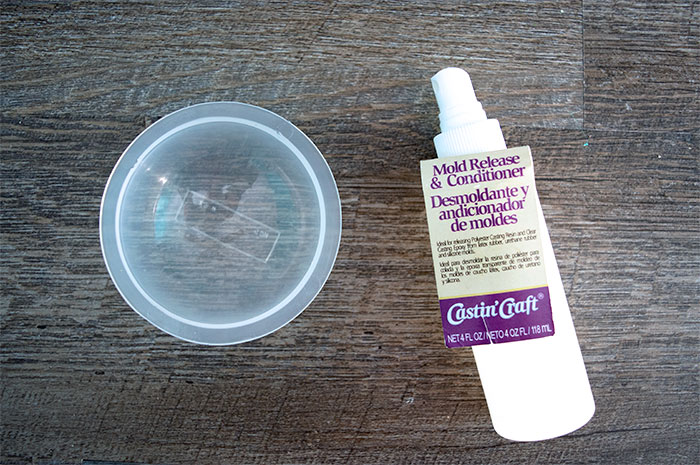
The first thing you need to do to prepare for this project is to prepare your dome mold. Spray the mold with the Mold Release and Conditioner. A nice thin, even coating. Allow the mold to dry completely.
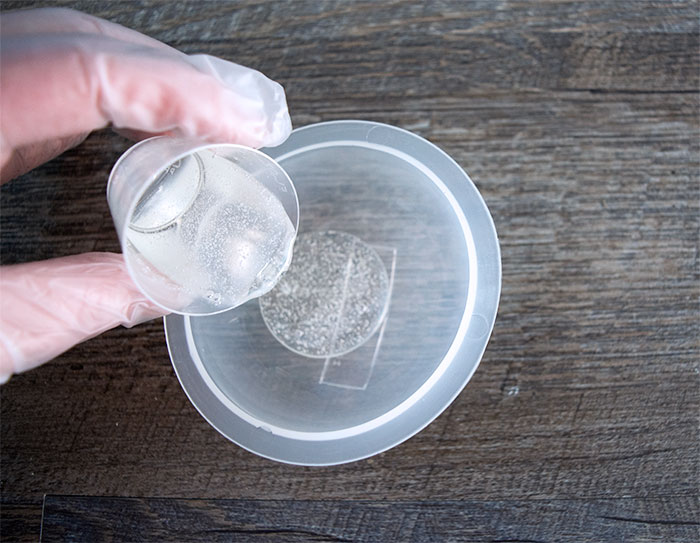
When the mold is dry, mix 1 oz of EasyCast Clear Casting Epoxy. Be sure to wear gloves when handling Epoxy. Combine .5 oz of both the resin and the hardener and stir for two minutes. Pour into a clean cup, and stir for an additional minute. After you’ve completed the mixing, pour the resin into the bottom of your dome mold. Allow the bubbles to rise to the surface, and then blow on them, or use a heat gun to pop any bubbles that appear. Cover, and allow this first layer to cure for at least 4 hours. If your dome mold doesn’t want to stay level, sit it in the mouth of a cup to keep it from tipping while your resin cures.
While the first small layer of resin is curing, build your pistachio flower!
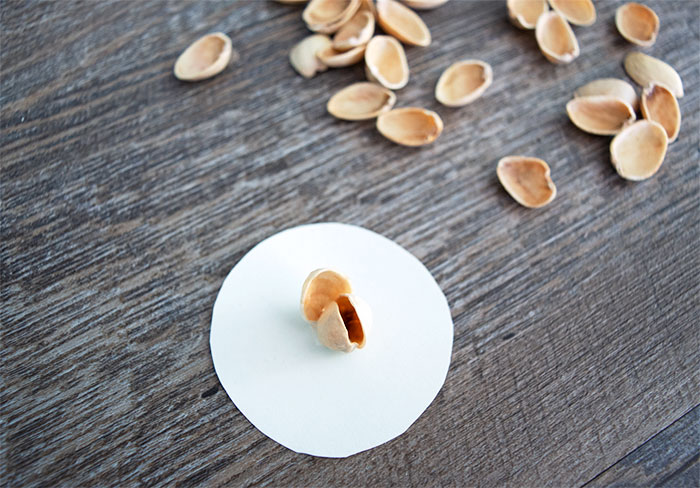
Start with a 2″ circle of paper. Add two shells to the center of the circle, standing upright, with hot glue.
Add more shells around the first two shells, forming an open flower as you go. It should take around 40 shells (depending on their size) to fill the 2″ circle.
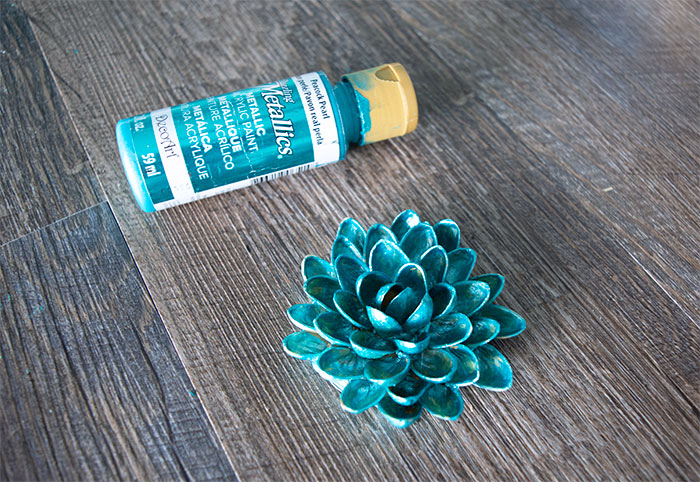
After you’ve filled the entire 2″ paper circle, you can paint your flower, or leave it natural. I used a pretty teal metallic paint for mine. Let the paint dry completely before moving on.
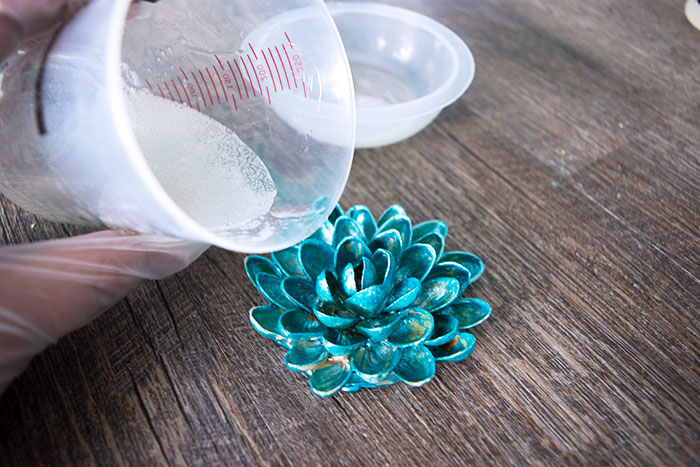
When your first layer is cured, you can mix another batch of epoxy. Mix 3 oz of EasyCast Clear Casting Epoxy using the two cup method. Pour a small amount of epoxy into the top of your flower to fill the center a little bit.
Then turn your flower upside down in the mold, and tape it into place using masking tape. The tape will hold the flower down into the resin, keeping it from rising up out of the mold.
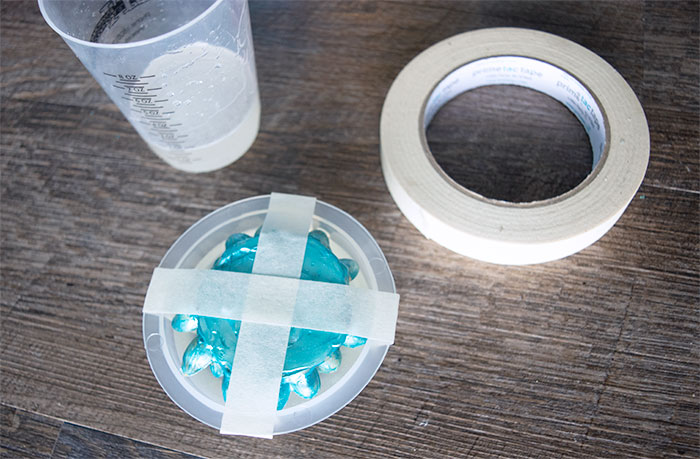
Pour your remaining epoxy into the mold. Use your breath, a torch, or a heat gun to pop any bubbles that rise to the surface. There will be bubbles trapped under your flower. to get fewer of those, pour the epoxy into the mold and then push the flower down into the epoxy. I wanted the bubbles because I like the effect but you can avoid a good number of those by pouring the resin first, instead of adding the flower first.
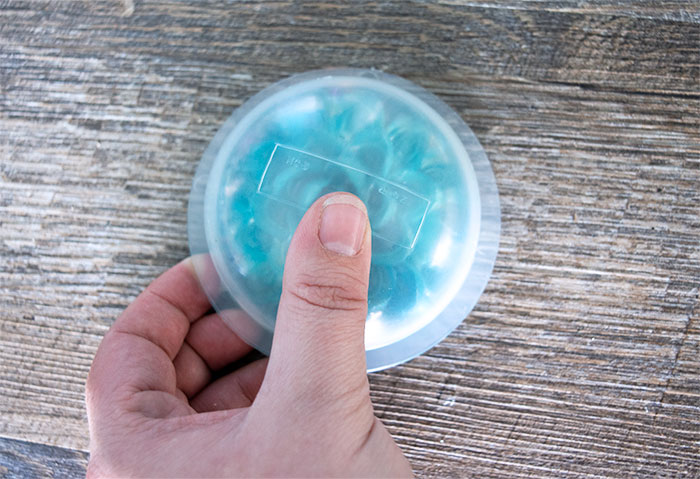
Cover and allow to cure overnight. After the epoxy has cured, remove the masking tape, turn the mold upside down, and press the center of it to pop your paperweight out. The magnified 3D effect of the flower is so neat! Add a circle of felt or cork to the bottom of your paperweight if you want or you can leave it bare. Use different colors on the pistachio shells, leave them bare, or you can even stain the shells! So many different options.
What color would you paint your Pistachio Flower?
After studying Culinary Arts in Portland Oregon, Kelli went back home to the sunny South West where she decided she wanted to do different kinds of Art. This busy mom of three spends all of her available free time creating in her Craft Shack “she shed” where she can be found wood burning, repurposing old stuff, crafting, and painting just about anything she can get her hands on. She loves to learn new craft techniques and frequently finds inspiration in the world around her. Her motto in life is that you should never be too busy to make something pretty!


Leave a Reply