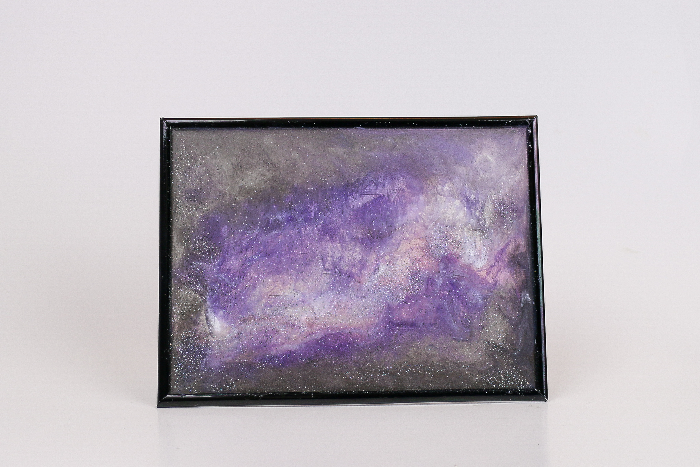
Constellation and galaxy artwork is very on-trend this year. Making a beautiful art piece that looks like a heavenly body is easy with resin! Follow the techniques I share in this tutorial and you will have your very own piece of resin galaxy art!
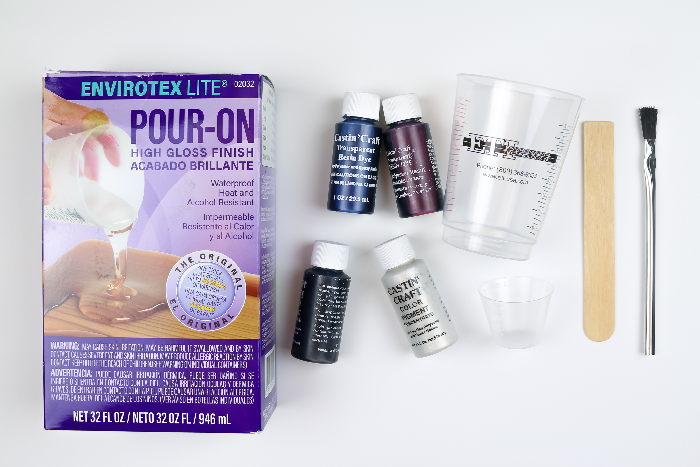
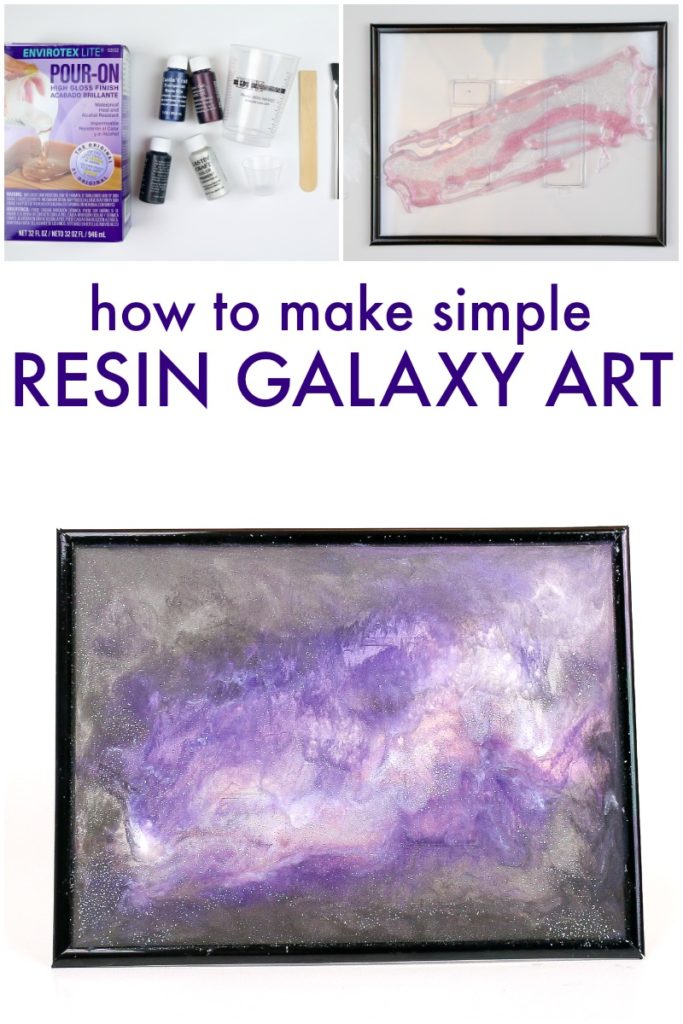
SUPPLIES YOU WILL NEED TO MAKE RESIN GALAXY ART:
- EnviroTex Lite Resin
- Mixing cups and stir sticks
- Resin transparent dyes and opaque pigments (red, blue, black and pearl)
- Floating frame
- Paintbrush or straw
- Long arm lighter
- Glitter (optional)
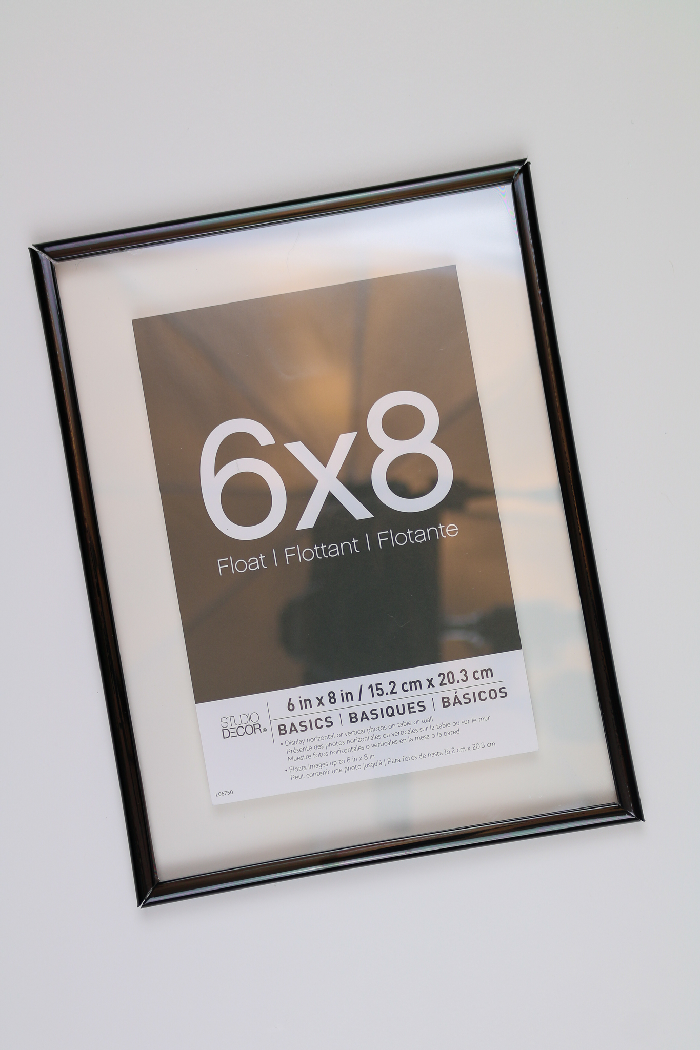
While you can use a canvas for this project, you can create an even cooler effect by picking up a floating frame from your local craft store. Floating frames have a backing made of clear plastic, instead of cardboard or wood. Typically, this creates a transparent mat around your photo. We will use the floating frame for a different reason.
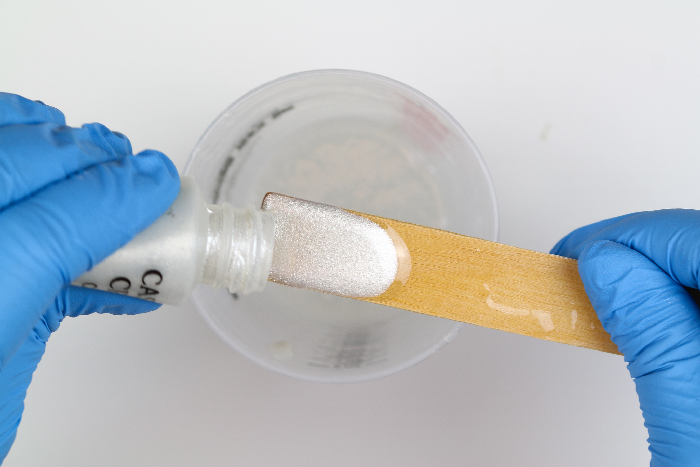
Mix up a few ounces of resin according to the directions on the package. I mixed up 2 ounces of resin, and that was more than enough to cover my 8×10 frame. Be sure you are wearing protective gloves whenever you are working with resin! Add a bit of pearl pigment to this batch of resin. This will make sure your entire galaxy has an out-of-this-world shimmer to it.
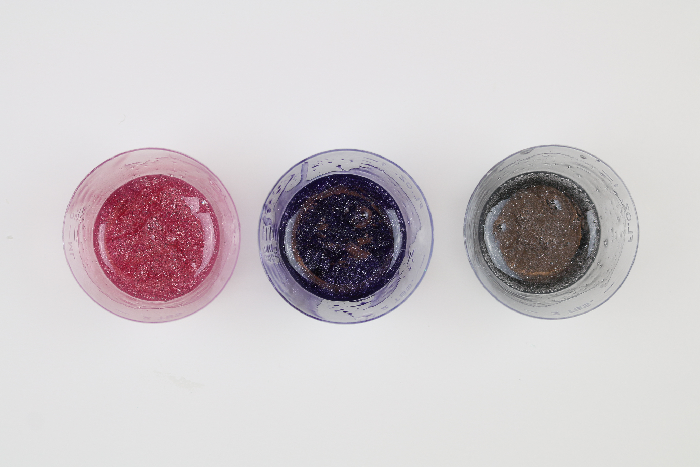
Reserve 1/4 of this mixed resin in the mixing cup. Divide the rest of the resin into smaller mixing cups and color the resin with dyes and pigment to make pink, purple, and black. You will likely want more of the black resin than the colors. See how the pearl pigment adds shimmer to all of the colors.

Begin to pour the clear resin in the center of the frame. You can’t mess this up so have fun!
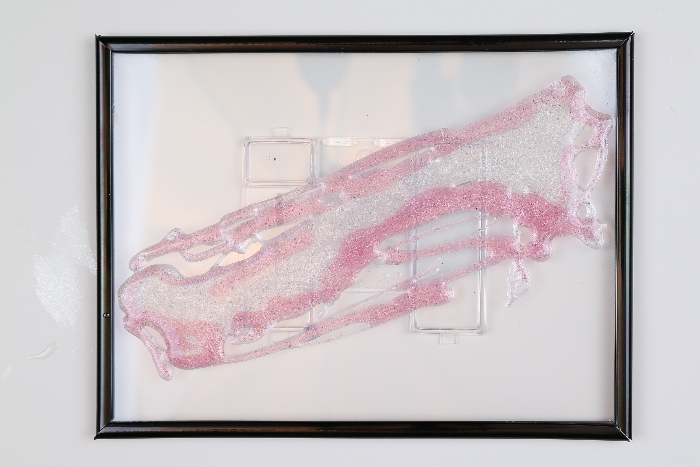
One by one, drizzle the colors of resin on the frame — keeping in mind that the colors should go from lightest to darkest.

Once the resin has been poured onto the frame, you can begin to create the galaxy swirls. You can use any or all of the following techniques to swirl your resin:
- Swirl the colors with a paintbrush. Make sure this is a brush you are willing to throw away after use.
- Tilt the frame in different directions allowing the resin to shift and slide.
- Use a straw to blow directly onto the resin to create pockets and swirls.
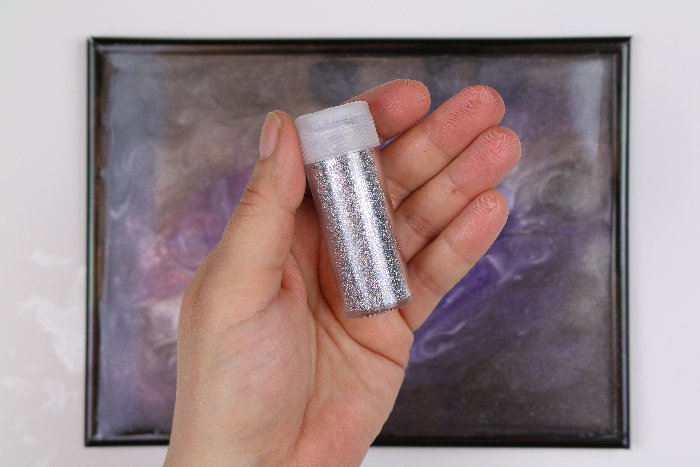
Once you are satisfied with the look of the resin swirls, you have the opportunity to add some extra sparkle. Sprinkle a VERY small amount of glitter onto the resin, concentrating most of it in the clear section of the resin. This step is totally optional, but it does add dimension and sparkle to your galaxy art.
Let the resin sit for 15 minutes, then pop any surface bubbles with a long-arm lighter. Cover the project and let it cure completely.
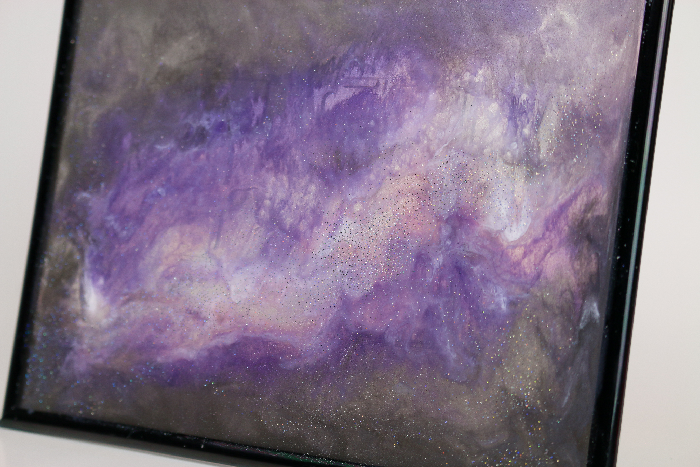
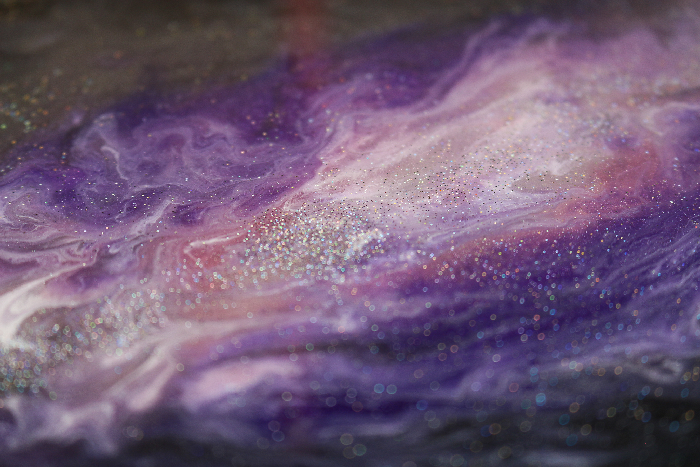
Once the resin has cured, you can add the stand to the back of the frame and enjoy your new resin galaxy art!
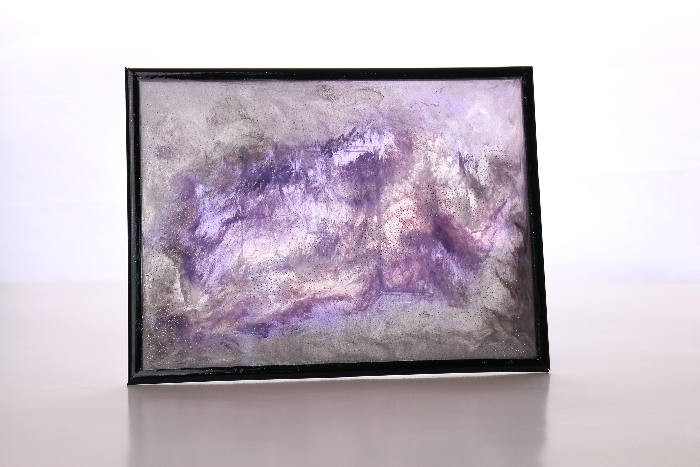
Since I used translucent resin on a floating frame, the frame allows light to stream through the resin. You can set the piece up in front of a window, a candle, or a string of fairy lights to get a really pretty backlit effect.

Jessica Hill is the creative mind behind the blog, Mad in Crafts. For nearly 9 years, Jessica has shared crazy good creativity from her Mad House to yours. When she’s not creating, Jessica loves the Detroit Tigers, craft beer, and spending time with her family and rescue dog.


Is this resin food safe? I’ve made some shot glasses and candy dishes with it and didn’t think to ask. I’m having a blast with your product! Buying it by the gallon! I think I’m subscribed, not good with computers. I have no idea how to post pictures. I’d much rather be pouring resin than messing with computers!
Hi Sue! So glad to hear you’re enjoying yourself! 🙂 It is not meant to come in direct contact with food.