Learn how to make a “Happy” U.V. Resin Shaker Keychain with fun additives and bright colors. This cute craft is sure to make you smile!
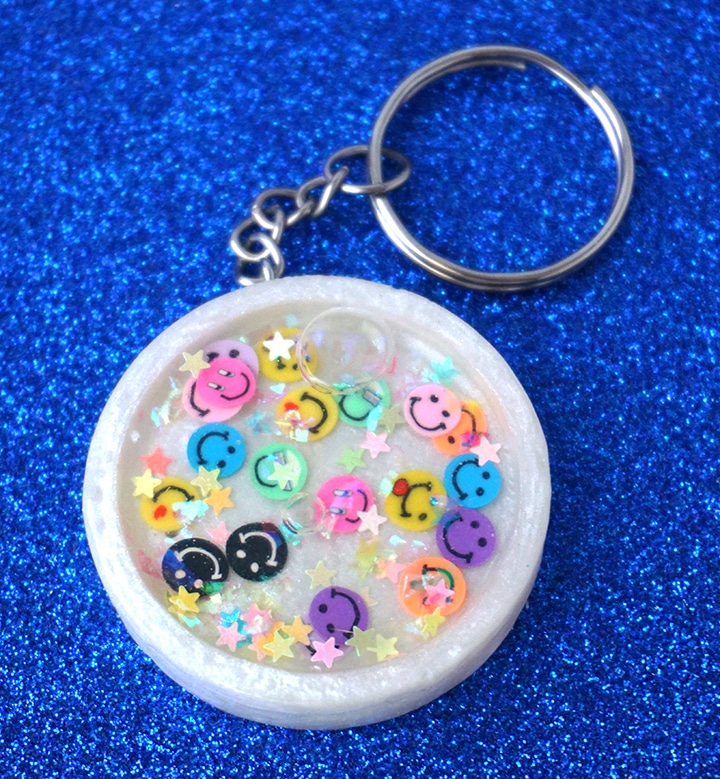
Hello, Resin Crafters! Lindsay, from Artsy-Fartsy Mama, here with fun resin project for you to try! I have become a little obsessed with making resin shaker charms lately. If you’re new to shakers, they are a charms made of resin using special molds and then “fillers” (glitter, confetti, polymer clay slices, etc) are added to move around inside the charm when “shaken”. This “Happy” U.V. Resin Shaker Keychain was made using Alumi-UV resin, and fillers found in the Alumilite Creation Kit. I have been so excited to share this tutorial with you. Shaker keychains are a great project for resin crafters of any level, and I hope this tutorial inspires you to try making one for yourself.
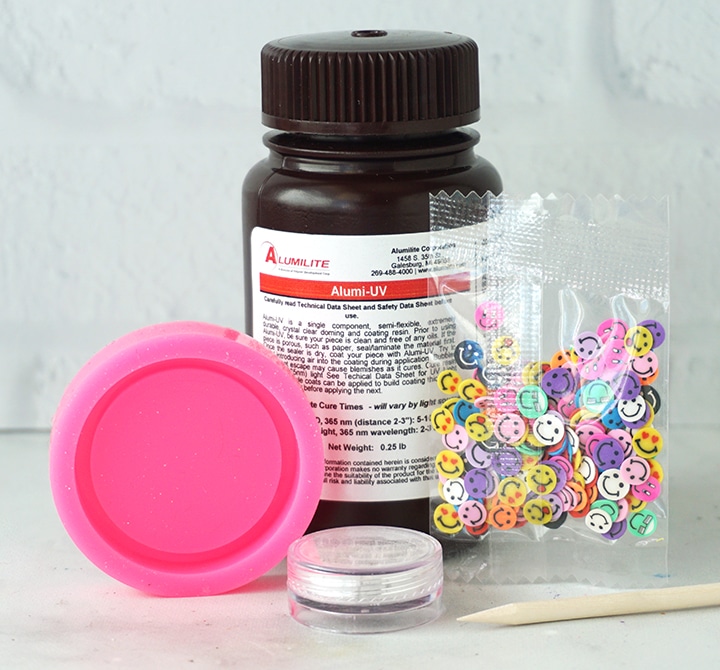
“Happy” U.V. Resin Shaker Keychain SUPPLIES:
- Alumi-UV
- UV Light
- Mixing cup
- Shaker mold
- Stirring sticks/Toothpick
- Disposable Gloves
- Alumilite Creation Kit – mica powder, happy face slices, star confetti, mylar flakes
- Transparency Film
- Permanent Marker
- Hand Drill Tool
- Unscented Baby Oil
- Oiler Bottle
- Jewelry Eye Screw
- Key Ring with Chain
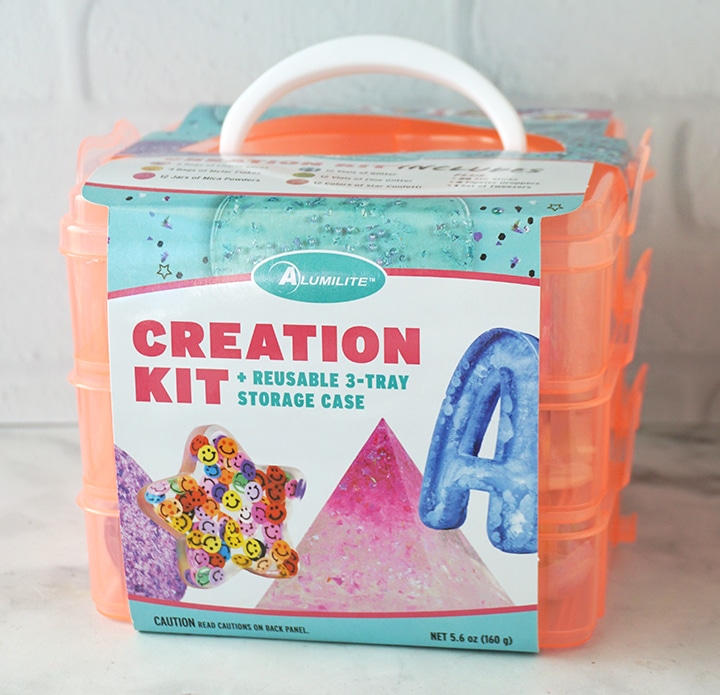
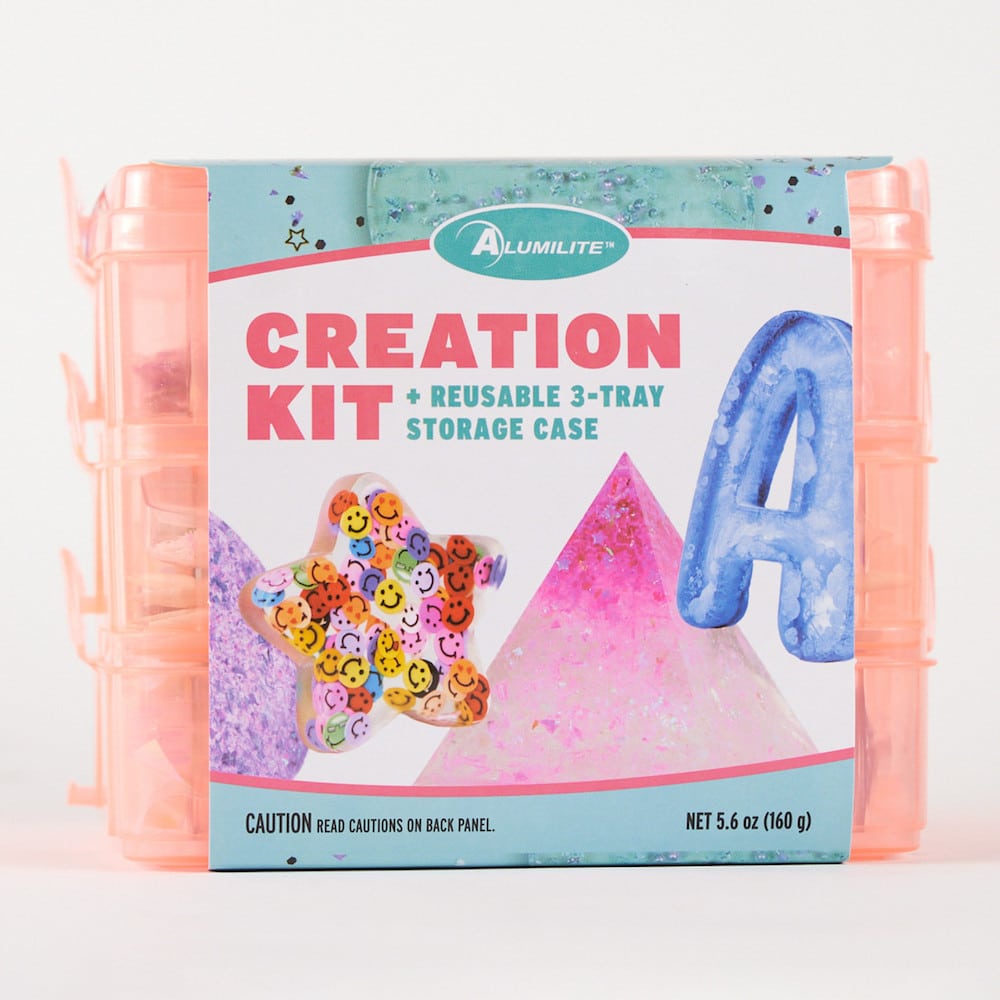
The Alumilite Creation Kit comes with everything you need to create all kinds of creative resin projects! The container of the kit is the perfect storage to hold everything in the kit, including fine and chunky glitters, mica powders, star confetti, Mylar flakes, and 5 different charm slices, as well as stir sticks, pipette droppers, and a set of tweezers.
HOW TO MAKE A “Happy” Shaker Keychain with U.V. Resin:
Printable instruction card can be found below.
Safety first! Before you start working with resin, make sure that you’re wearing disposable gloves & protective eyewear, to cover your work surface, and that you are working in a well-ventilated area.
STEP 1: PREPARE THE RESIN
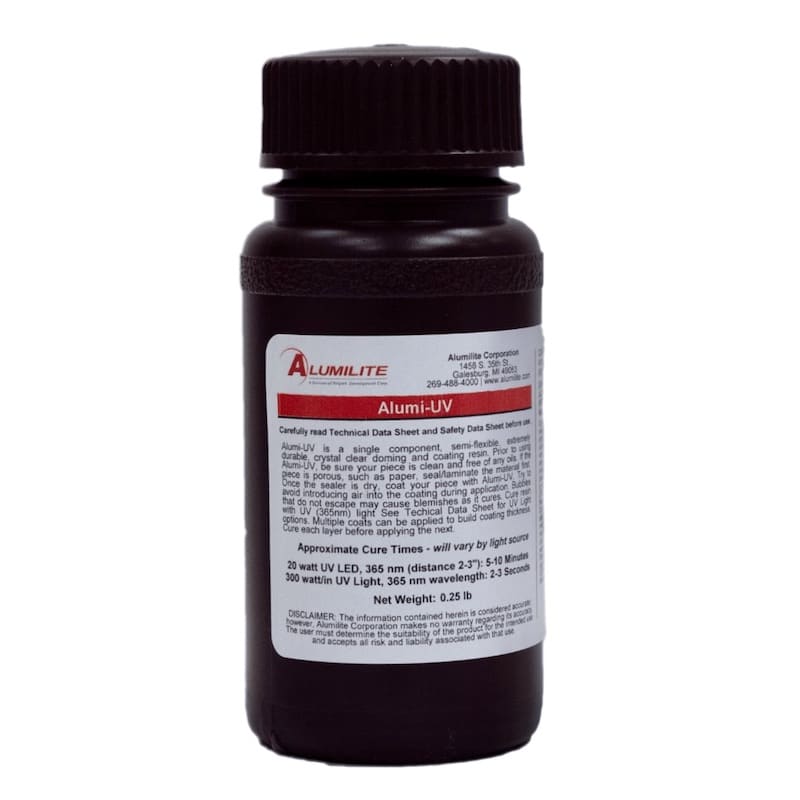
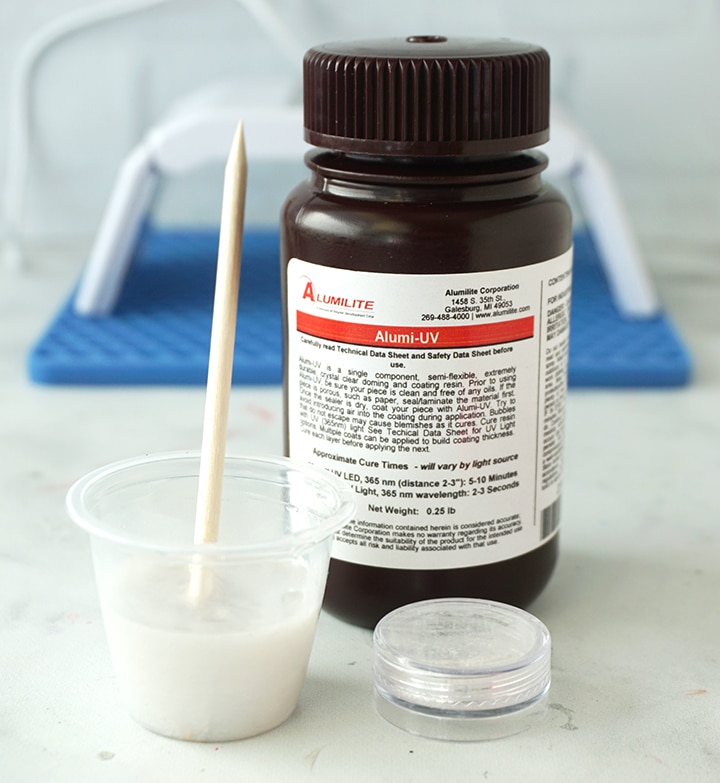
Alumi-UV is different than the other epoxy resins shared here on Resin Crafts Blog. This crystal clear resin cures in minutes via UV light, and is great for coating or doming your projects. Pour about 15 ml of Alumi-UV into a small mixing cup. You don’t need to do any mixing – this is a one pour resin! It also cures in minutes as opposed to days… the ultimate instant gratification resin!
STEP 2: COLOR THE RESIN
Add a little bit of pearl white mica powder (found in the Alumilite Creation Kit) to the cup of resin. Mix it in slowly with a stir stick until evenly combined.
STEP 3:
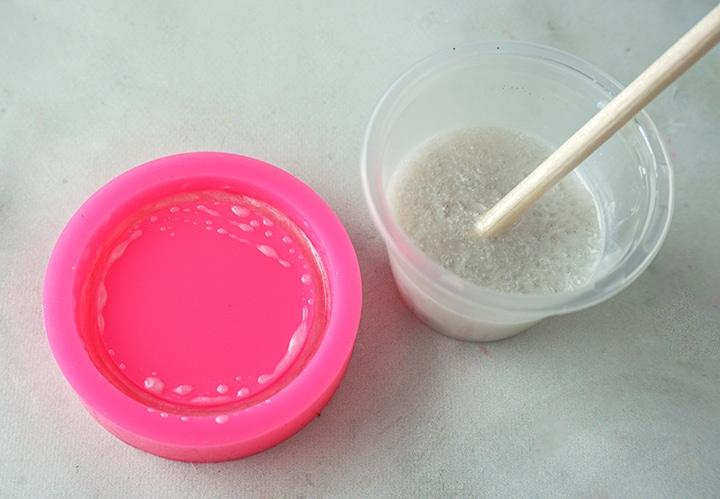
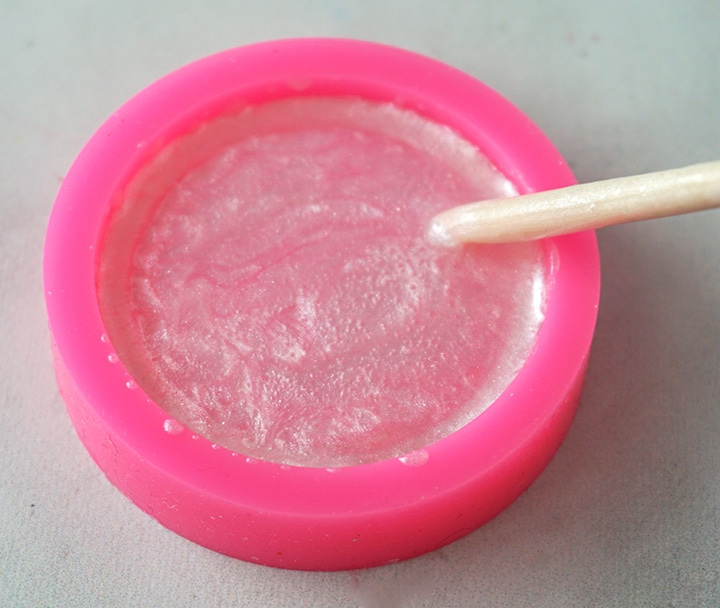
Ideally, you would use a clear mold when working with UV resin to get the best results. However, it can be done in an opaque mold, but you need to work in very thin layers. Use the stir stick to pour a very thin layer of resin into the base of the mold.
STEP 4:
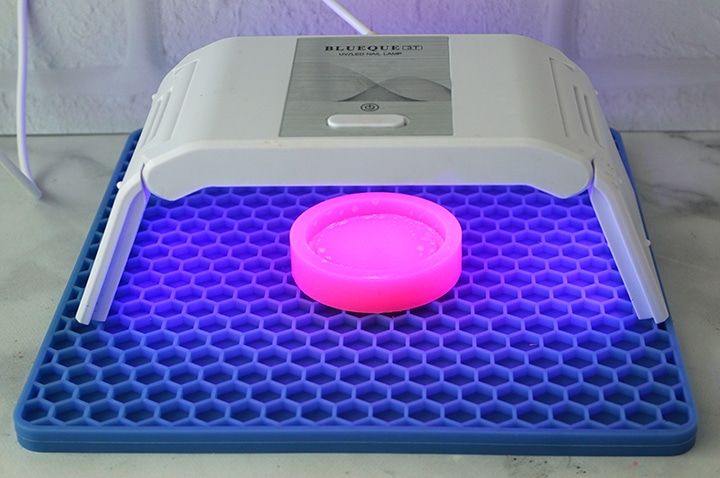
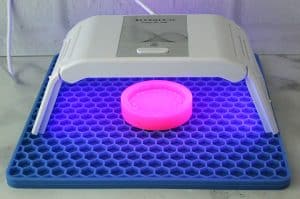
Place the mold under UV light for about 5 minutes. Be sure to keep the mixing cup of resin covered and far away from this light to prevent it from curing in the cup!
STEP 5:
Add another thin layer of resin to the mold (do not remove the previous layer) and cure for another 5 minutes. Repeat this process until the mold has been filled to the top.
STEP 6:
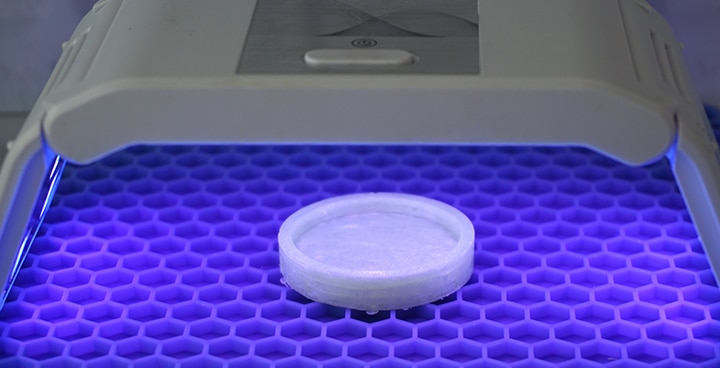
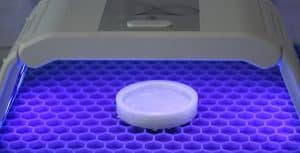
Remove the resin from the mold. Since I used an opaque mold, sometimes the surface needs a little more curing time since the light couldn’t penetrate the mold. Try not to touch the surface of the resin, and place it under UV light for an additional 5-10 minutes to allow the resin to cure completely.
STEP 7:
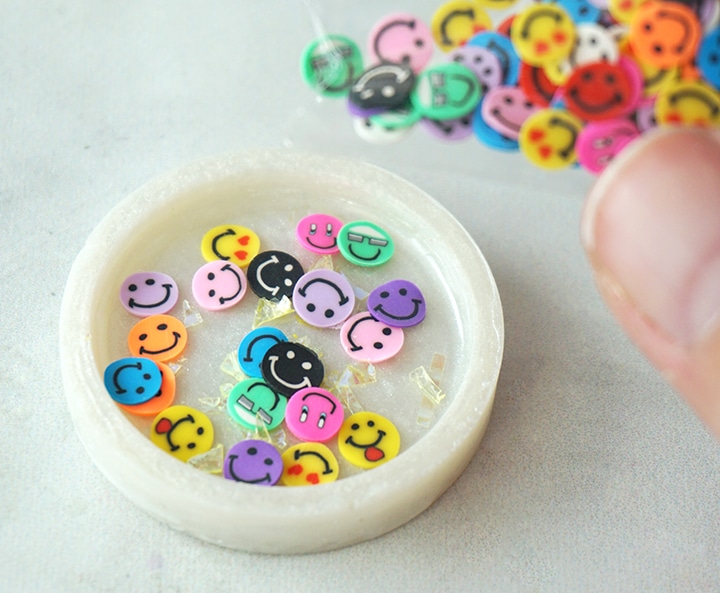
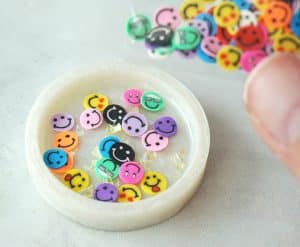
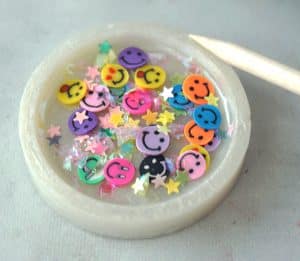
Now that the shaker charm base is completed, it’s time to fill it up! This is where you can get really creative and even give the shaker a “theme”. For example, I just wanted to have a shaker keychain that makes me smile, so I filled it with the adorable happy face clay slices that are found in the Alumilite Creation Kit. I also love that these little faces add so much color to the white background of the shaker charm!
STEP 8:
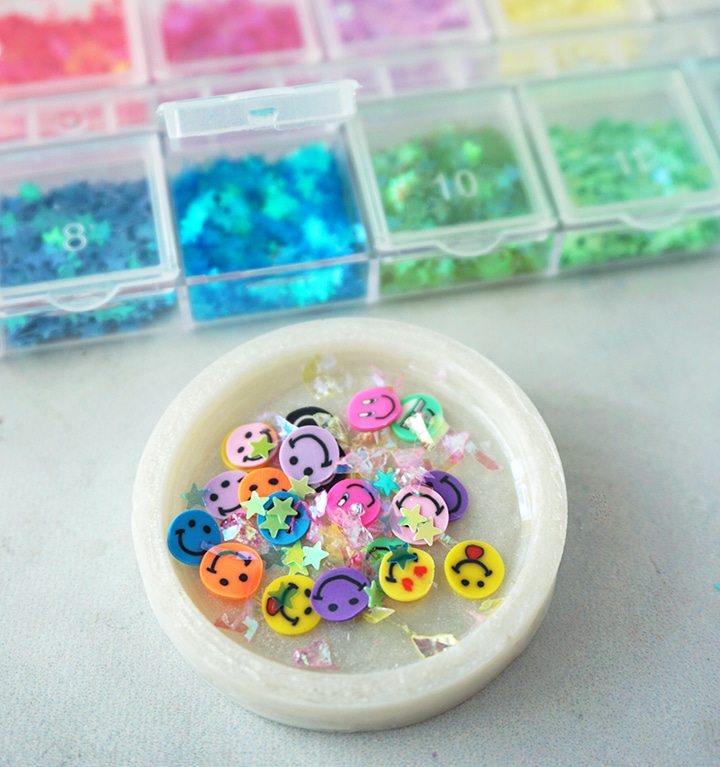
Along with the faces, I added some mylar flakes and star confetti in different colors to add shimmer and color to the shaker charm. The filler possibilities are endless, so have fun with it!
STEP 9:
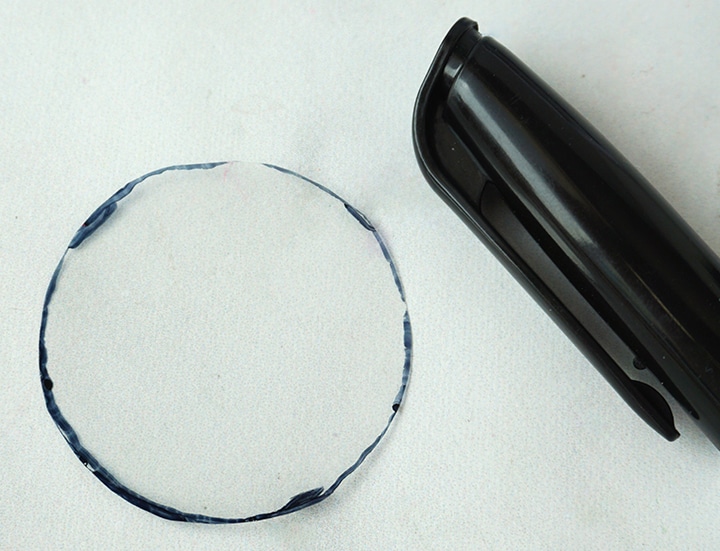
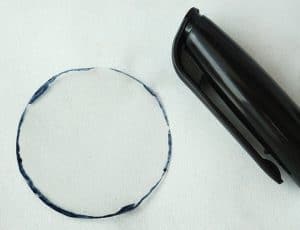
Cut a small square of transparency film and place it on top of the charm. Carefully trace the opening with a permanent marker. Cut the transparency film along the tracing. Remove the marker lines with a little bit of alcohol and a lint-free cloth.
STEP 10:
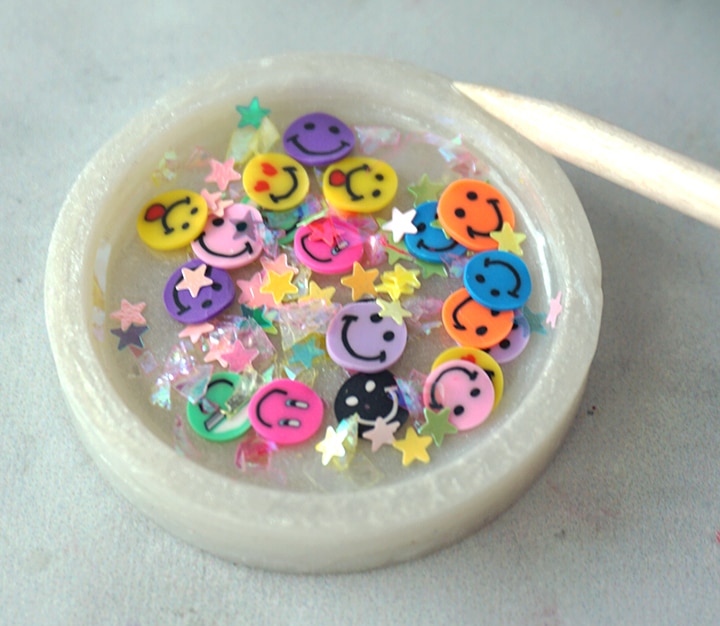
Use a toothpick or a small stir stick to add a thin line of clear Alumi-UV around the top edge of the charm. Place the transparency cutout on top of the charm and press it down into the resin.
STEP 11:
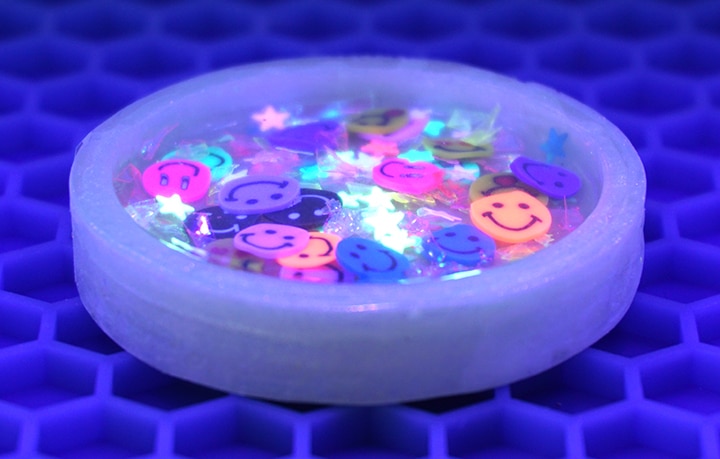
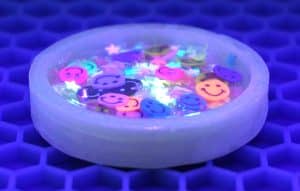
Place the charm face-up under the UV light again for about 5 minutes to allow the resin to cure, which will also seal the edges of the transparency to the top of the charm.
STEP 12:
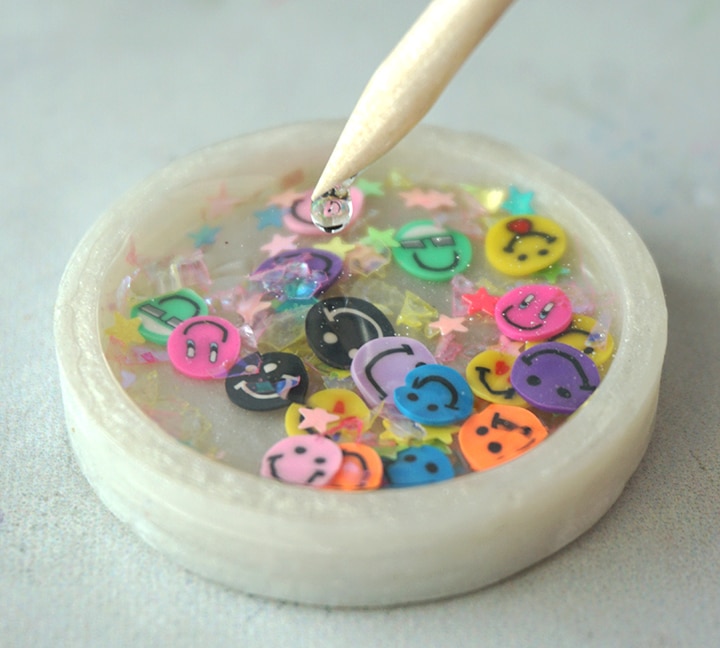
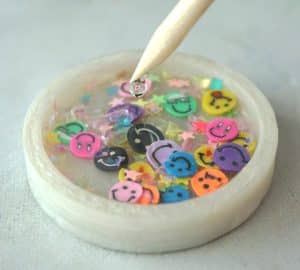
Carefully cover the top of the charm with Alumi-UV resin and use a toothpick or a stir stick to drag the resin to the edges. Be careful not to spill any resin over the edges. The will give your charm a smooth “domed” top that also completely seals the edges of the transparency film. Use a lighter or spritz the surface with alcohol to remove any bubbles.
Place the charm under the UV light for at least 5 minutes until the dome layer is completely cured.
STEP 13:
At this point, you can keep the charm as-is and give it a shake. However, I prefer to give the shaker charm a “waterfall” effect, which makes the fillers float slowly back down the bottom. To do this, you need to the fill the charm with baby oil or glycerin.
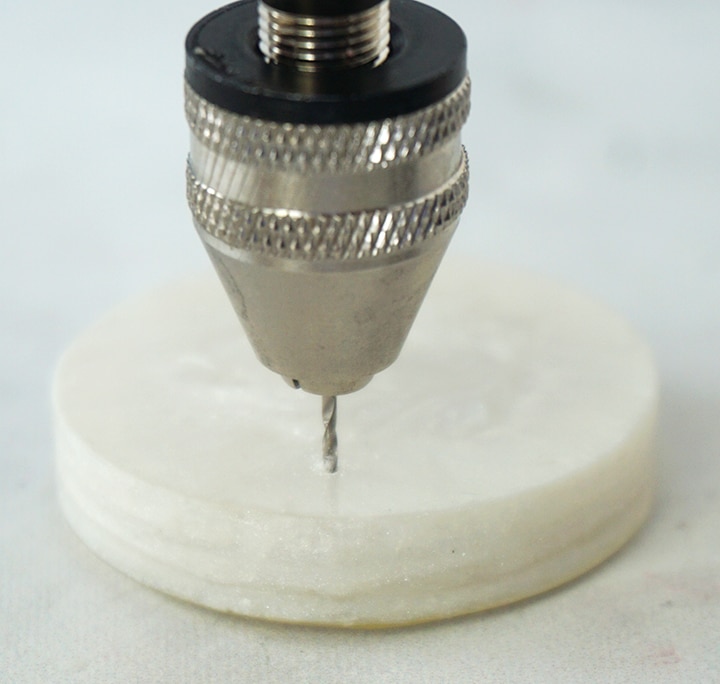
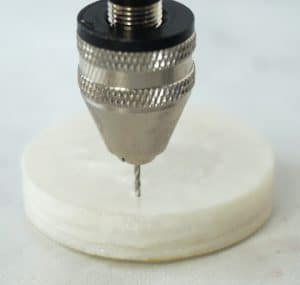
Since the top of the charm has been sealed off, you will need to make an opening. Use a hand drill to carefully drill down through the back of the charm. You can drill the hole anywhere on the charm, but I’ve found that drilling the back side is a lot easier.
STEP 14:
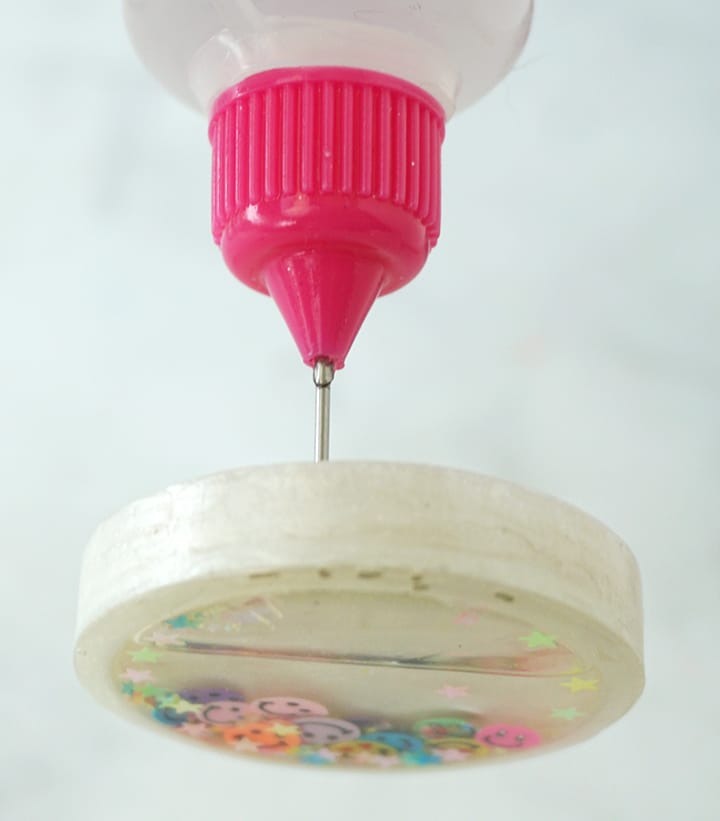
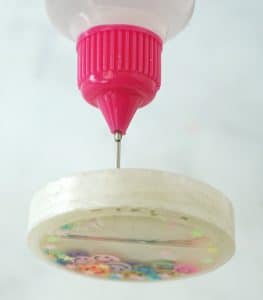
Fill an oiler bottle with baby oil or glycerin. Put the needle through the opening and slowly squeeze the bottle to fill the charm with oil. Take your time – sometimes the oil will come back up through the opening and can spill out.
With the needle still in the charm, hold the charm up to see how full it is. Once full, lay the charm back down and slowly pull the needle back out. Clean up any oil residue from the back of the charm with a paper towel.
STEP 15:
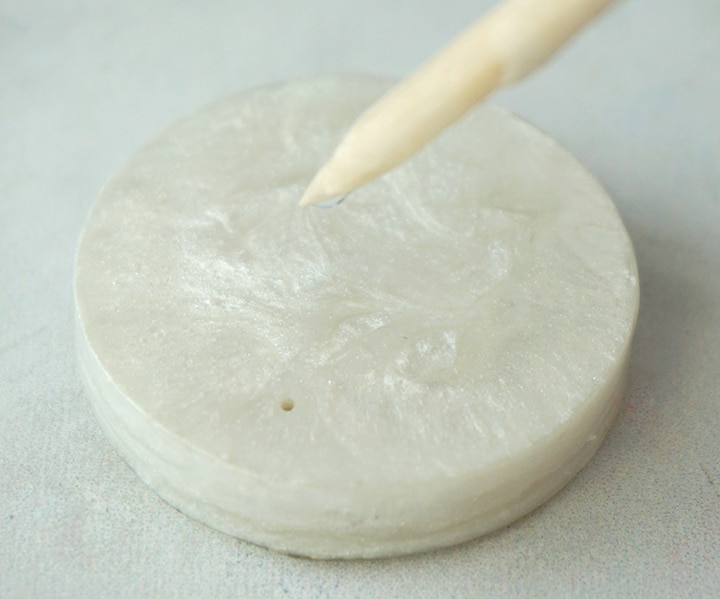
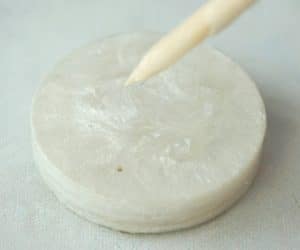
Dome the back of the charm the same way as you did the front. Keep the layer thin, and use a toothpick or stir stick to bring the resin to just the edges. Not only will this make the charm look professional, but it will permanently seal up the drilled hole at the same time!
Place the charm under the UV light for a at least 5 minutes until the dome layer is completely cured.
STEP 16:
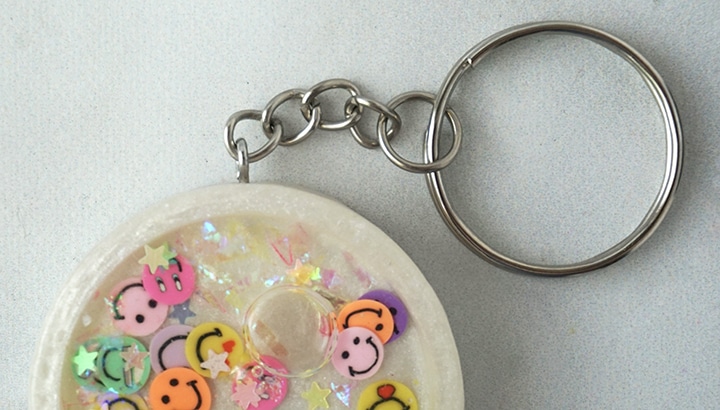
Use the hand drill to make a small hole in the top of the charm, but be sure to drill toward the back of the charm. This will prevent it from going through to the inside of the open area, which creates leaks. Remove the drill, and then twist an eye screw into the hole. For a permanent hold, put some super glue on the screw before putting it in.
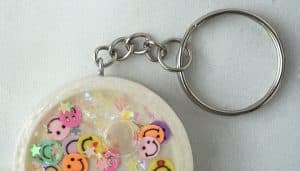
Use pliers to hook a jump ring through the eye screw, and then attach the key ring chain to the jump ring. Close the jump ring to connect the key ring to the charm.
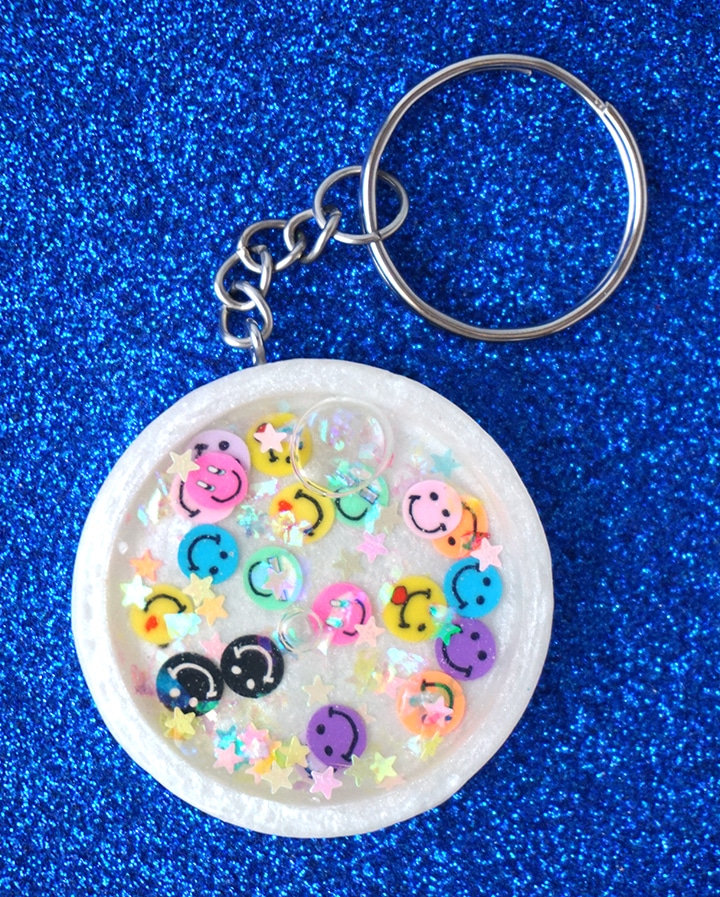
Now the U.V. resin keychain is ready to go! Give the charm a good shake and then hold it up to watch all of the happy faces and confetti float down to the bottom. This is such a unique gift idea that anyone will love, and I think you will find that shaker charms can be a lot of fun to make.
I am so HAPPY with how this “Happy” Resin Shaker Keychain turned out! As always, I would love to hear what you think about this project! What kind of fillers would you use in a shaker keychain? Be sure to check out these other fun resin crafts for more inspiration, and share your own creative resin projects in the Resin Crafting Facebook Group. Don’t forget to tag us @resincraftsblogbyeti when you share on IG!
Smiley Face U.V. Resin Shaker Keychain
Ingredients
- Alumi-UV Resin
- UV Light
- Mixing cups
- Stirring stick/Toothpick
- Disposable Gloves
- Alumilite Creation Kit – mica powder happy face slices, star confetti, mylar flakes
- Transparency Film
- Permanent Marker
- Hand Drill Tool
- Unscented Baby Oil
- Oiler Bottle
- Jewelry Eye Screw
- Key Ring with Chain
Instructions
- PREPARE THE RESINAlumi-UV is different than the other epoxy resins shared here at Resin Crafts Blog. This crystal clear resin cures in minutes via UV light, and is great for coating or doming your projects. Pour about 15 ml of Alumi-UV into a small mixing cup. You don't need to do any mixing – this is a one pour resin!
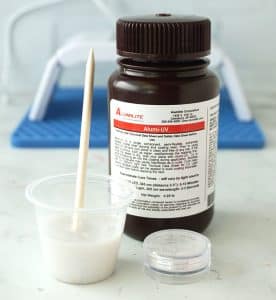
- COLOR THE RESINAdd a little bit of pearl white mica powder (found in the Alumilite Creation Kit) to the cup of resin. Mix it in slowly with a stir stick until evenly combined.
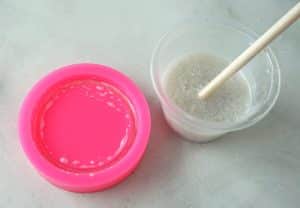
- Ideally, you would use a clear mold when working with UV resin to get the best results. However, it can be done in an opaque mold, but you need to work in very thin layers. Use the stir stick to pour a very thin layer of resin into the base of the mold.
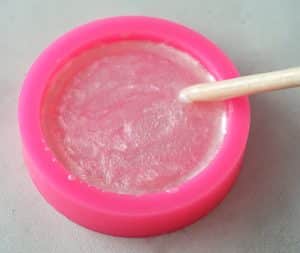
- Place the mold under UV light for about 5 minutes. Be sure to keep the mixing cup of resin covered and far away from this light to prevent it from curing in the cup!
- Add another thin layer of resin to the mold (do not remove the previous layer) and cure for another 5 minutes. Repeat this process until the mold has been filled to the top.
- Remove the resin from the mold. Since I used an opaque mold, sometimes the surface needs a little more curing time since the light couldn't penetrate the mold. Try not to touch the surface of the resin, and place it under UV light for an additional 5-10 minutes to allow the resin to cure completely.
- Fill the shaker charm base with smiley faces, mylar flakes and/or additives of your choice.
- Cut a small square of transparency film and place it on top of the charm. Carefully trace the opening with a permanent marker. Cut the transparency film along the tracing. Remove the marker lines with a little bit of alcohol and a lint-free cloth.
- Use a toothpick or a small stir stick to add a thin line of clear Alumi-UV around the top edge of the charm. Place the transparency cutout on top of the charm and press it down into the resin.
- Place the charm face-up under the UV light again for about 5 minutes to allow the resin to cure, which will also seal the edges of the transparency to the top of the charm.
- Carefully cover the top of the charm with Alumi-UV resin and use a toothpick or a stir stick to drag the resin to the edges to create a doming layer. Use a lighter or spritz the surface with alcohol to remove any bubbles. Place the charm under the UV light for at least 5 minutes until the dome layer is completely cured.
- (OPTIONAL): To give the shaker charm a "waterfall" effect, use a hand drill to carefully drill down through the back of the charm.
- (OPTIONAL): Fill an oiler bottle with baby oil or glycerin. Put the needle through the opening and slowly squeeze the bottle to fill the charm with oil. Take your time – sometimes the oil will come back up through the opening and can spill out.
- Dome the back of the charm the same way as you did the front. Keep the layer thin, and use a toothpick or stir stick to bring the resin to just the edges. Not only will this make the charm look professional, but it will permanently seal up the drilled hole at the same time. Place the charm under the UV light for a at least 5 minutes until the dome layer is completely cured.
- Use the hand drill to make a small hole in the top of the charm, but be sure to drill toward the back of the charm. This will prevent it from going through to the inside of the open area, which creates leaks. Remove the drill, and then twist an eye screw into the hole. For a permanent hold, put some super glue on the screw before putting it in.
- Use pliers to hook a jump ring through the eye screw, and then attach the key ring chain to the jump ring. Close the jump ring to connect the key ring to the charm.
Notes
Lindsay is a crafter, graphic designer, and glitter enthusiast from Utah. She’s passionate about homeschooling her creative daughter, traveling, and spending time in the craft room. Lindsay shares DIY project tutorials, printables, recipes, kids crafts, and more on her blog, ArtsyFartsyMama.com, where she inspires readers to live a creative life.
I really love this ideas. Thanks a lot for sharing this.????????????????????????????????????
Is there another way to do this without any special type of resin and machines? Please create an article on that.