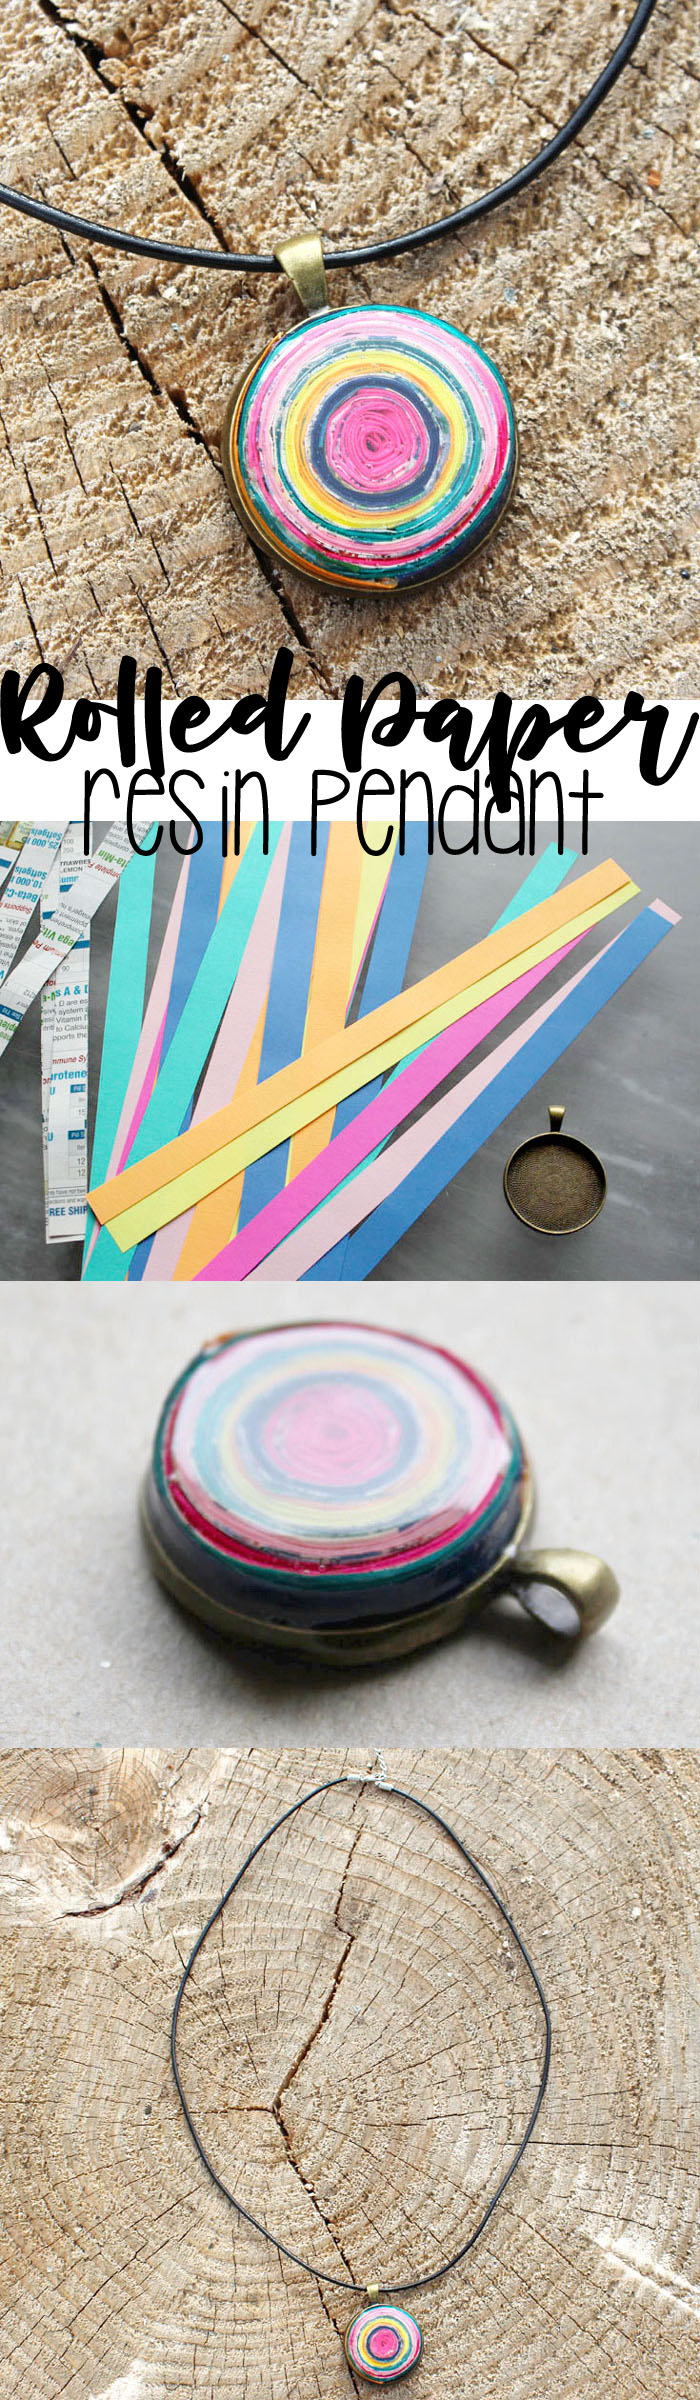
Rolled Paper Resin Pendant DIY
Hi Resin Crafters, it’s Natalie from Doodlecraft sharing another fabulous pendant. Rolled paper is such a fun technique and a great way to upcycle old papers. This project uses brightly colored paper and some junk mail. It’s a fun way to recycle bits of paper and mail that may hold some sentimental value too. Let’s get started!
Supplies:
1/4 inch strips of colored paper, junk mail or magazines
Pendant Bezel and Cord
Double sided adhesive tape
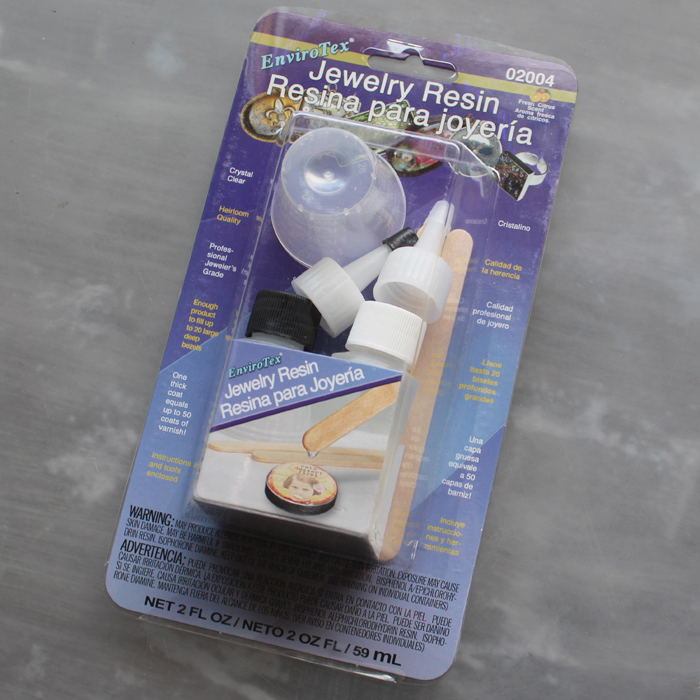
Ultra Seal Multi-Purpose Sealer
Disposable work surface, stirring sticks, mixing cups, gloves
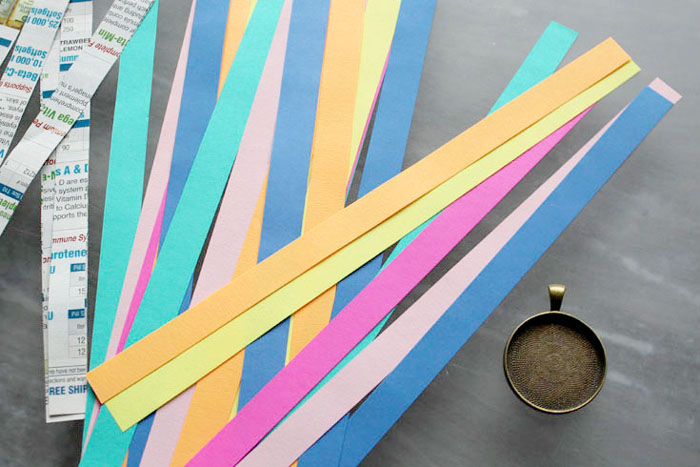
Begin by folding the strips of paper in half. Folding the paper gives twice the thickness and a really great visual edge when completed. This part can be a little tedious.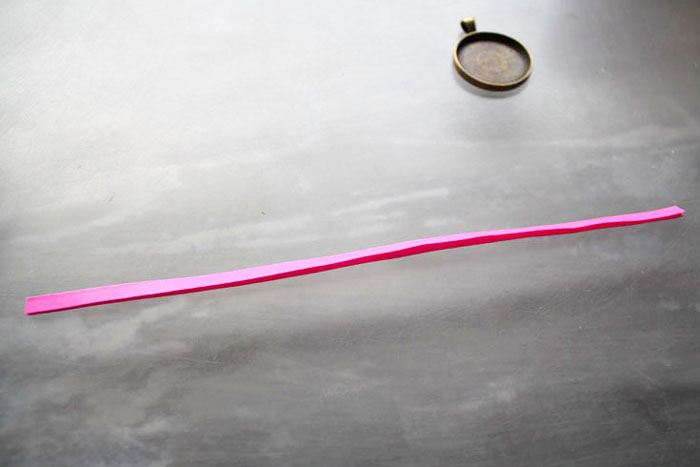
Next, tape strips of paper together with some double sided adhesive tape. Then begin rolling the end as tightly as possible. Tape periodically while holding the center tightly.
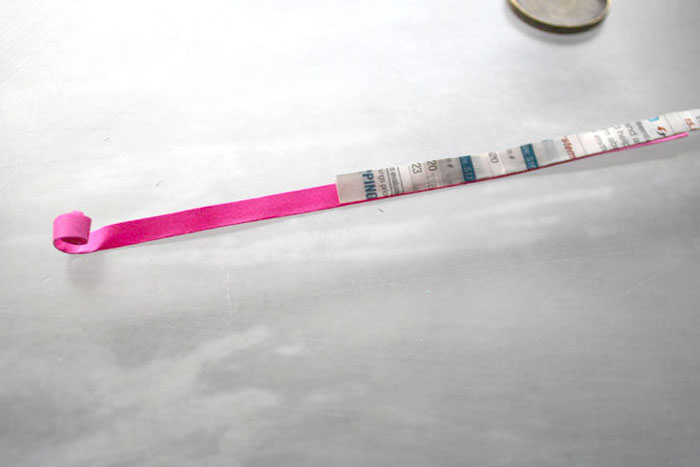
It will begin to take shape! Tape on more folded paper and continue until your rolled paper is the size of the pendant bezel.

Vary the colors to make it look bright and fun. Adding the junk mail in there is a really cool touch too, I love the texture the print gives.
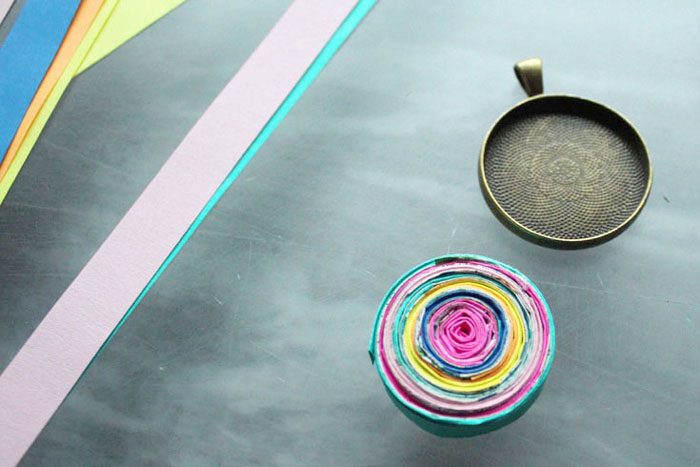
When pleased with the size of the rolled paper, use the multi-purpose sealer and fill the inside of the bezel with the glue.

Give it a generous layer, the sealer will work it’s way up in the spaces between the paper.
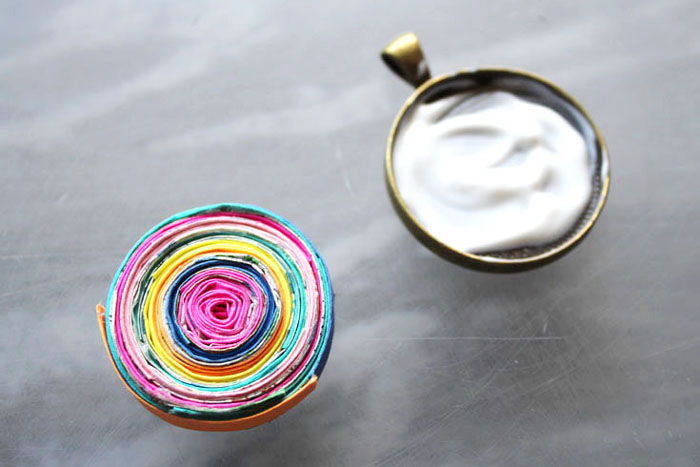
Then coat the top of the paper with the sealer (I missed this part and I’ll show you what happens if you don’t do it later). Let the sealer dry completely.
Now get the jewelry resin and your workspace ready. Work on a disposable surface, wearing disposable gloves. Read the directions for this jewelry resin before starting.
Mix up the resin according to package directions.
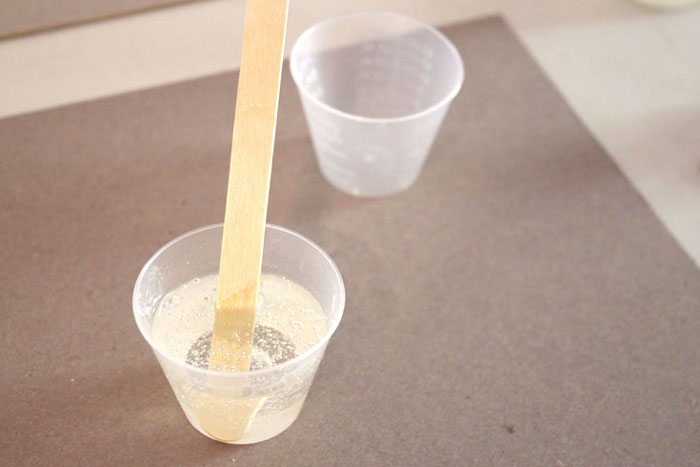
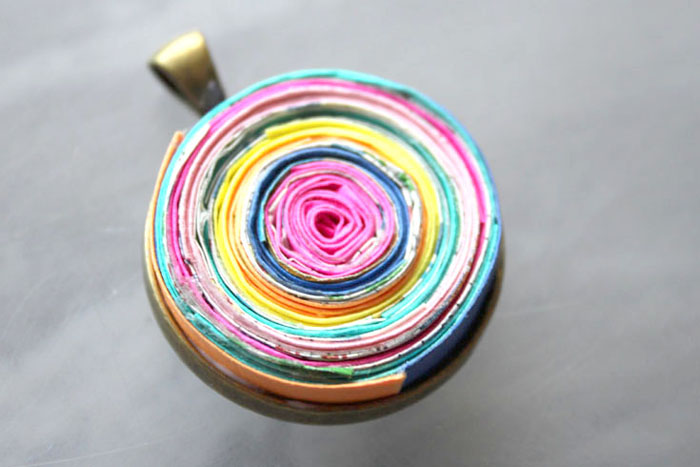
Now, the bezel won’t sit flat on it’s own because the pendant hanger sticks out on the back, so set the bezel on something to raise it up so it is sitting level. I used a cap from the used up resin bottle. Pour some resin right in the center of the top. The resin soaks into the cracks of the paper and releases bubbles. (If the paper is coated in sealer, the bubbles will be much less). Let the resin soak in and then add a little more resin.

After twenty minutes, check for bubbles. Use a mini torch or heat gun to quickly pop the bubbles. Then let the pendant dry completely, usually 24 hours.

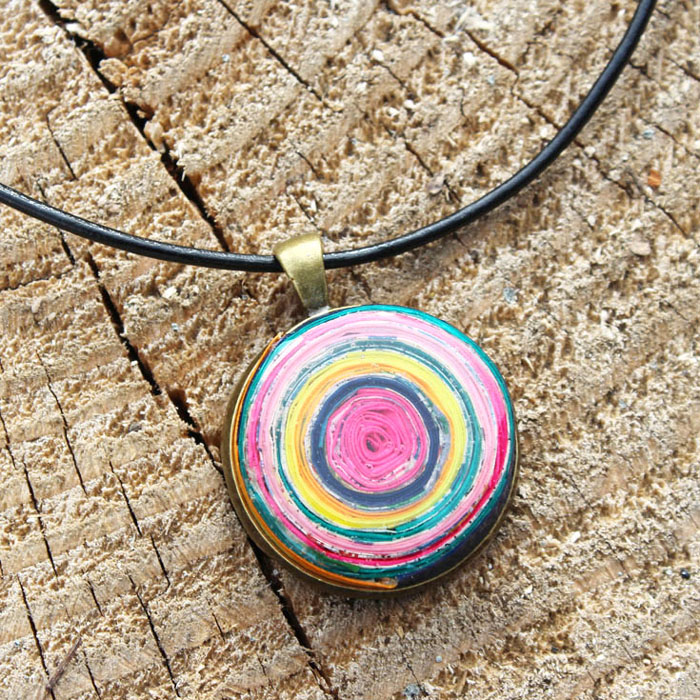
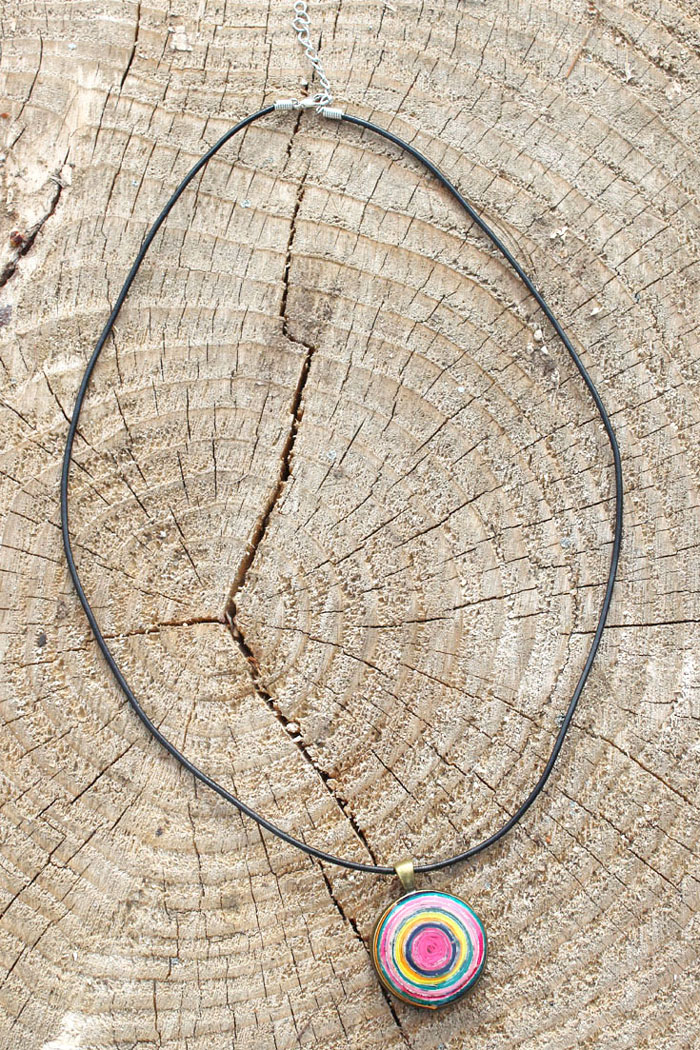
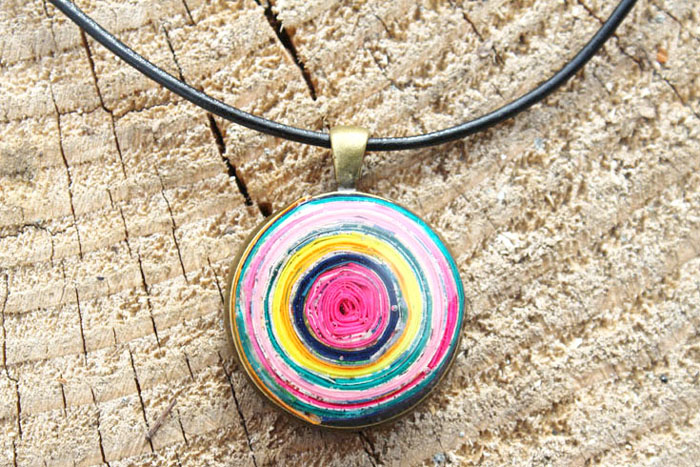
Finally, string the cord through the bezel and wear your recycled art proudly! The rolled paper is stunning and a great conversation piece, no one will know it’s junk mail!

The glossy shine from the resin gives it an especially professional finish!
 Pin it for later!
SaveSave
SaveSave
SaveSave
Natalie Shaw is a Craft/DIY blogger at Doodlecraftblog.com. She loves sci-fi, fantasy and video game geekery and that comes out in many of her projects. She posts budget conscious DIY’s, crafts, jewelry, kid friendly projects, upcycled treasures and other fun on her blog 5 days a week.


Great project but directions could be more clear – what is double sided adhesive ? tape ? And for someone less experienced, a better explanation of why the bezel is raised up – should have mentioned it can not be placed flat because of top ring.
Thank you for the suggestions. Updated the post to hopefully be more clear.