When it comes to pouring resin, the perfect pour doesn’t have to be intimidating. In fact, we’d love to talk you through a few tips that will help ensure your path to your next resin pour masterpiece.
Once you’ve properly measured out and mixed up your epoxy (and added any desired colorants), it’s time for the big pour. There are a few things you can do to assist this process before any pouring actually happens.
Before the Pour
For starters, check that your intended surface is clean, free of debris, and perfectly level. This will allow the epoxy’s self-leveling properties to kick in so that it can spread evenly.
Consider Your Tools
It helps to be thoughtful about the tools you’re using to pour epoxy resin as well. Depending on whether you’re doing a larger pour or more intricate smaller ones, you’ll want a vessel that you can control well. Disposable paper cups are a solid option because they’re cheap and flexible, so you can bend the edges of them to help control the flow. However, they’re pretty much one use and done.
Plastic cups are similar, but a little less flexible. You can also purchase plastic measuring cups with spouts that will make pouring much easier.
A little more expensive but reusable option are silicone measuring cups. These can be purchased with a spout and cleaned out once the resin inside has cured.
Pouring Resin The Right Way
When it comes to the actual pour, it’s a great practice to start out slow and get an understanding of how fast the epoxy flows. Additionally, if you want to cover or fill in an entire surface or area, start by pouring in the middle.
Simple, right? It can be a little daunting to approach, but once you get the hang of these practices, it should become second nature.
And now that we’ve talked about how to perfect your resin pouring skills, what better way to celebrate than by creating one of these amazing projects?
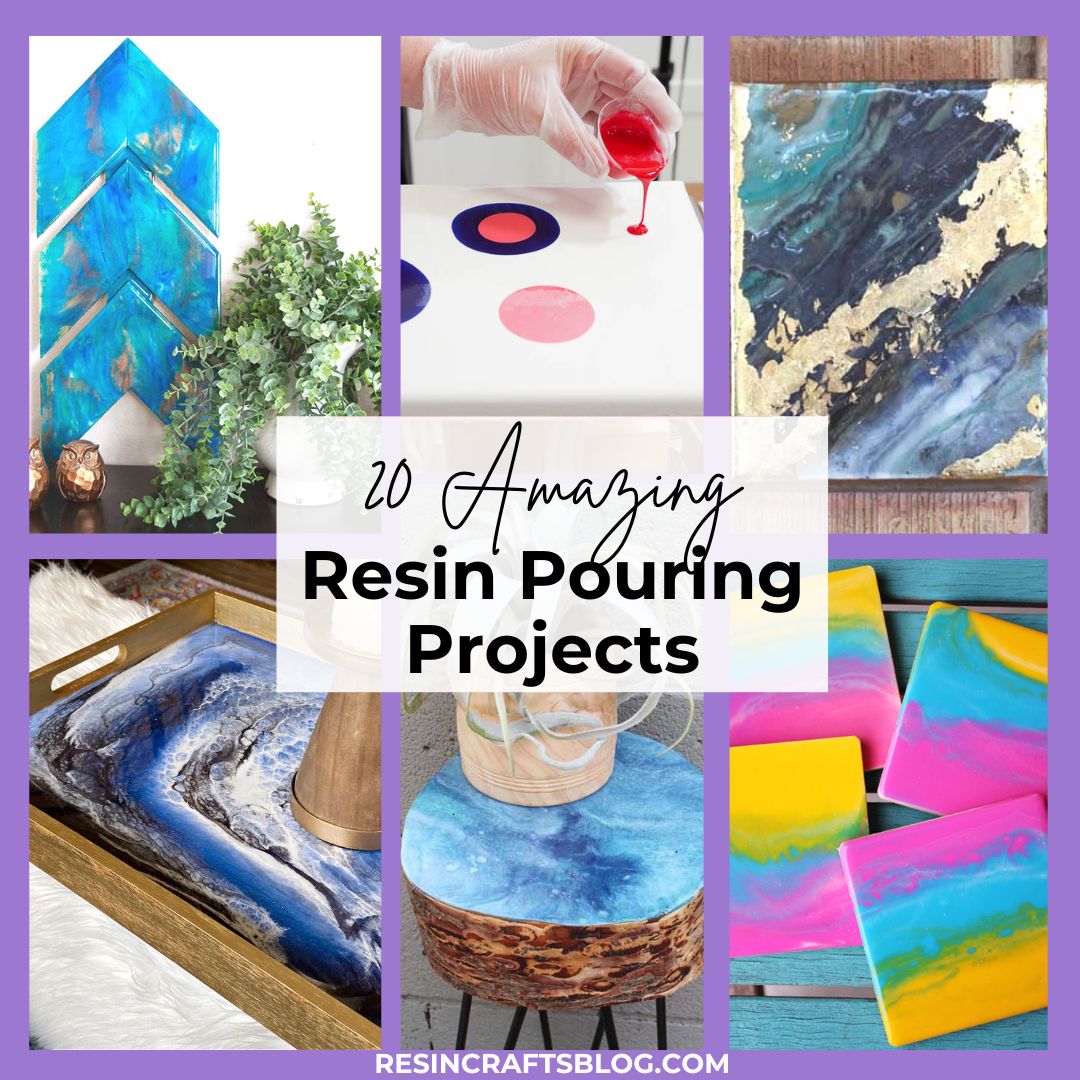
Amazing Resin Pouring Projects
Whether you're looking to pour your own resin patterns fresh or use the scraps of previous resin pours, this list is sure to serve as inspiration for your next project! Which will you try?
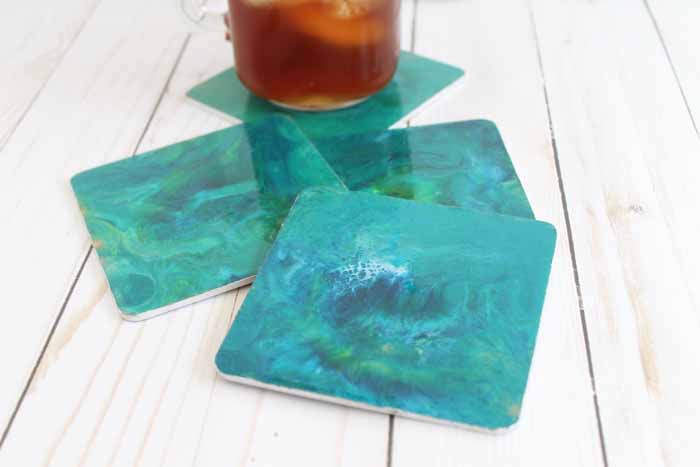
For a splash of color on your tablescape, try creating your own poured resin marble coasters. These wood coasters are completely transformed by the simple and customizable process of resin pouring.

Show your state pride with this beautiful resin poured state silhouette!
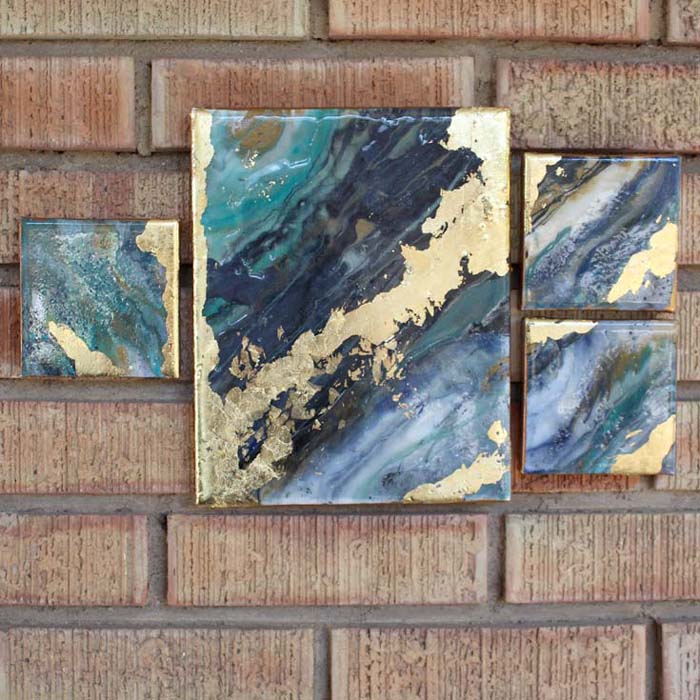
Capture pure elegance and put it on display in your home with your own poured resin gold leaf canvas art!

Create a beautiful rainbow sunset on these DIY paint poured coasters.
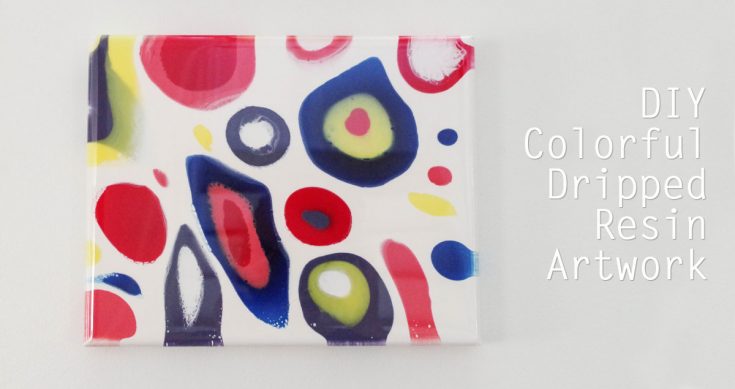
Light up any space with this vibrant epoxy artwork! Not only are there brilliant colors underneath, but a crystal-clear topcoat leaves it with the perfect shine.
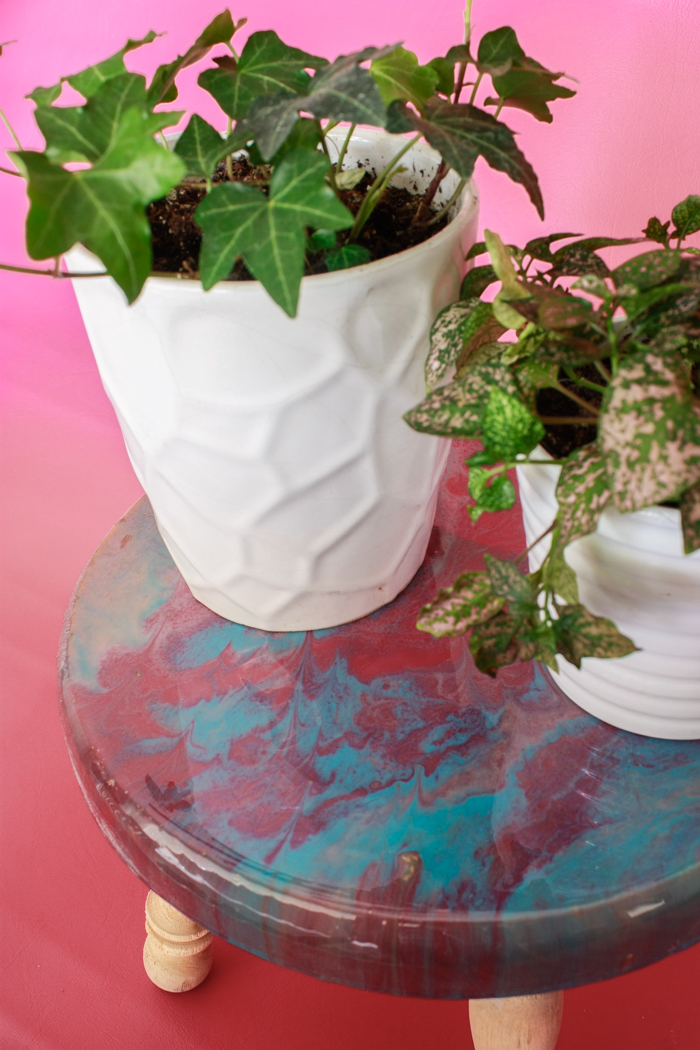
Give your pretty plant babies something delightful and eye-catching to perch on. Let your epoxy pour cascade over the sides of the small stand for a uniform look!
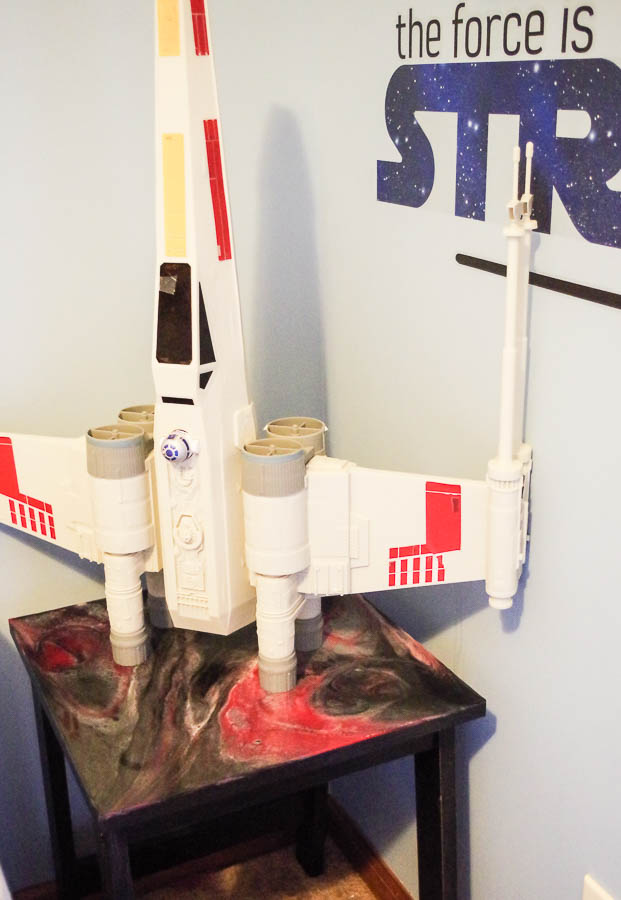
Spiffy up an existing wooden side table with a pattern of black, silver, and red resin. This project makes use of the well-known dirty pour resin technique.
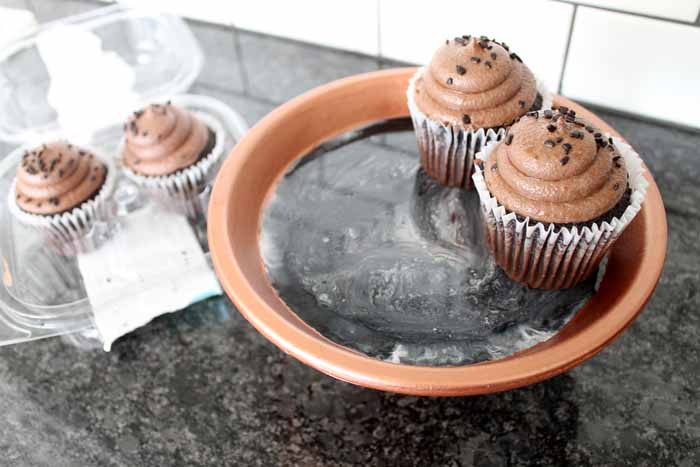
Make a clay pot cupcake stand in minutes! This project is perfect for parties and can be customized to match any decor. The marbled resin effect on the top looks similar to granite when complete and will really wow your guests!

Acrylic paints can be incorporated into resin crafts as long as they are used sparingly.
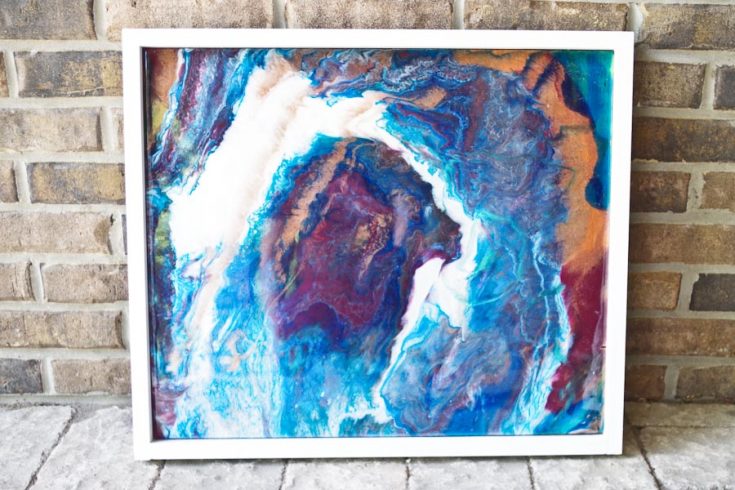
Pour your own colorful abstract work of art to hang about your abode! This guide uses particular colors, but feel free to experiment with your favorites.
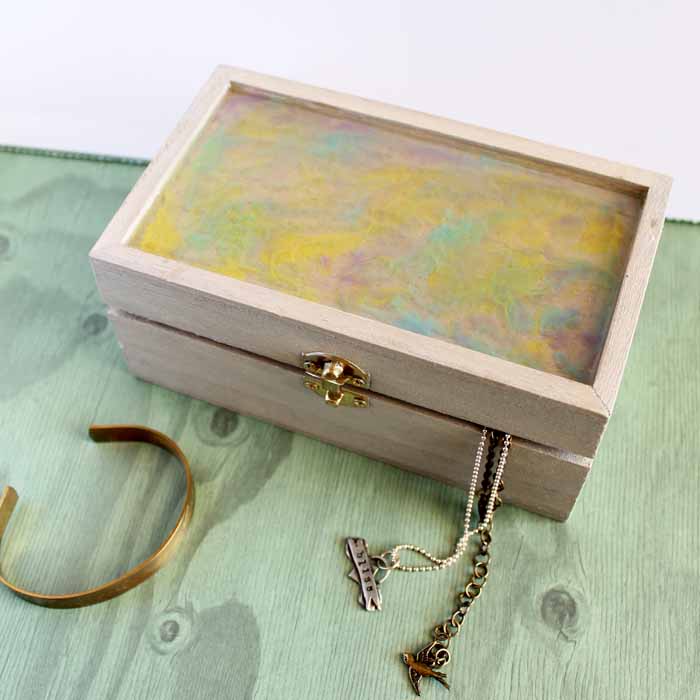
Create a colorful jewelry box coated with a marbled resin finish.
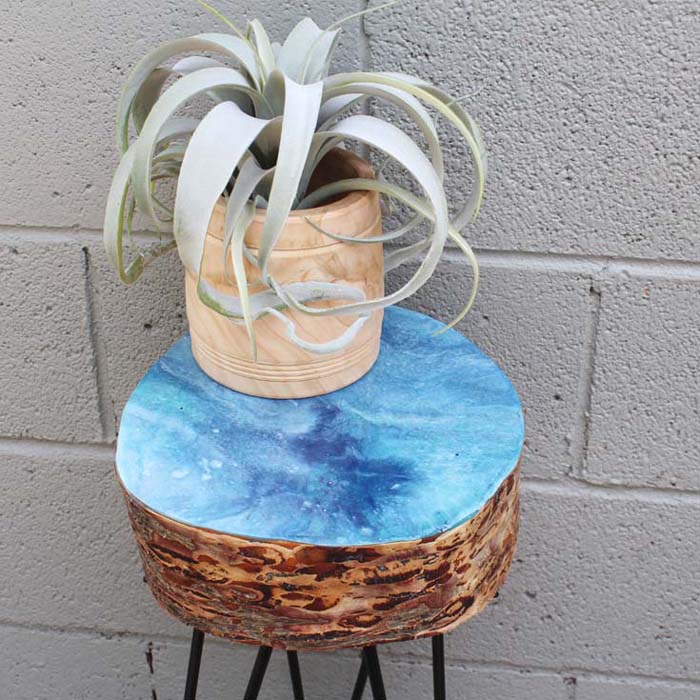
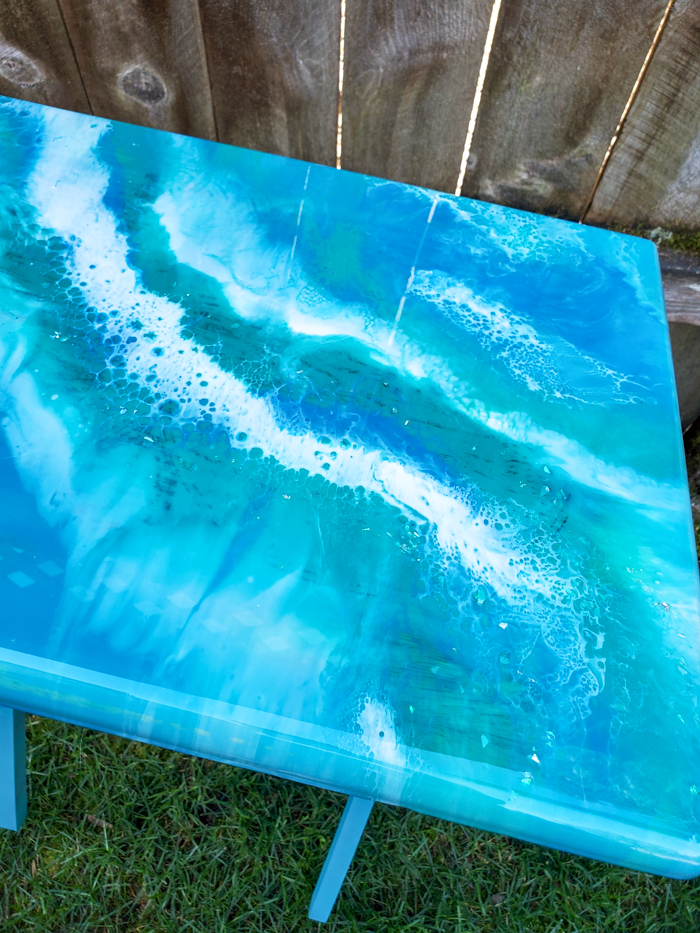
This hairpin leg table DIY blends an artistic marbled resin pour with a rustic log slice base for a perfectly stylish side table.

Keep photos or mementos of your special day safe within this stunning poured resin wedding keepsake book box. You'll never have to close the book on those memories!
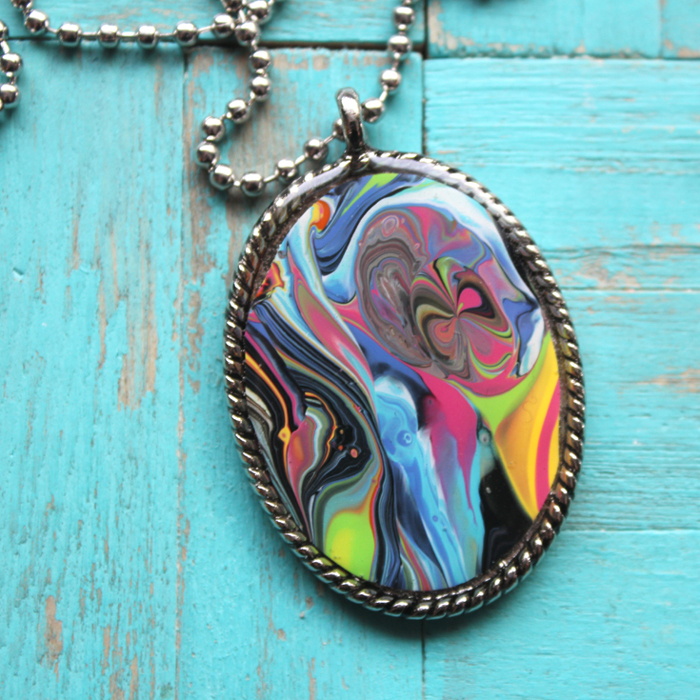
Use the skins of your leftover resin dirty pours to craft a modern art masterpiece to go with this pendant project!
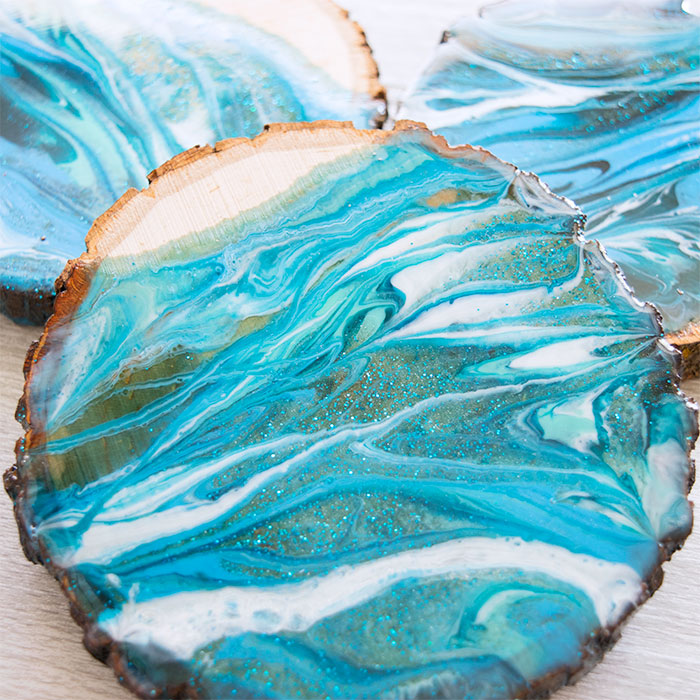
Glittery and gorgeous, these resin coasters make use of wood slices and whatever color palette you can dream up. Those marbled swirls are, frankly, mesmerizing.
If you ask us, chevron is always in! For just a touch of this proven pointy pattern, create these wooden wall hangings and coat them with colorful resin.
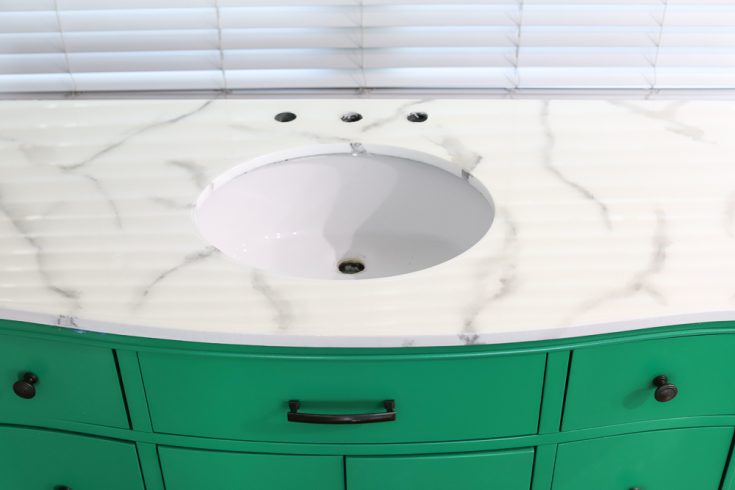
How to do resin pour bathroom countertop makeover!
This elegant DIY resin serving tray is perfect for any occasion! With just a few supplies, you can pour a beautiful and unique tray.
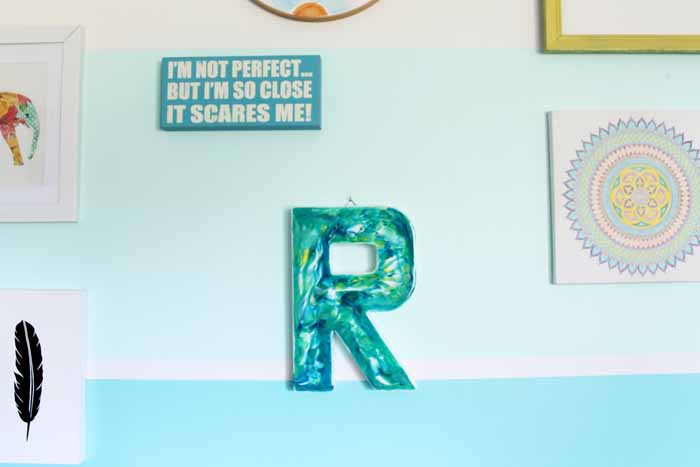
Create a marbled effect monogram letter with a swirled resin pour technique.
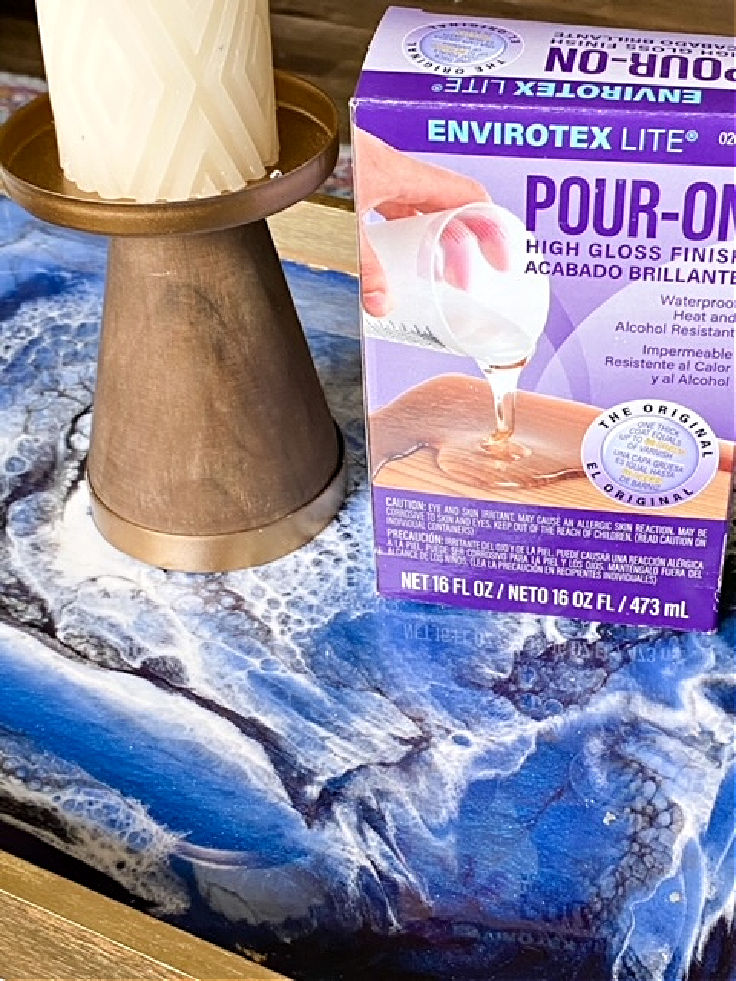
Use Envirotex Lite Pour-On Resin in different colors of blue and green to make this beautiful resin table top.
New to working with resin? Take a look at our FAQs section here!


Do you have an instruction video on how to apply your product to countertops
Hi Anthony. We don’t at this time but please feel free to call our Customer Support and they will be happy to walk you through step by step for a successful application! You can reach Marty M-F 8:00-4:00PST at 1-800-368-9324. Good luck!
How thick can a resin pour be? I have a project which will require approximately 1” of resin for proper coverage
It can get pretty thick! For a thicker pour like you’re talking about you would use our EasyCast resin.