From EasyCast, Envirotex Lite, FastCast and more, there are so many exciting varieties of resin to use for crafting! Today we’re going to review which resin product is ideal for different types of DIY projects. The possibilities for creating beautiful decor, gifts and jewelry are truly endless!
Hi creative friends! I’m Jane from Sustain my Craft Habit, a DIY, crafts and home decor blog I write with my sister Sonja. We’ve been fortunate to have the opportunity to collaborate with ETI over the past three years and try out their diverse collection of resin and epoxy products. From serving trays, poured resin ornaments, jewelry with pressed flowers, napkin rings, charms, keychains and more, we’ve had the chance to put all the different types of resin to use!
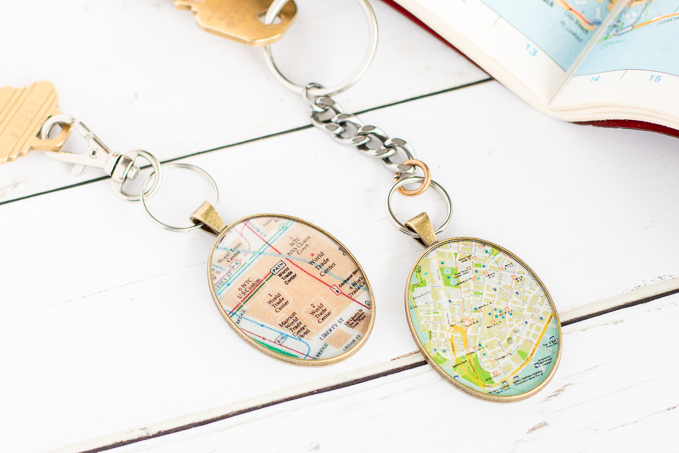

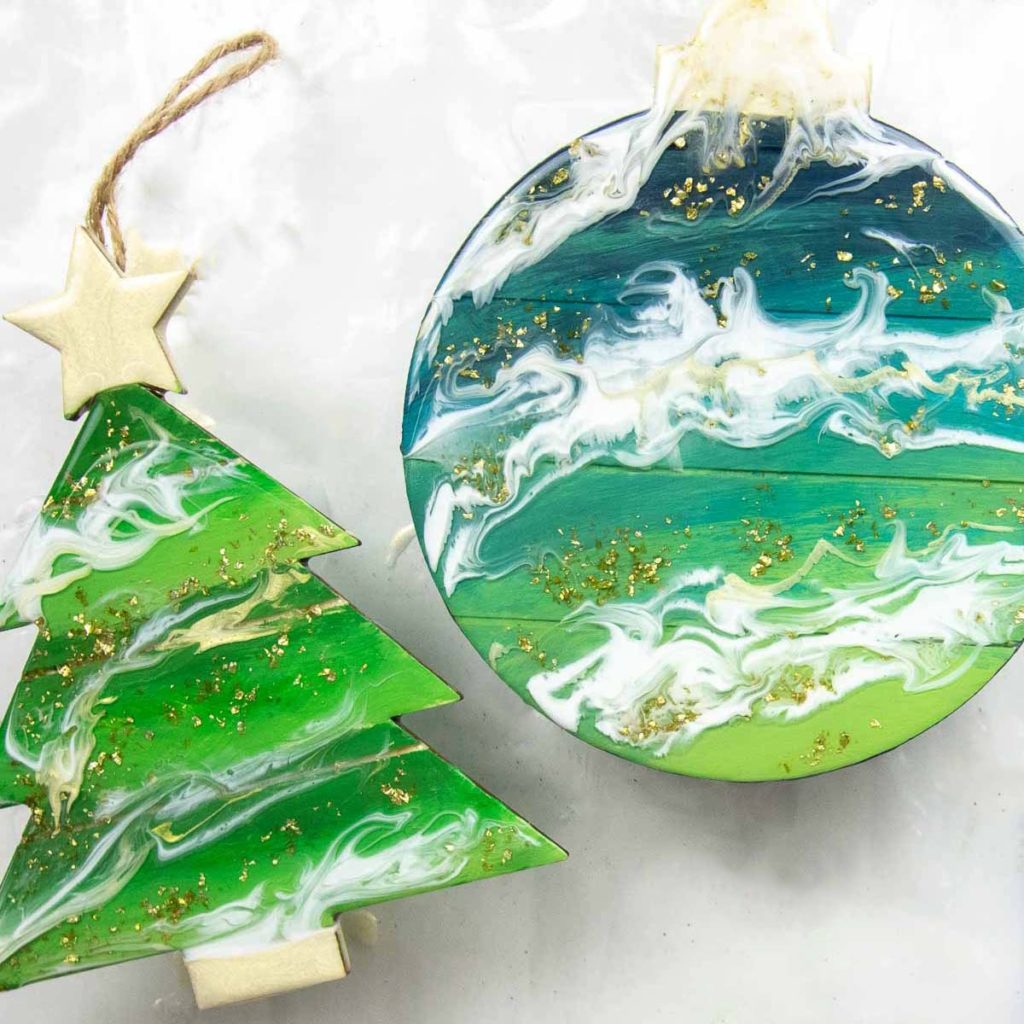

If you’re new to resin crafting you might have questions about which epoxy or resin is ideal for the project you have in mind. Below we’ll cover the recommended uses for each ETI product and provide examples for each. At the end we have a simple floral broach project for you using ETI FastCast resin.
Over time you’ll likely find a favorite ETI resin or epoxy product to work with. Don’t tell the others, but ours is the EasyCast Clear Casting Epoxy because it’s really versatile and easy to use. Our pieces tend to work out even better than we imagined each time we use it! But then again, we love all the pieces we’ve made, so maybe we spoke too soon 🙂
OK, let’s get started with our ultimate guide to which ETI resin or epoxy product you should use for your resin craft!
The Different Types of ETI Resin and Epoxy: The Ultimate Resin Guide
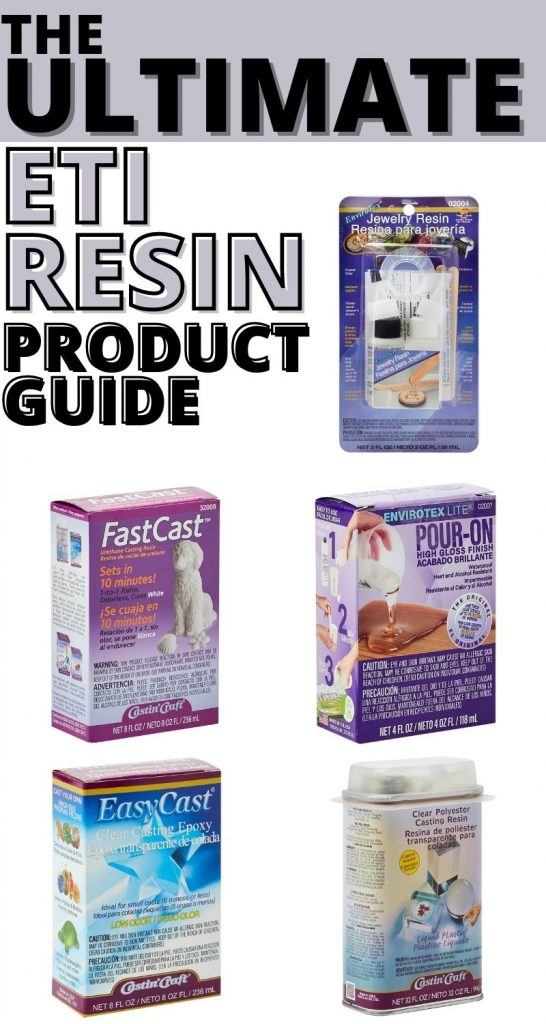
Envirotex Lite Pour-On High Gloss Finish
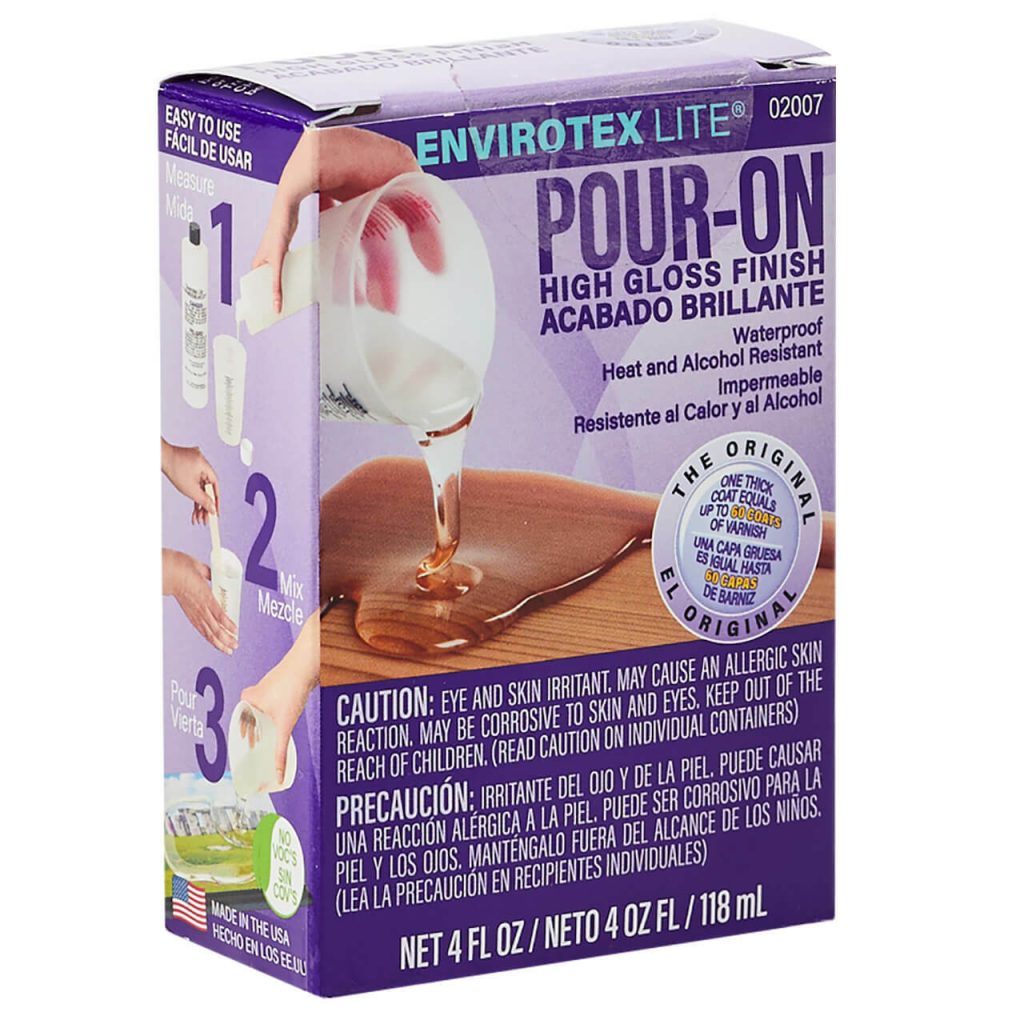
- Creates a high-gloss finish on any level surface
- Pours up to ⅛” thick
- 25 minute working time
- Soft cure in 8 hours, medium cure in 24 hours and hard cure in 72 hours
Here are some examples of project tutorial here on the Resin Crafts Blog using the Envirotex Lite Pour-On:
DIY Driftwood Serving Tray with Envirotex Lite Pour On
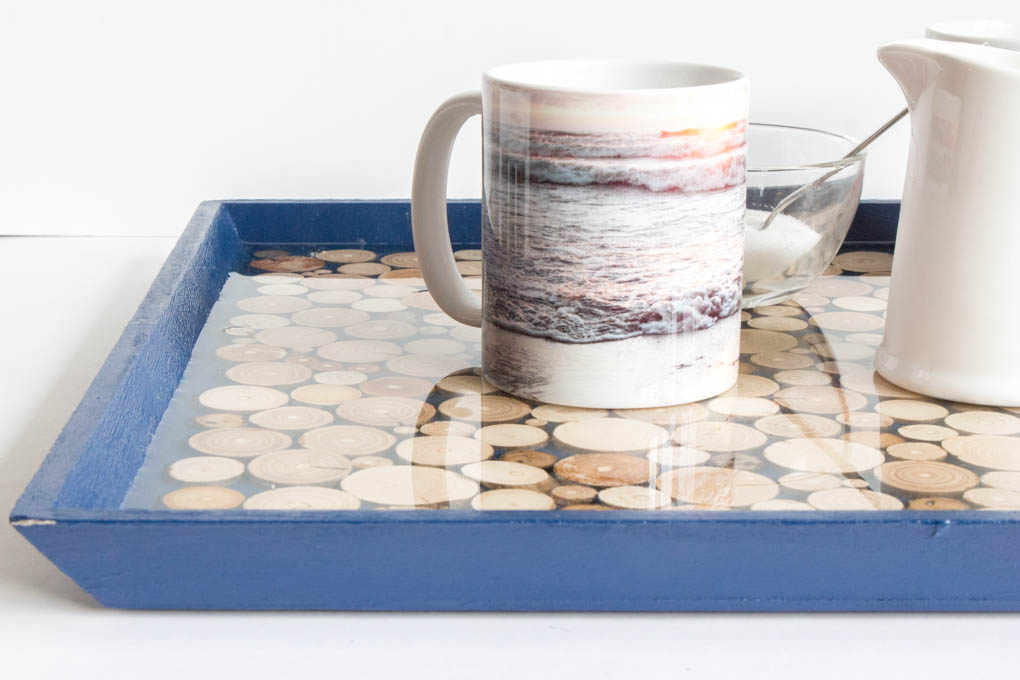
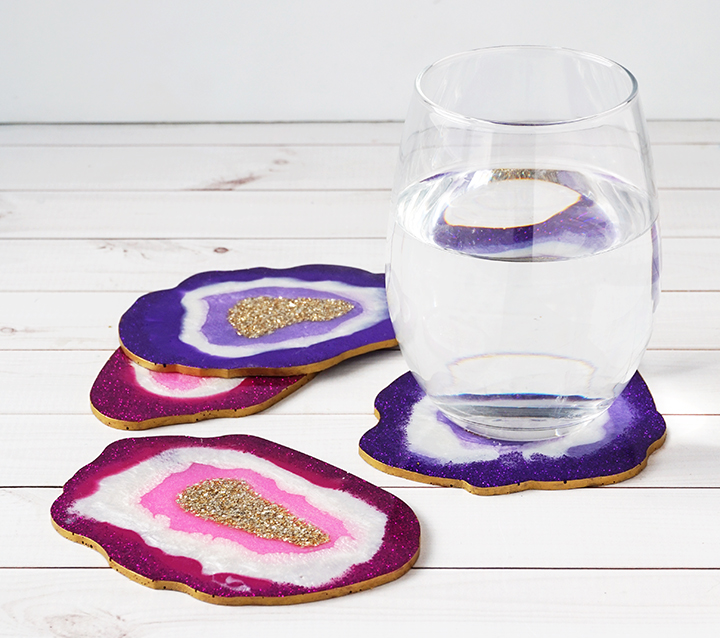
DIY Faux Agate Coasters with Envirotex Lite Pour On
Envirotex Jewelry Resin
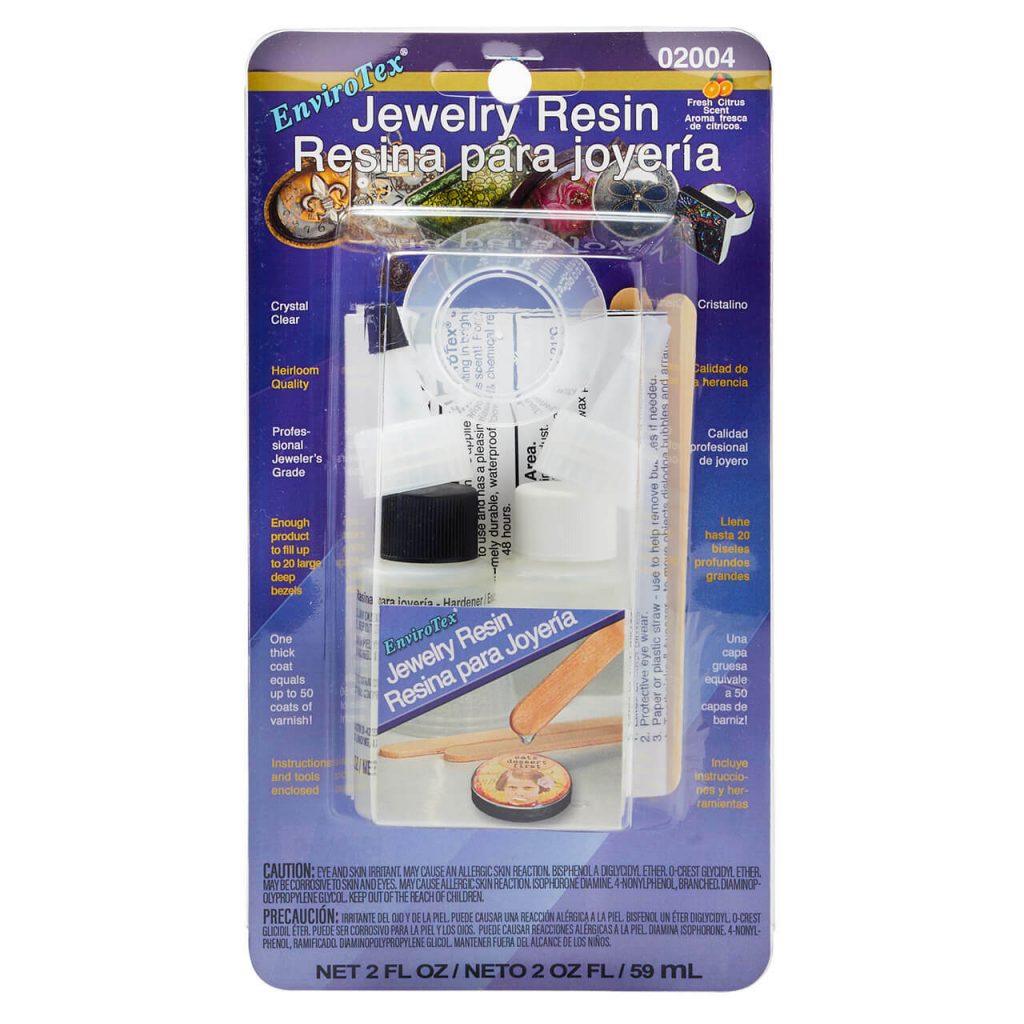
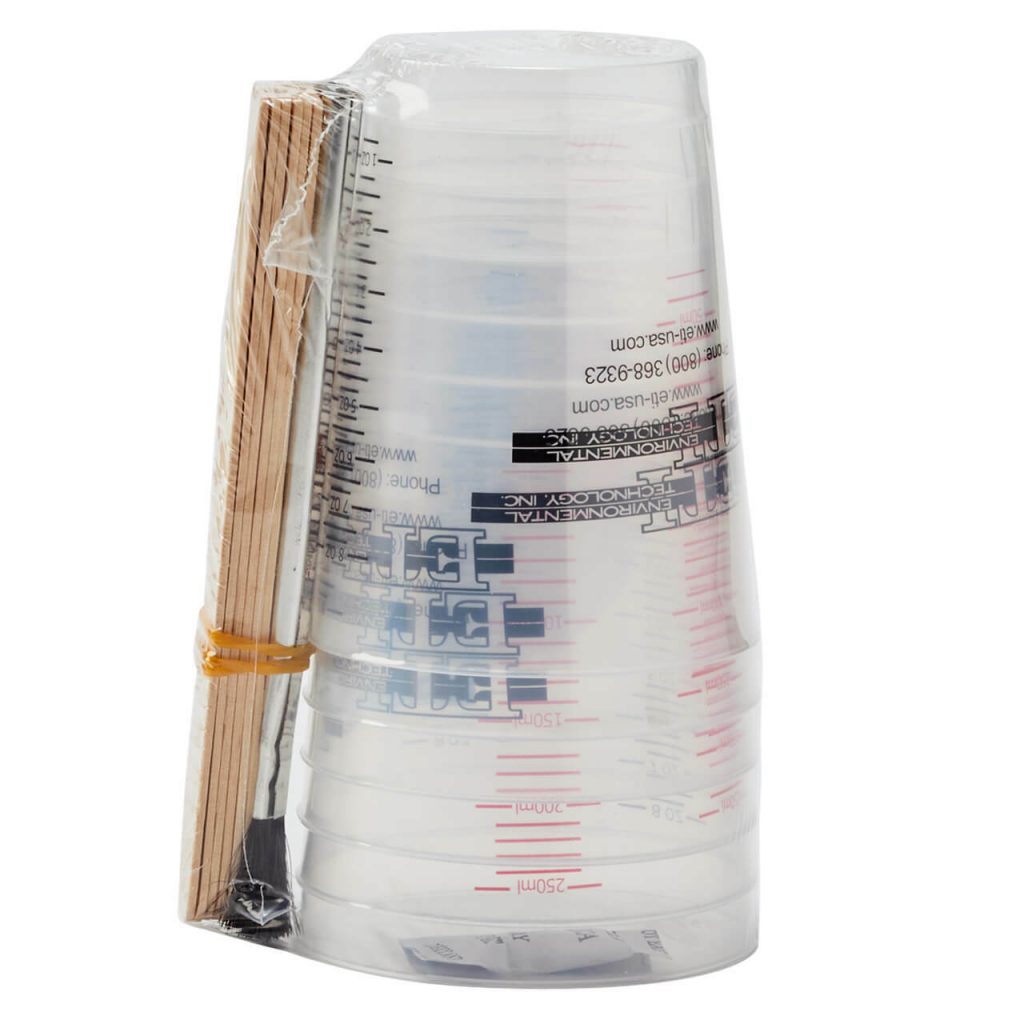
- Conveniently sized kit which includes resin, mixing cups and stir sticks
- Pleasing citrus scent
- High resistance to light exposure and UV rays from the sun
- Soft cure in 12 hours, medium cure in 24 hours and hard cure in 48 hours
Here are some examples of project tutorials here on the Resin Crafts Blog using the Envirotex Jewelry Resin:
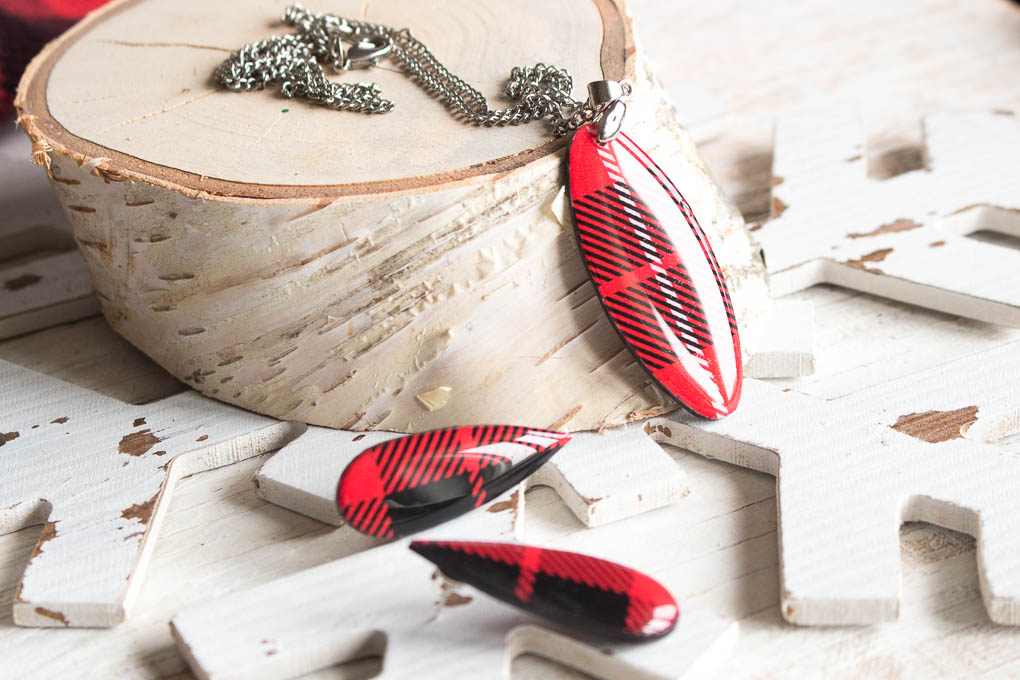
Making Gift Wrap Jewelry with Jewelry Resin
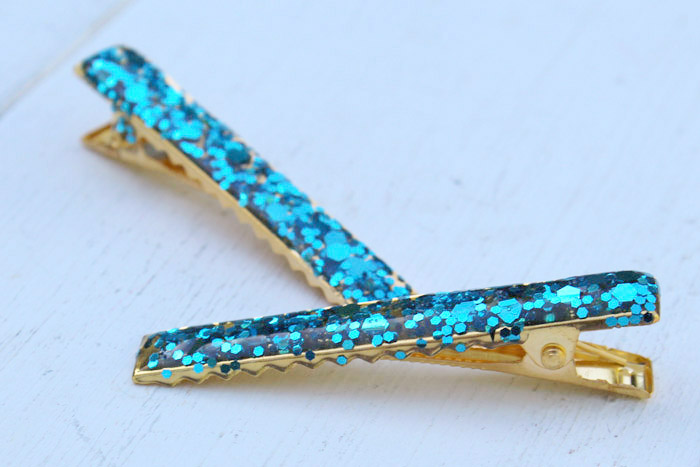
DIY Glitter Resin Hair Clips with Jewelry Resin
EasyCast Clear Casting Epoxy
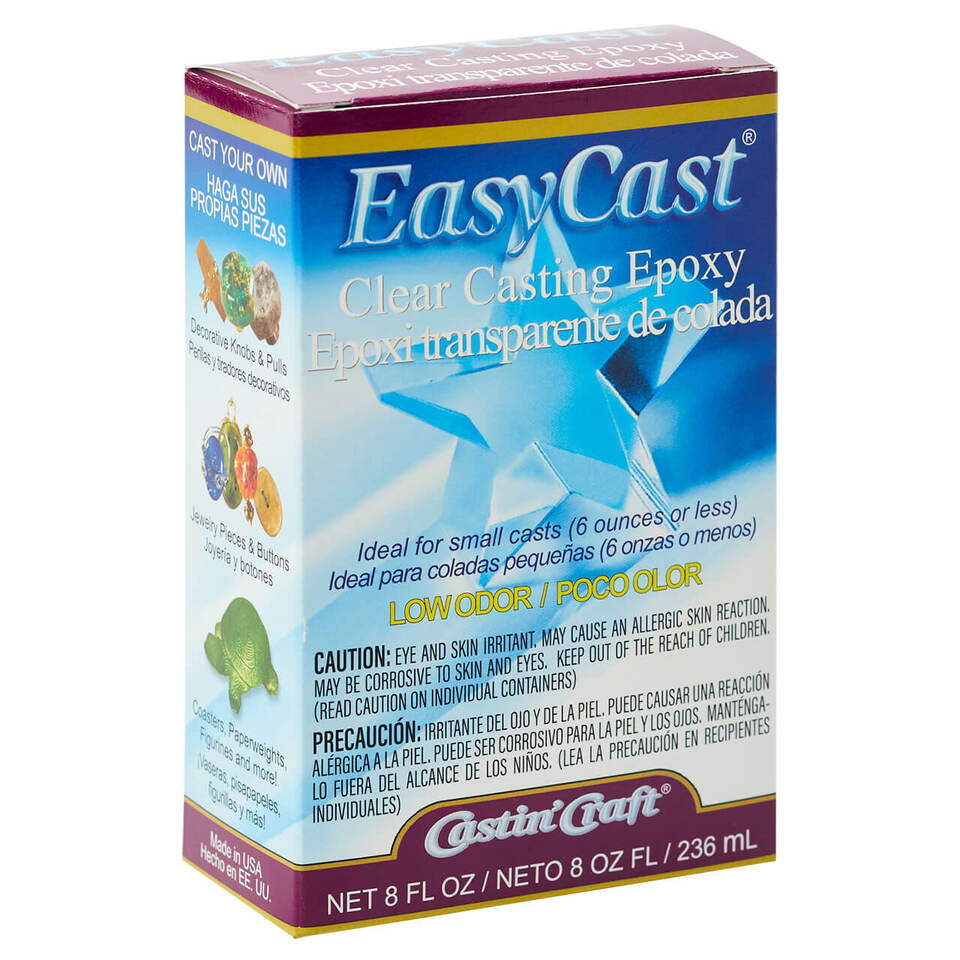
- Ideal for casting small decorative items (such as kitchen and bathroom knobs) up to 6oz at a time (if being used for deeper pours, it should be poured in smaller layers)
- Low odor, solvent free and crystal clear finish
- Can easily be colored, tinted or combined with fillers to create faux granite or metallic castings
- 25 minute working time
- Soft cure in 24 hours, 72 hours for hard cure
Here are some examples of project tutorials here on the Resin Crafts Blog using the EasyCast Clear Casting Epoxy:
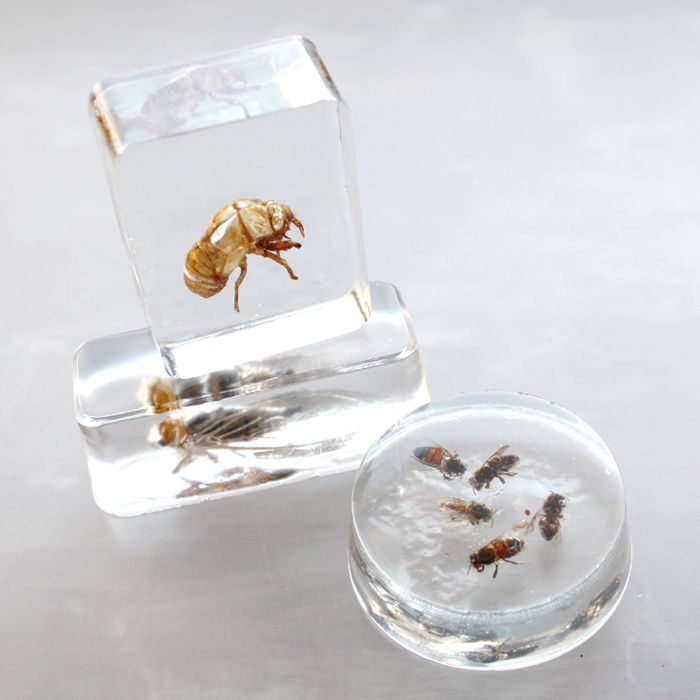
Insects Cast with EasyCast
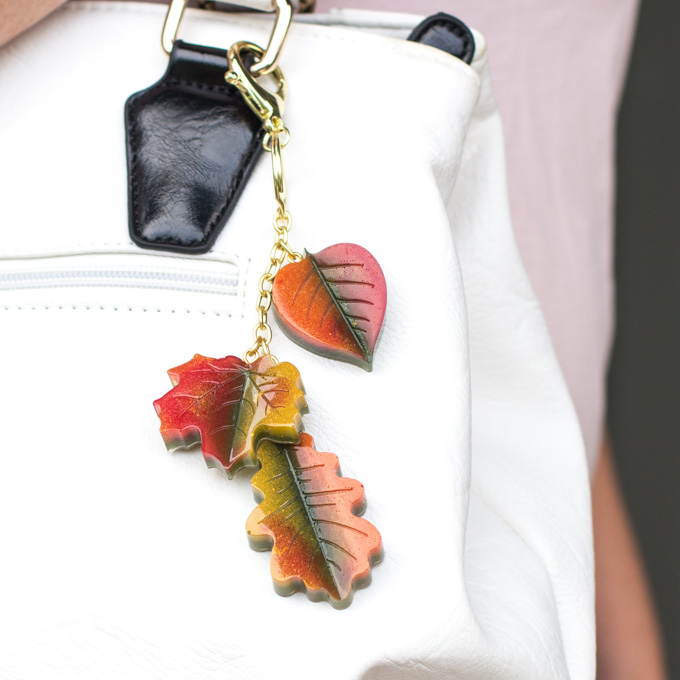
DIY Fall Leaf Purse Charms with EasyCast
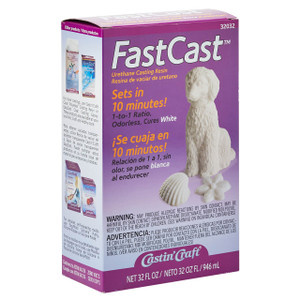
FastCast Urethane Casting Resin
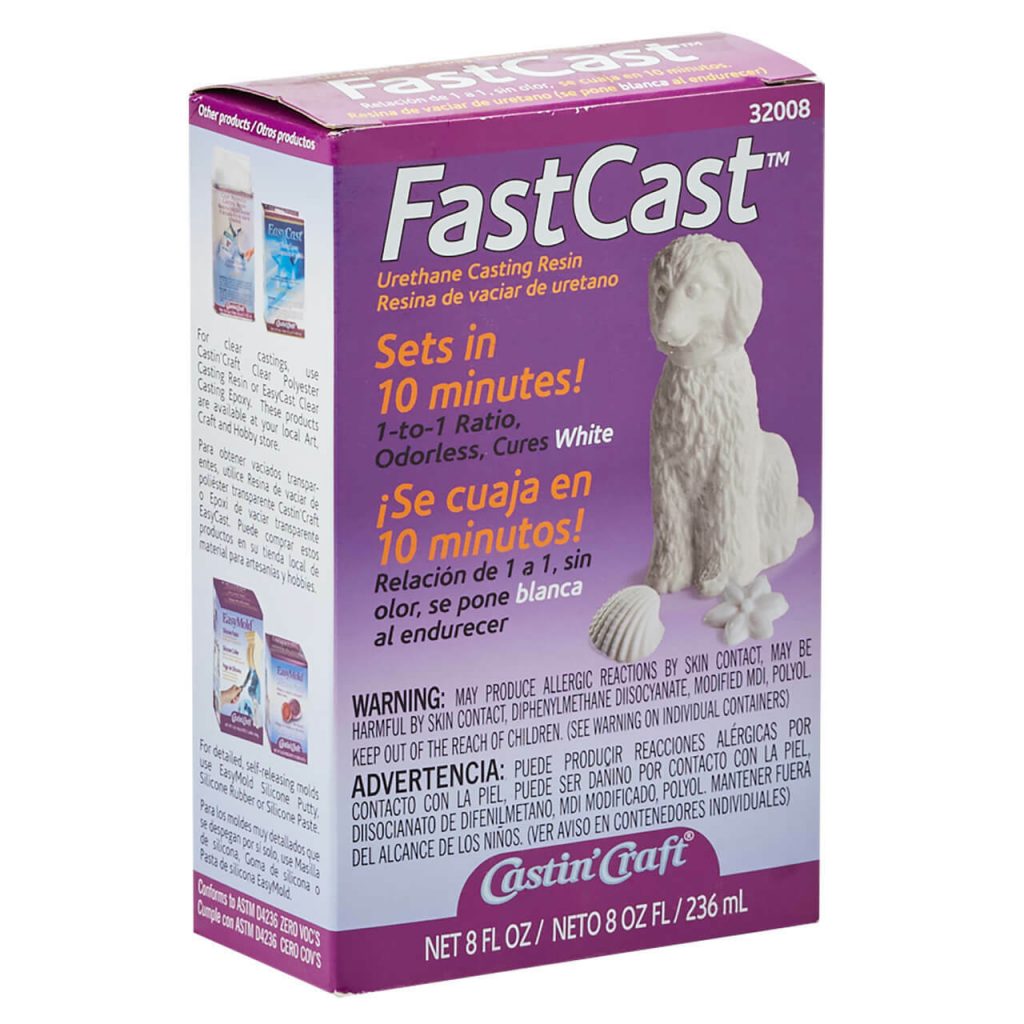
- Ideal for quick casting, prototyping, miniatures, models, taxidermy and more
- Dries an opaque white color and can be painted using regular acrylic paints
- Odorless
- Sets to a hard cast in approximately 10 minutes
Here are some examples of project tutorials here on the Resin Crafts Blog using the Fast Cast Casting Resin:
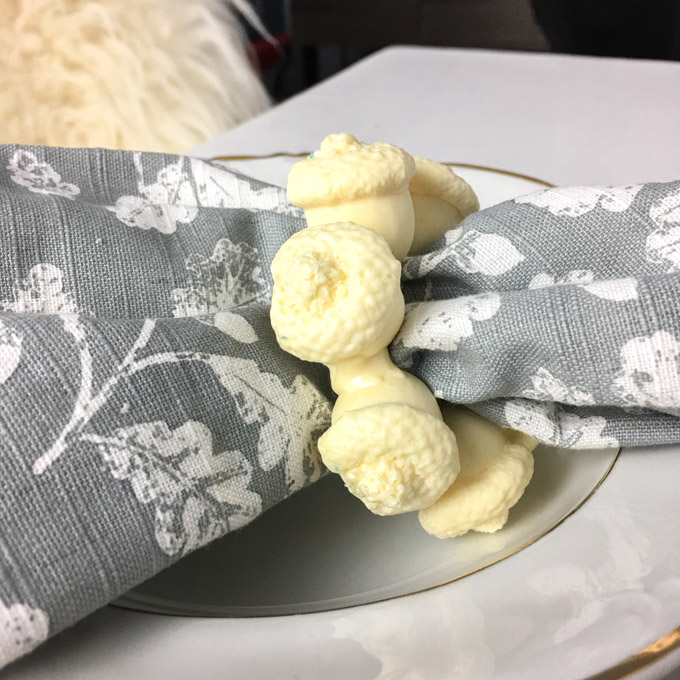
Acorn Napkin Rings with FastCast
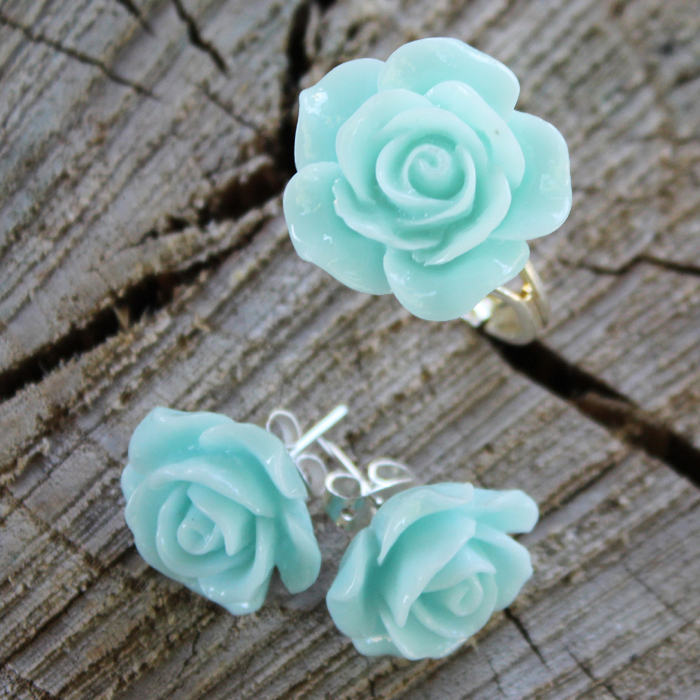
Resin Flower Cabochon Jewelry with FastCast
Castin’ Craft Clear Polyester Casting Resin
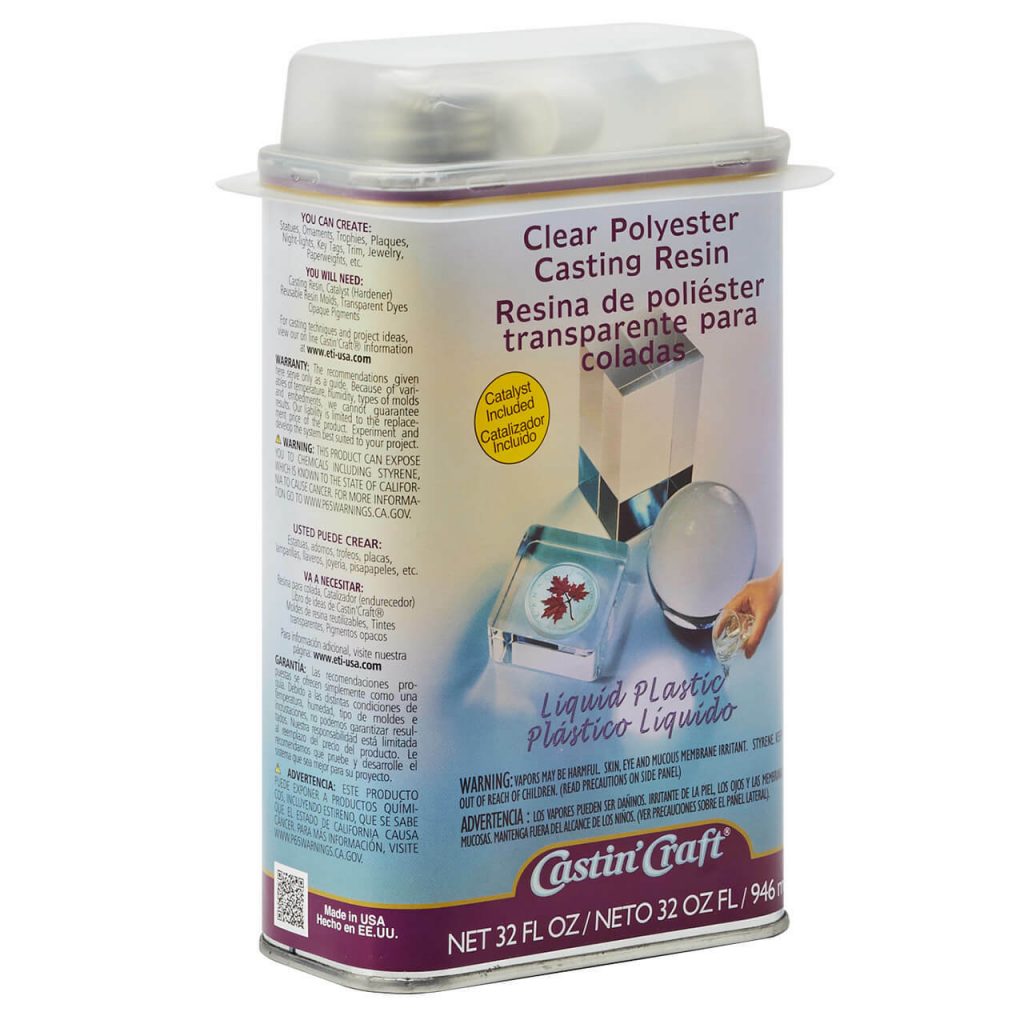
- For larger casting projects and encasings
- 15-20 minute working time
- Can be colored with dyes and pigments designed for use with polyester casting resin
- Catalyst (hardener) is added to casting resin to produce a chemical reaction, which generates heat, causing the resin to harden
Here are some examples of project tutorials here on the Resin Crafts Blog using the Castin’ Craft Clear Polyester Casting Resin:
Geometric Crystal Resin Wood Bookend with Polyester Casting Resin
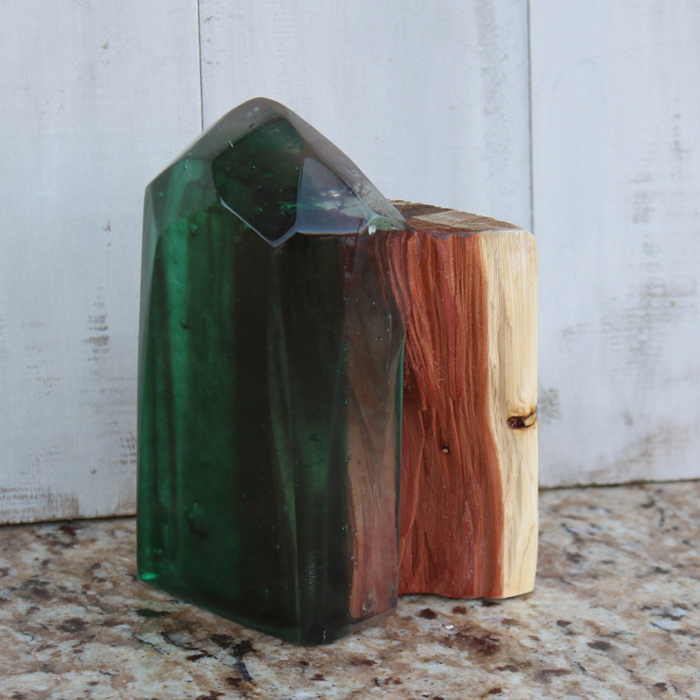
Gold Leaf and Emerald Cabinet Knobs with Polyester Casting Resin

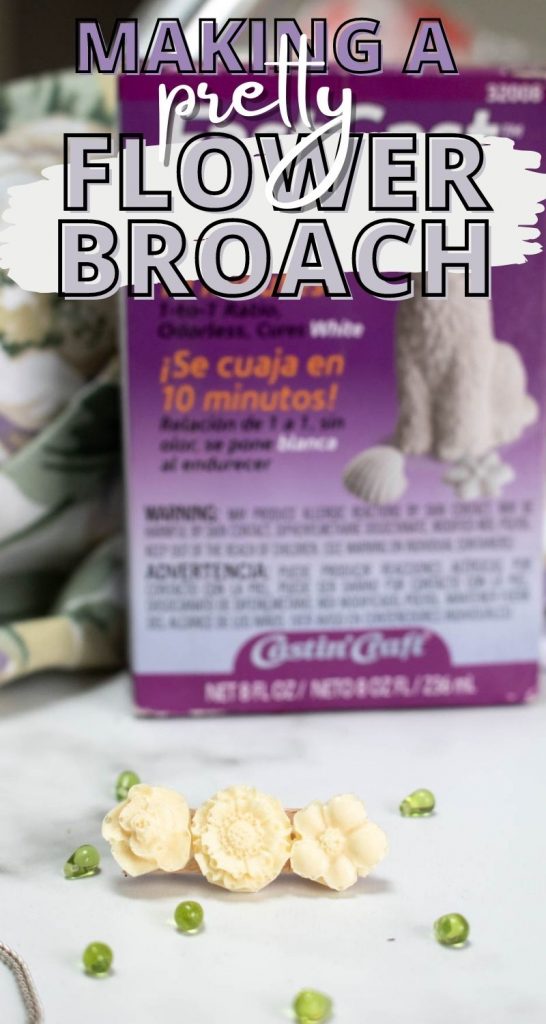
How to Make a Simple Floral Brooch with FastCast Epoxy Resin
As I previously mentioned in our resin demolding video, I created these adorable little resin flowers using excess FastCast when making these acorn napkin rings. I’ve been looking for an opportunity to use them and when I came across some backings in my craft collection, this idea came together!
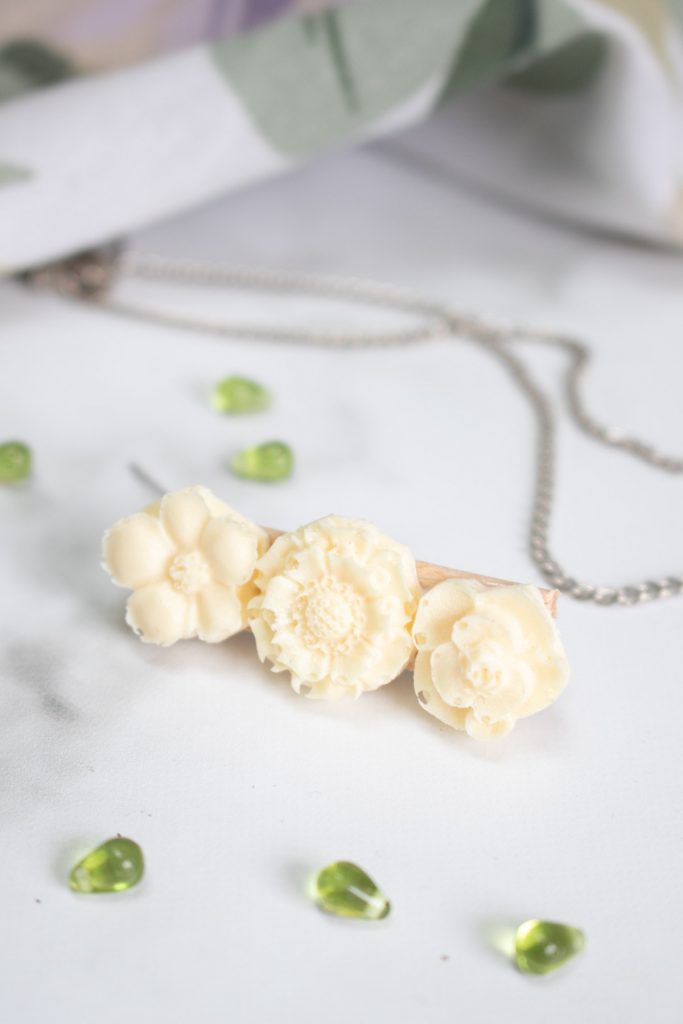
Be sure to subscribe to Sustain My Craft Habit’s YouTube channel for more resin crafting tutorials.
Supplies Needed:
- Small flowers silicone mold
- FastCast Urethane Casting Resin
- Wooden Popsicle stick, 3/8″ wide
- Clippers
- Glue
- Broach pin
- Measuring cups, wooden stir sticks, paper towels, gloves
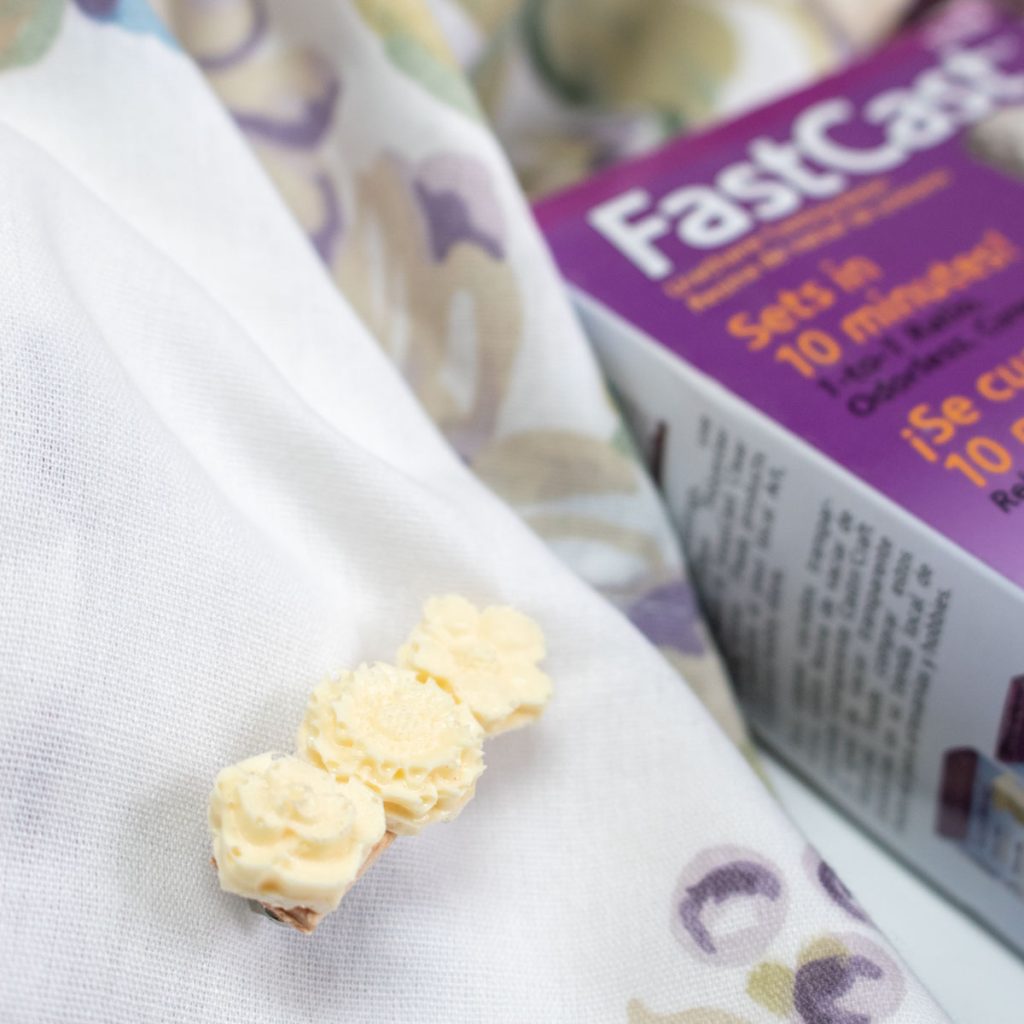
Instructions for Making a Floral Broach
Read all instructions in the FastCast Urethane Casting Resin package prior to starting. Remember to cover your working surface and work in a well-ventilated area. Also, always wear gloves to protect your hands while working with FastCast Urethane Casting Resin.
Mix equal parts of the two resin components in a measuring cup.
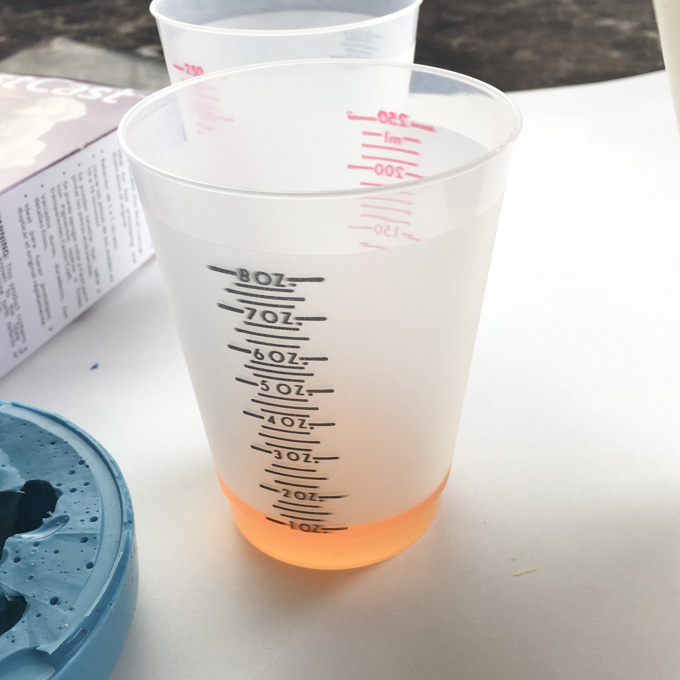
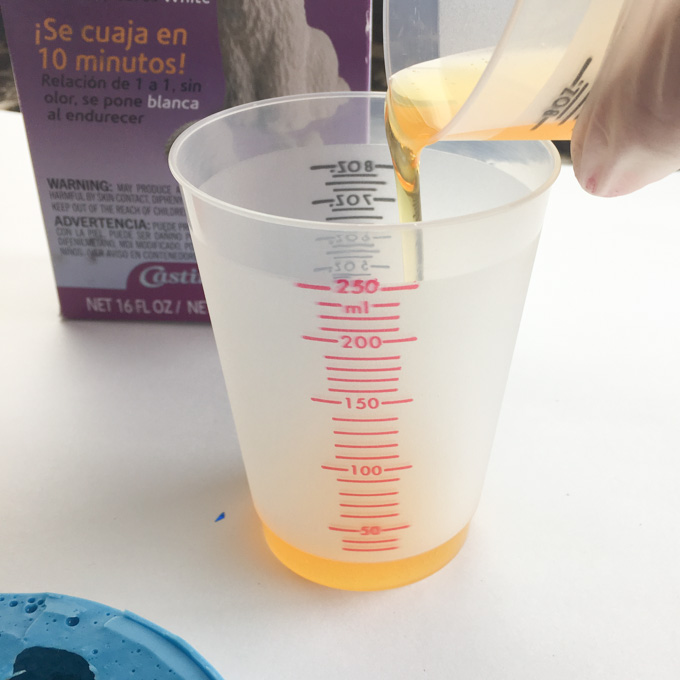
Stir for 30 seconds and then pour into a second cup.
Stir for another 30 seconds and then immediately pour into the mold.
Pour the mold about ⅔ full.
Leave on a level surface. Within a couple of minutes the clear FastCast resin mixture will start to turn white. The resin will be fully cured within 10 minutes.
Carefully remove the flowers from the mold. If you have excess resin around the flowers then use a pair of clippers to trim as close to the flowers as possible.
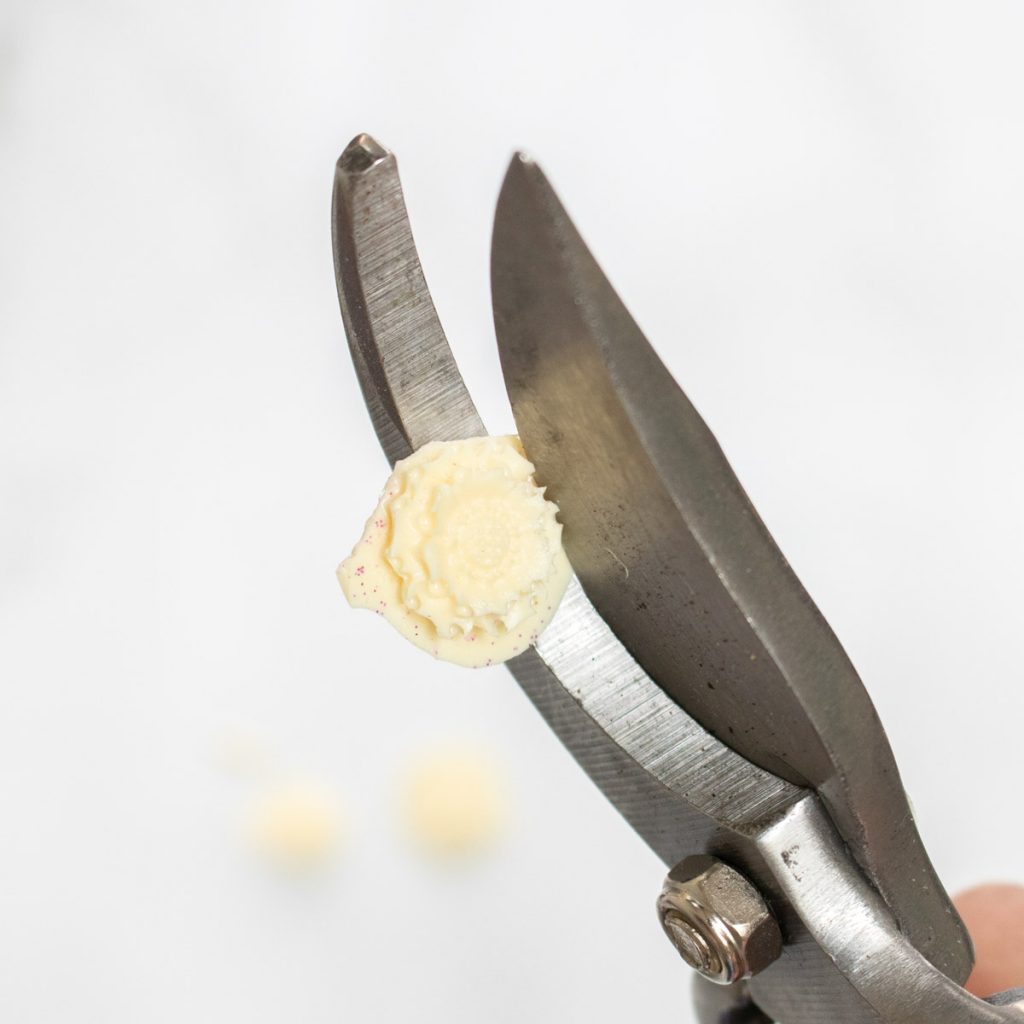
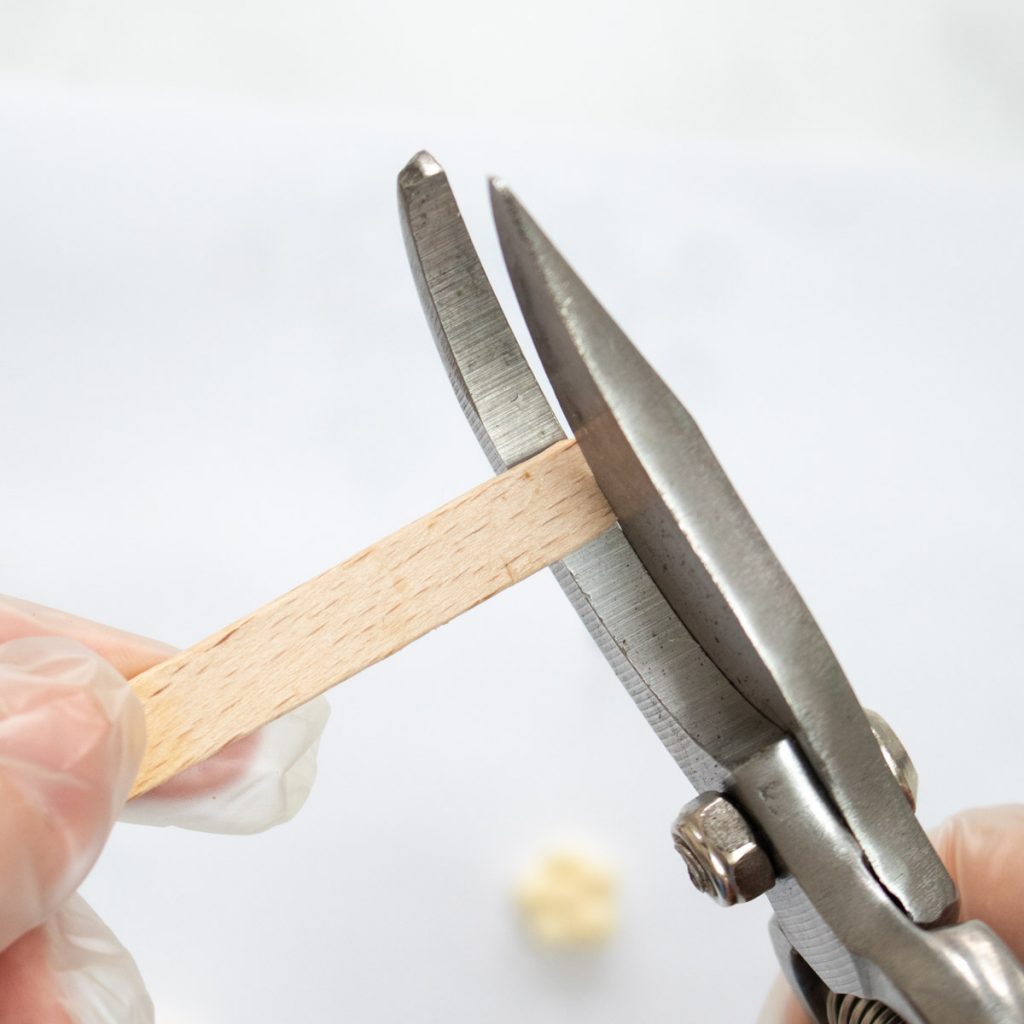
Cut a portion of a wooden stick that measures longer than the length of the broach pin.
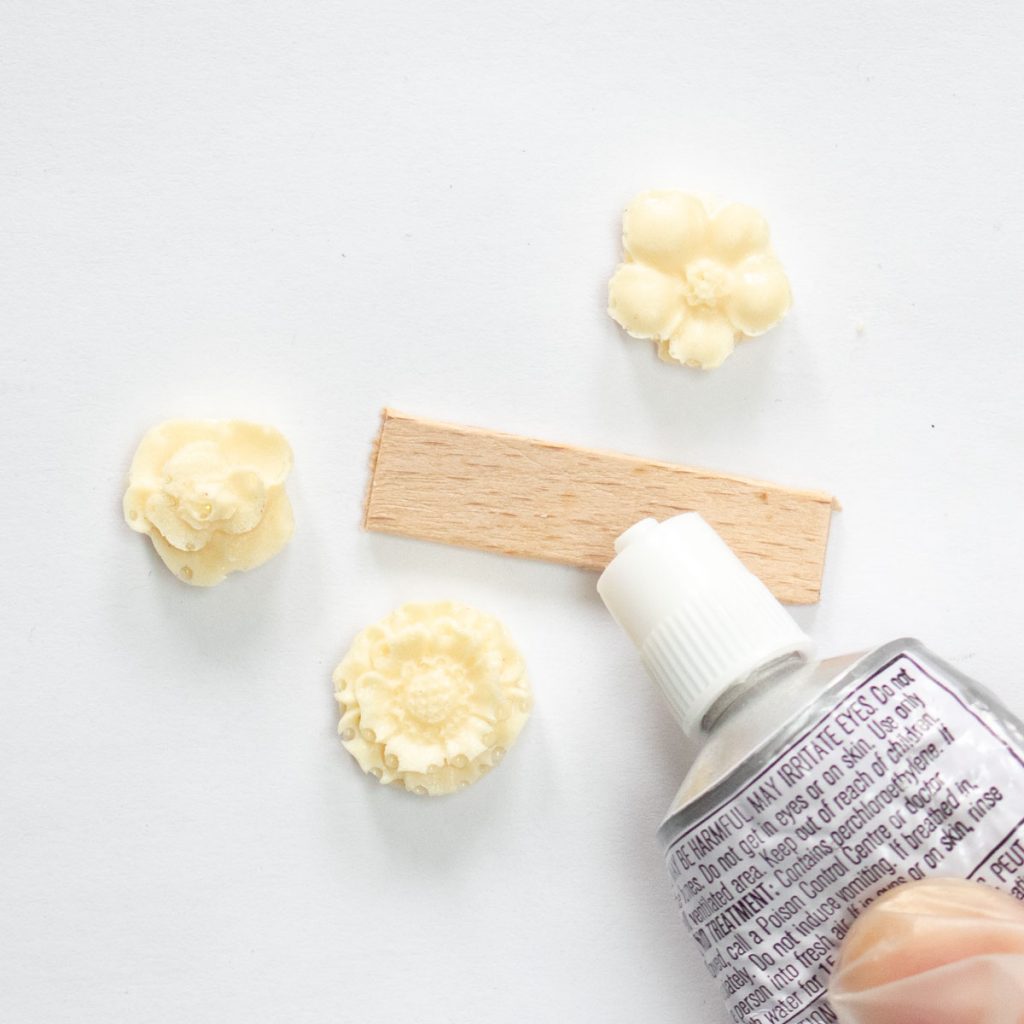
Center the flowers on the wooden stick and glue in place. Once glue has set glue the back side of the popsicle stick to the surface of the broach pin.
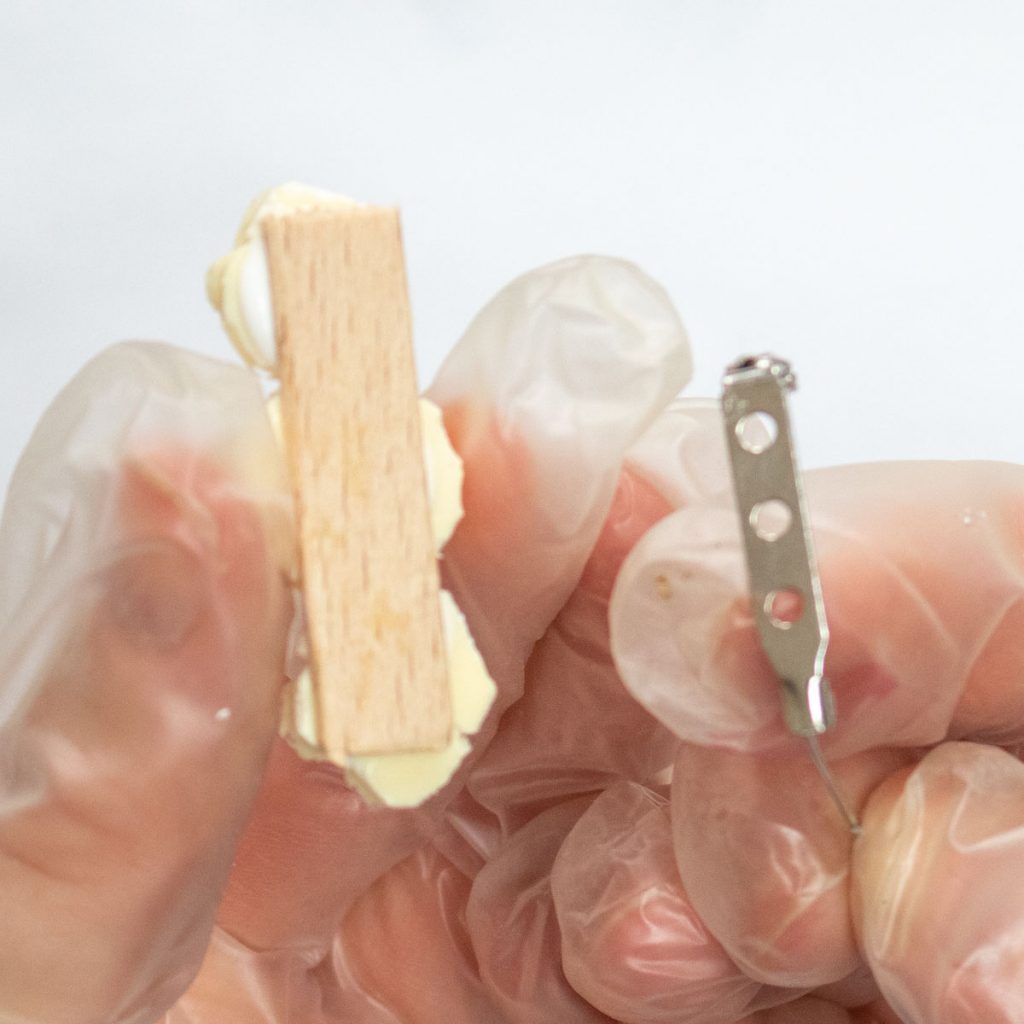
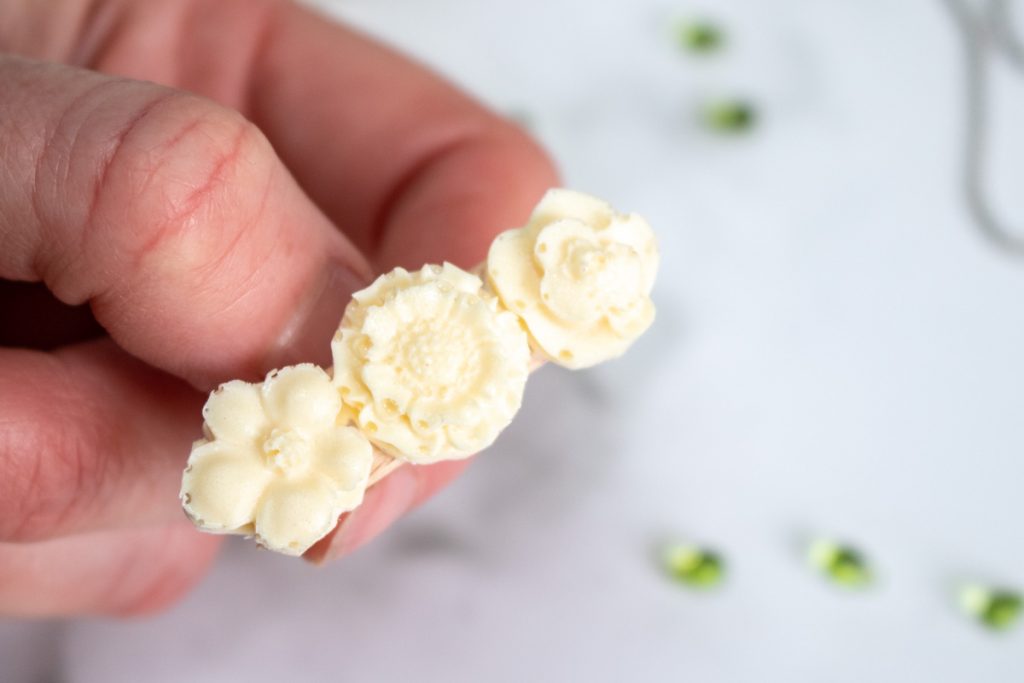
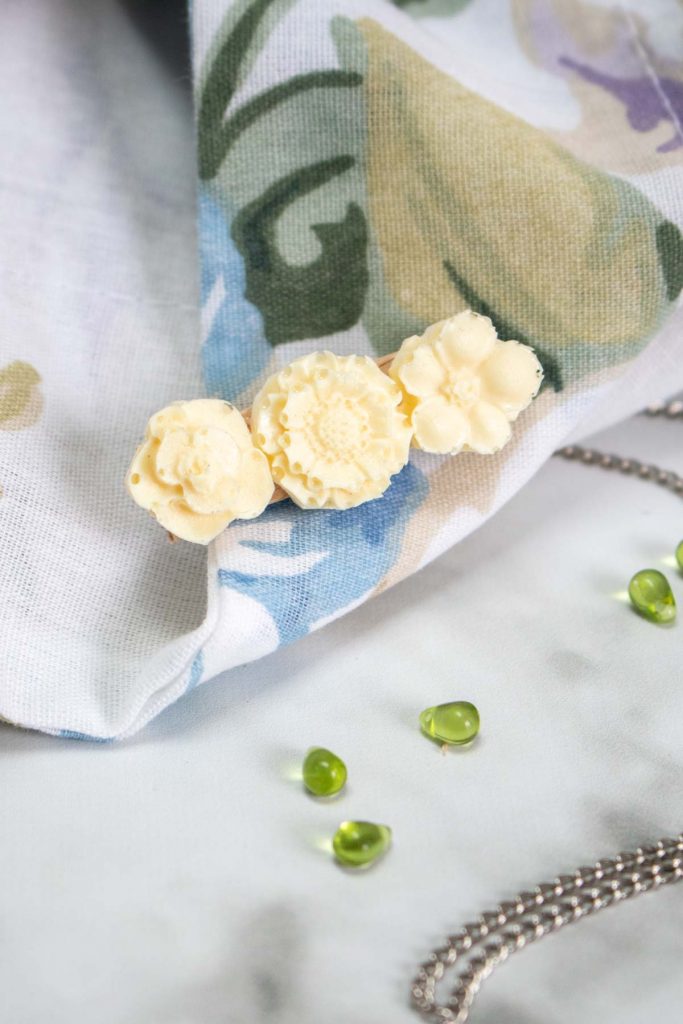
And that’s it, the pretty resin broach is ready to be worn. Pin it to a shirt or jacket and enjoy!
Like it? Pin it for later!
Jane and Sonja are sisters, moms and lifelong craft addicts both living near Toronto, Canada with their families. They share their love of creativity, nature and coastal DIY ideas on their blog Sustain My Craft Habit. They craft and decorate their homes using repurposed and upcycled items and materials found in nature.




Thanks for putting this together. I’m curious as to your own experiences with this product…the links to each project I selected (just three) took me to ETI’s website and of course they’re going to have only positive things to say about their own product. I’d like to be able to use their product because it is sold in several retail stores near my home and the stuff I use now has to be ordered…so I’m looking for a real human’s experience. So, if you can share a link to your own project using this product, I’d really like to read it.
Thanks again for sharing!
Hi Drea,
Thank you for your question! We’ve been working with ETI products for over 3 years and can genuinely tell you that they’re fabulous. We have more project ideas on our own blog that you can explore: https://sustainmycrafthabit.com/category/arts-and-crafts-ideas/resin-crafts/ . The very rare times we’ve come into any problem is when we didn’t follow the instructions properly (totally our error). I also wouldn’t suggest using the resin on white surfaces as there’s a possibility of yellowing over time (especially if the piece is in the sunshine). But I believe this is an issue with most epoxy resins.
My advice would be to start small if you’re unsure: the Envirotex Jewelry resin or 4oz EnviroTex Lite Pour-On are pretty low-commitment 🙂
I hope this helps and don’t hesitate to reach out at all!
Jane